Advertisement
Table of Contents
- 1 Table of Contents
- 2 Safety Precautions
- 3 Precaution for Using R32 Refrigerant
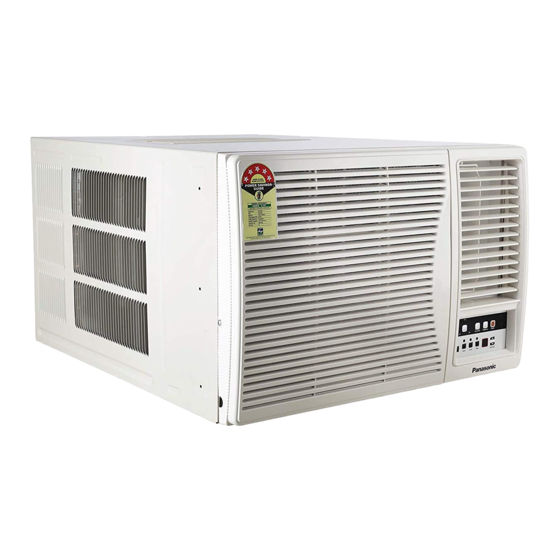
- 4 Parts Identification
- 5 Features
- 6 Display Panel
- 7 Remote Control
- 8 Operational Instructions
- 9 Preparation before Operation
- 10 Air-Conditioner Installation
- 11 Air-Conditioner Operation
- 12 Energy Saving Hints
- 13 Care and Maintenance
- 14 Troubleshooting
- Download this manual
Operating Instructions
Air Conditioner
Model No.
Window Unit
CW-XN181AM series
CW-LN181AM series
CW-XN121AM series
Operating Instructions
Air Conditioner
Thank you for purchasing Panasonic Air Conditioner.
Installation instructions attached.
Before operating the unit, read these operating
instructions thoroughly and keep them for future
reference.
Advertisement
Table of Contents


Need help?
Do you have a question about the CW-XN181AM Series and is the answer not in the manual?
Questions and answers