Franke Spectra S Cleaning Instructions
Hide thumbs
Also See for Spectra S:
- Original operating instructions (48 pages) ,
- Electrical diagrams (40 pages) ,
- Troubleshooting manual (23 pages)
Advertisement
Quick Links
i
Your responsibility for the perfect coff ee experience
The perfect coff ee experience depends on a perfectly cleaned coff ee machine. Increase the
quality of your products!
Clean your coff ee machine at least once a day and more frequently if necessary.
Follow the 5-step method for all removable parts.
5-step method for removable parts
I
Remove coarse dirt with a
brush.
We recommend the following sequence of steps:
01
4
Press
Clean
for 3 seconds.
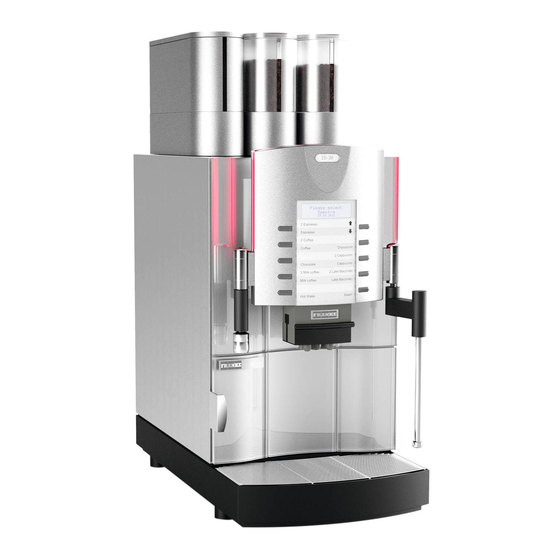
Issued: 03.2014 Item number: 1H329099/B. Your machine may differ from the one shown here, depending on the version.
II
4
4
Soak the parts in water with a
mild detergent.
Open door
Clean brewing chamber
Empty grounds container
4
4
The following messages are
displayed in alternation: Open
door
Clean brewing chamber
Empty grounds container
accessories required:
• Cleaning tablets
• Cleaning solution
• Microfi ber cloth
• Brush set
• Cleaning brush
• Cleaning container (large graduated beaker)
III
IV
4
Wash the parts.
Rinse the parts thoroughly.
Powder system (optional)
02
03
4
Open the door.
Unhook and remove the outlet
tube of the powder system.
V
4
Dry the parts.
04
4
4
Turn the locking mechanism
on the mixer chamber coun-
terclockwise and remove the
mixer chamber.
Advertisement

Related Manuals for Franke Spectra S


Summary of Contents for Franke Spectra S
- Page 1 accessories required: • Cleaning tablets • Cleaning solution • Microfi ber cloth Your responsibility for the perfect coff ee experience • Brush set The perfect coff ee experience depends on a perfectly cleaned coff ee machine. Increase the quality of your products! •...
- Page 2 Powder system (optional) Dismantle the mixer chamber. Brush off the agitator and wipe Clean the interior and brewing Remove and empty the grounds Clean the grounds container it with a damp cloth. chamber with a brush. container. and mixer parts using the 5-step method.
- Page 3 Remove milk container Insert cleaning cont. The display reads: Open the refrigeration unit. Store the milk in a refrigerator Press Clean. Place the cleaning container in Remove milk container Remove the milk container. or dispose of it, if necessary. the refrigeration unit and insert Insert cleaning container all tubes.
- Page 4 E130 add cold milk Fill the milk container with milk Clean the milk container and an optional neutralization brew- The display reads: Press Clean. if necessary. Place the milk E130 add cold milk cleaning container using the ing cycle is carried out. The machine is ready.
- Page 5 WaRnIng Risk of scalding Hot water and hot steam are released during cleaning. Various models Do not touch the machine Depending on the model of your coffee machine, other outlets are below the outlets or the outlets available. Please note that all standard variations are described here. Switch the coffee machine off.
Need help?
Do you have a question about the Spectra S and is the answer not in the manual?
Questions and answers