Advertisement
Quick Links
Advertisement

Related Manuals for Saramonic UwMic9S


Summary of Contents for Saramonic UwMic9S
- Page 1 UHF Wireless Microphone System UwMic9 User Manual...
- Page 2 Please retain for future reference. For any issues that cannot be resolved with the user manual, please refer to your retailer for help or contact us at: info@saramonic.com. Cautions 1. Take care not to use the unit underwater or unprotected in rainy conditions. Store in a cool, dry place.
-
Page 3: General Introduction
General Introduction The Saramonic UwMic9S wireless microphone system provides a premium 2-person wireless audio solution for Broadcast & TV, ENG, filmmakers, vloggers, mobile journalists and content creators for a remarkable price. It is an easy-to-use, high-quality and flexible UHF system. The external input allows the receiver... -
Page 4: Attaching Accessories
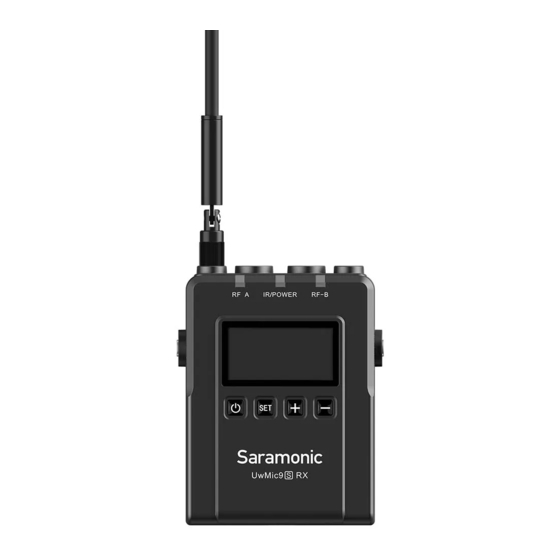
RF-B indicator It is possible to attach a belt clip. Please Refer to The RF indicator displays the RF input level of "Attaching Accessories" (page 7). group B as follows: Attaching the shoe mount adapter. Solid Blue: RF signal is strong. Lights off: RF signal is disconnected. - Page 5 OLED Display Operation Guide Output mode: The output mode can be set to mono or stereo. When the output mode is in mono, the audio from the left and right channel will be mixed. When in stereo, receiver A's and receiver B's audio output will be separated to the left and right of the stereo output.
- Page 6 MIC GAIN: Adjust the external microphone’s gain level (0-15). Default is “13”. Auto scan function: Automatically scan an available and clear channel. For details of operation, please reter to "Using the auto scan function" (page 9). Select channel: For details of operation, please refer to "Manually setting the receiver channel"...
- Page 7 Body-pack Transmitter TX9S Introduction The Saramonic UwMic9S-TX9S is a mountable body-pack transmitter. It features an easy-to- read OLED display, a detachable antenna and Restoring default setting built-in rechargeable battery. With the line input and mic input jack, it can accept audio from the included 3.5mm locking lavalier mic...
- Page 8 Detachable antenna Attaching Accessories MIC IN jack Connects to the supplied 3.5mm lavalier microphone. LINE IN jack Connects to the line level devices. AUDIO indicator / IR (infrared detector) AUDIO indicator: Indicates the audio input level. IR (infrared detector): Receives the frequency from the receiver.
- Page 9 OLED Display Operation Guide Select Channel: Long press the SET button to enter the menu. Use the "+" and "-" to select the channel you need and short press the SET button to confirm. Home screen. If no operation is performed for 20 seconds on the other screens, the display will automatically return to the home screen.
- Page 10 Using the + or – button to display the auto scan screen on the receiver. Restore default setting Long press the SET button to select "Auto scan?" UwMic9S-TX9S Version Press the SET button to confirm. The channel with the least noise and interference will be displayed.
- Page 11 Note: After 20 seconds have elapsed, the display returns to the home screen without saving. Some noise may occur when power is turned on, so it is possible to turn down the audio input level of devices connected • Long press the SET button to select the menu and then short press it to confirm.
-
Page 12: Specification
1×Cold Shoe Mount Adapter –60 dBV (MIC input, 0 dB Reference audio input level attenuation) Built-in battery capacity 2000mA UwMic9S Kit2 (TX+TX+RX) Built-In Li-ion Battery or USB-C 2×Body-pack transmitters: TX9S Power Requirements DC 5V 1×Portable receiver: RX9S Continuous use time 8 hrs 2×DK3A Omnidirectional Lavalier Microphones...
Need help?
Do you have a question about the UwMic9S and is the answer not in the manual?
Questions and answers