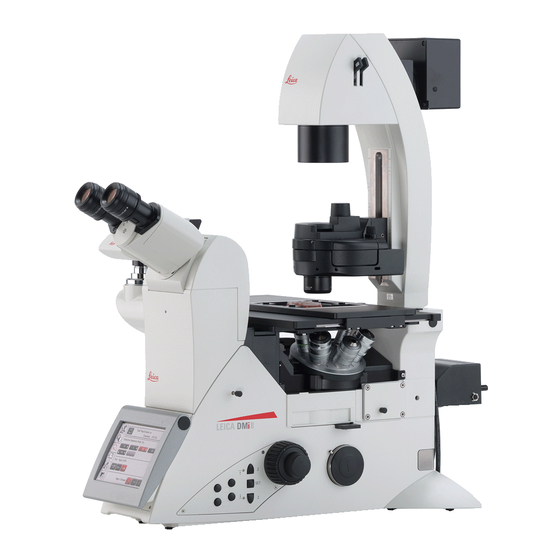
Summary of Contents for Leica DMi8
- Page 1 NeuroTechnology Studio Leica DMi8 User Manual For questions or concerns contact: Lai Ding: (617)264-5946 (781)901-6116 lding@bwh.harvard.edu...
-
Page 2: Table Of Contents
Table of Contents 3…. Start-up 5…. Microscope Display 6…. Channel Set-up 8… Apply Previous Settings 9…. Display Window 10…. Acquisition Window 11…. Navigator 12…. Objective Resolution Info 13…. Camera Binning Format Info/ Shutdown... -
Page 3: Start-Up
DO NOT TOUCH ANY BUTTON/SWITCH UNLESS IT IS SPECIFIED BELOW Start-up 1) Turn on the power strip, It is located on the wall above the power bench. 2) Wait until the display screen at the front of the microscope stand finishes startup 3) If Computer is not ON, turn on the computer. - Page 4 Select your camera: click “Preferences” under camera section. Then choose the camera under “Set Camera to” section. “Leica DFC9000GT LEFT” is for fluorescence imaging. “DMC5400 RIGHT” is for bright field color imaging You are now ready to image! Please save the files to E: drive “User Images” folder and the corresponding lab folder.
-
Page 5: Microscope Display
Microscope Display Almost all these features can also be changed using the LAS X software. Status of current selections. Can also change from TL to IL and open/close shutter Change light type and filter cube Change the objectives and light path (directed towards eyepiece, left camera port, or right camera port) Press to bring the objective all the way down, and... -
Page 6: Channel Set-Up
Channel Set-up • To add a channel, press the PLUS button in the middle window. To delete a channel press MINUS button • To change the false color of the channel, double click on the gradient rectangle • Determine what wavelengths you need. Select the filter cube, which will be outlined in red when active. - Page 7 • Use the knob circled in red to adjust Z • Use the knobs bellow to adjust X and Y. There is a small toggle switch circled in red below that changes between fine and coarse movement. • Adjust exposure time and laser intensity for each channel. •...
-
Page 8: Apply Previous Settings
Apply Previous Settings • Open a previous project using button circled in yellow • Go to “Configuration” tab and “Param Recall” section, click “Load” button, under the pop-up file dialog window, select “setting.xml” file • Go back to “Acquire” tab, press the button circled in red to apply the settings... -
Page 9: Display Window
Display Window Annotation: Add shapes or scale bars to image. Measure distance between points. Select what • Change Look Up channels you want Table (color, to view. intensity, or black and white) This button is to • Autoscale all view a composite of channels all the channels. -
Page 10: Acquisition Window
Acquisition Window Select for Z-stack and for time series. Mark and Find Tile Scan Binning: select if you want a faster, quicker image with less resolution exposure here. Longer exposure = more light = higher chance of photobleaching Binning: increases exposure but decreases resolution FIM: fluorescence intensity manager, higher % more light IL –... -
Page 11: Navigator
Navigator • If doing a Tile Scan, click on Link Shading to open up a new window. Check the ACTIVATE boxes on the new window, then close. This will smooth out some of the dark edges you would see on the final tiled image. Pressing the Navigator button will open up a new window. - Page 12 • Once the scan is finished, click on the MOSAIC MERGE tab at the top of the window. • Select SMOOTH BLENDING on the drop down menu, and click merge tiles. Leica DMi8 Objective/Camera Info Objective FOV: Field Of View FL: Fluorescence Camera (LEFT)
- Page 13 Camera binning/format Pixel Scale FL : Fluorescence Camera (LEFT DFC9000GT) Camera Pixel Size : 6.5um Bin \\ 63X (oil) 100X (oil) Objective No binning 1.3um* 0.65um* 0.325um* 0.163um* 0.103um* 65nm 2.6um 1.3um 0.65um 0.325um 0.206um 130nm* 3.9um 1.9um 0.975um 0.489um 0.310um 195nm 5.2um...


Need help?
Do you have a question about the DMi8 and is the answer not in the manual?
Questions and answers