Sign In
Upload
Download
Table of Contents
Contents
Add to my manuals
Delete from my manuals
Share
URL of this page:
HTML Link:
Bookmark this page
Add
Manual will be automatically added to "My Manuals"
Print this page
×
Bookmark added
×
Added to my manuals
Manuals
Brands
Avalon Manuals
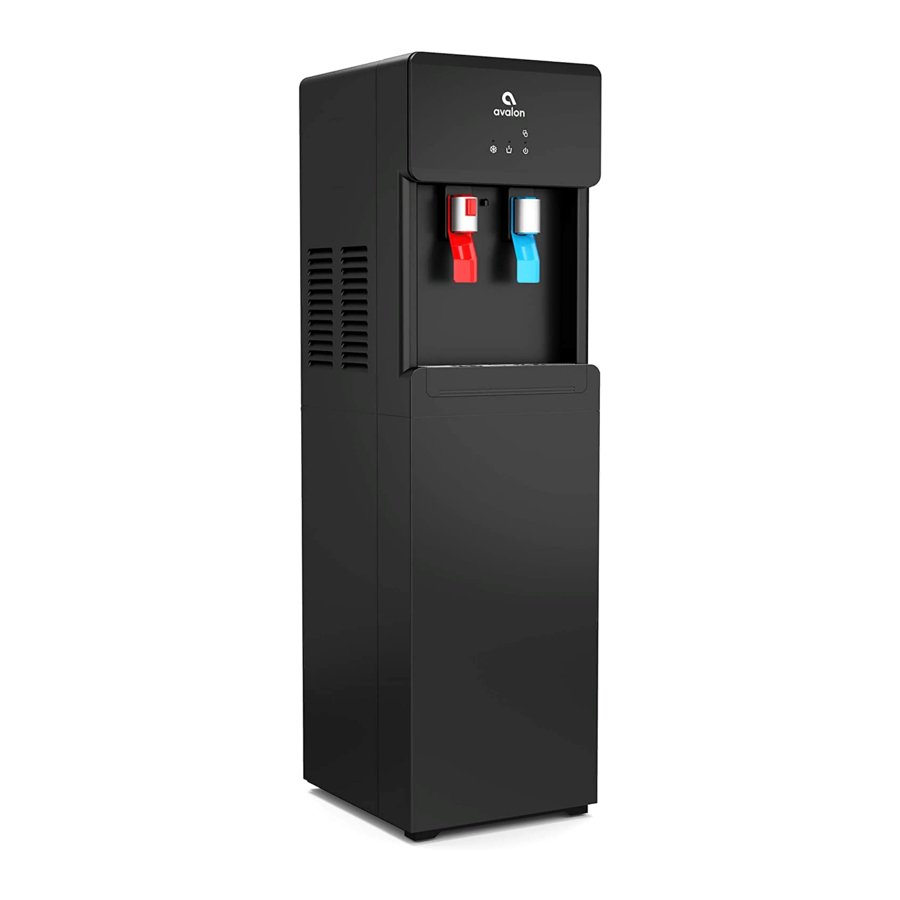
Water Dispenser
A6BLWTRCLRWHT
Use and care manual
Avalon A6BLWTRCLRWHT Use And Care Manual
Bottom loading water cooler
Hide thumbs
Also See for A6BLWTRCLRWHT
:
User manual
(11 pages)
1
2
3
4
Table Of Contents
5
6
7
8
9
10
11
12
13
14
15
16
17
18
19
20
21
22
23
24
25
26
27
28
29
30
31
32
33
34
35
36
page
of
36
Go
/
36
Contents
Table of Contents
Troubleshooting
Bookmarks
Table of Contents
Table of Contents
About Your Water Cooler
Meet Your Avalon Product
Part Names
Indicator Lights
Tech Specs
Getting Started
Unpacking
Installing the Water Bottle
Powering the Dispenser
Heating and Cooling
User Guide and Maintenance
Dispensing Water
Changing the Bottle
Cleaning
Rinsing, Cleaning and Draining
Cleaning
Troubleshooting
Safety
Advertisement
Quick Links
1
Meet Your Avalon Product
2
Part Names
3
Indicator Lights
4
User Guide and Maintenance
5
Cleaning
6
Rinsing, Cleaning and Draining
7
Cleaning
8
Troubleshooting
Download this manual
A few simple steps to ensure
perfect water, every time.
Table of
Contents
Previous
Page
Next
Page
1
2
3
4
5
Advertisement
Table of Contents
Need help?
Do you have a question about the A6BLWTRCLRWHT and is the answer not in the manual?
Ask a question
Questions and answers
Related Manuals for Avalon A6BLWTRCLRWHT
Water Dispenser Avalon A6BLWTRCLRWHT User Manual
(11 pages)
Water Dispenser Avalon A6BLWTRCLRBLK Use And Care Manual
Bottom loading water cooler (36 pages)
Water Dispenser Avalon A9 Use And Care Manual
(141 pages)
Water Dispenser Avalon A14-S Use And Care Manual
(120 pages)
Water Dispenser Avalon A1CTWTRCLRWHT Use And Care Manual
(25 pages)
Water Dispenser Avalon A1CTWTRCLRWHT Manual
(44 pages)
Water Dispenser Avalon A10-TL Use And Care Manual
(27 pages)
Water Dispenser Avalon A13CT-S Use And Care Manual
(52 pages)
Water Dispenser Avalon A7BOTTLELESS User Manual
Self cleaning water dispenser bottleless (13 pages)
Water Dispenser Avalon A5BOTTLELESS User Manual
Self cleaning water dispenser bottleless (12 pages)
Water Dispenser Avalon A8CTBOTTLELESSWHT User Manual
Countertop water dispenser bottleless (12 pages)
Water Dispenser Avalon A1TL Use And Care Manual
(24 pages)
Water Dispenser Avalon A1TL Manual
(93 pages)
Water Dispenser Avalon A3F Use And Care Manual
(134 pages)
Water Dispenser Avalon A13-S Use And Care Manual
Hand-free touchless electric bottleless water cooler dispenser (164 pages)
Water Dispenser Avalon A50-SB Use And Care Manual
(31 pages)
This manual is also suitable for:
A6blwtrclrblk
Table of Contents
Save PDF
Print
Rename the bookmark
Delete bookmark?
Delete from my manuals?
Login
Sign In
OR
Sign in with Facebook
Sign in with Google
Upload manual
Upload from disk
Upload from URL


Need help?
Do you have a question about the A6BLWTRCLRWHT and is the answer not in the manual?
Questions and answers