Advertisement
Quick Links
Operation Manual
Drill Bit Sharpener
61937
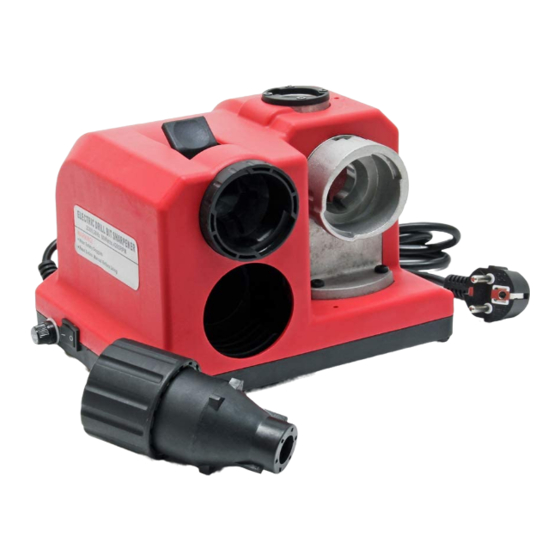
Illustration similar, may vary depending on model
Read and follow the operating instructions and safety information before using for the first time.
Technical changes reserved!
Due to further developments, illustrations, functioning steps and technical data can differ insignific -
antly.
Updating the documentation
If you have suggestions for improvement or have found any irregularities, please contact us.
Advertisement

Summary of Contents for WilTec 61937
- Page 1 Operation Manual Drill Bit Sharpener 61937 Illustration similar, may vary depending on model Read and follow the operating instructions and safety information before using for the first time. Technical changes reserved! Due to further developments, illustrations, functioning steps and technical data can differ insignific - antly.
- Page 2 All rights reserved. The WilTec Wildanger Technik GmbH cannot be held accountable for any possible mistakes in this operating manual, nor in the diagrams and figures shown.
- Page 3 Max. sanding disc diameter (mm) Save this manual You will need the manual for the safety warnings and cautions, assembly instructions, operating pro- cedures, maintenance procedures, trouble shooting, parts list, and diagram. © by WilTec Wildanger Technik GmbH Item 61937 Page 3 http://www.WilTec.de http://www.aoyue.eu...
- Page 4 Avoid unintentional starting. Be sure the switch is in the off position when not in use and before plugging in. Do not carry any tool with your finger on the trigger, whether it is plugged in or not. © by WilTec Wildanger Technik GmbH Item 61937 Page 4 http://www.WilTec.de http://www.aoyue.eu...
- Page 5 Commissioning 1. Take hold of the blade positioner (37), release the blade holder (38) by turning the locknut (41). Put the drill bit into the blade positioner (37). © by WilTec Wildanger Technik GmbH Item 61937 Page 5 http://www.WilTec.de http://www.aoyue.eu...
- Page 6 (35) and turn it by 180° and then conduct grinding; the procedure is the same as above mentioned; the operation is finished. Before grinding After grinding © by WilTec Wildanger Technik GmbH Item 61937 Page 6 http://www.WilTec.de http://www.aoyue.eu 2021-1 http://www.teichtip.de...
- Page 7 Make sure to keep the surface of your unit free of grit, dirt and grease. Use soapy water or non-toxic solvents only. Do not use petroleum based solvents. Keep the air vents free of foreign matter at all times! © by WilTec Wildanger Technik GmbH Item 61937 Page 7 http://www.WilTec.de http://www.aoyue.eu 2021-1 http://www.teichtip.de...
- Page 8 Screw Dust cap Grinding wheel Cord Connector Connector board Screw Clamp spring Screw Screw Positioner Bracket Screw Stand socket Motor Blade positioner Wire restraining Blade holder © by WilTec Wildanger Technik GmbH Item 61937 Page 8 http://www.WilTec.de http://www.aoyue.eu 2021-1 http://www.teichtip.de...
- Page 9 - ment parts thereto, or arising out of his or her installation of replacement parts thereto. © by WilTec Wildanger Technik GmbH Item 61937 Page 9 http://www.WilTec.de...
- Page 10 All WilTec electric devices that fall under the WEEE regulations are labelled with the crossed-out wheeled waste bin logo. This logo indicates that this electric equipment must not be disposed with the domestic waste.


Need help?
Do you have a question about the 61937 and is the answer not in the manual?
Questions and answers