Advertisement
Quick Links
1
3
Start Here
Quickstart Guide - AyrMesh
Turn over for one-page "Ultra �uickStart" Instructions.
Please visit http://support.ayrstone.com for detailed instructions,
videos, slide shows, and a troubleshooting guide
Check the contents of the box:
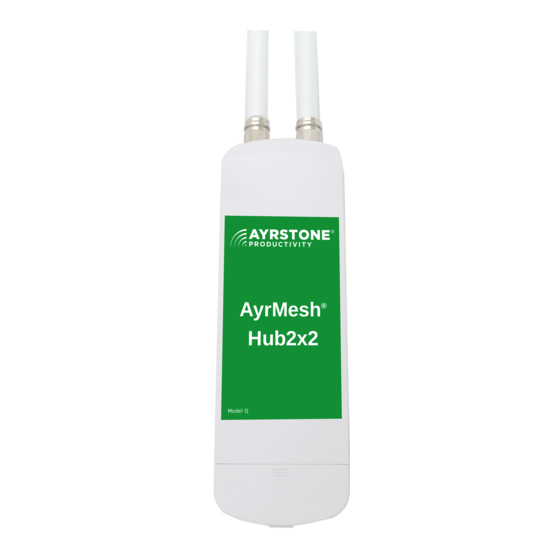
- Hub2x2
- Antennae (2)
- Power Supply
- Power Cord
- (2) Ethernet Cables
- (2) Zip Ties (not shown)
POE
LAN
00:C0:
Use a computer connected
to the same router to which
you're connecting the Hub!
NOTE: All Hubs must be "initialized" by connecting
to AyrMesh.com to download their con�guration
information before use.
®
Hub2x2
.
Remove the door, write down the
MAC address of your Hub, write it
here, and keep it in a safe place:
MAC Address
If you don't have one,
sign up for an account
on AyrMesh.com
®
Advertisement

Related Manuals for AYRSTONE AyrMesh Hub2x2


Summary of Contents for AYRSTONE AyrMesh Hub2x2
- Page 1 ® Quickstart Guide - AyrMesh Hub2x2 Turn over for one-page "Ultra �uickStart" Instructions. Please visit http://support.ayrstone.com for detailed instructions, videos, slide shows, and a troubleshooting guide Check the contents of the box: Remove the door, write down the MAC address of your Hub, write it...
- Page 2 Assemble the Hub and attach to router Screw the Plug an Ethernet cable into the right-hand antennae gently port (marked "PoE WAN/LAN") on the into the threads, hub - slide in until it clicks in place �nger-tight (no tools): PoE LAN PoE WAN/LAN RESET We'll leave the cover o�...
-
Page 3: Finish The Installation
Make sure the Hub is working The signal lights (4 top lights) will start out "running" from bottom to top (or left to right if it's on its side). When the Hub has checked in to AyrMesh.com, just the top (leftmost) signal light will be on. - Page 4 Signal Lights on the Hub Gateway Hubs have the following Top Signal light - green lights on: Third Signal light - green Top Signal light Second Signal light - orange Ethernet activity light First Signal light - red Power light Ethernet activity light - blue Power light - blue Remote Hubs use the signal lights to show the signal strength to the nearest Hub.
-
Page 5: Troubleshooting
NOTE: To prevent water damage, make sure the Hub is mounted with its antenna pointing straight up and that the Ethernet cable has a "drip loop" where it enters any building. Drip Loop See http://ayrstone.com/support for additional information, hints, and troubleshooting tips. - Page 6 These directions are minimized for more knowledgeable/experienced installers. For the "regular" �uickstart instructions, turn these directions over. For more detailed instructions, please see https://support/ayrstone.com GET READY: Write down the MAC address of the Hub and put it someplace safe. If you haven't already, create an account on AyrMesh.com from a computer connected to the same router that the Hub will be connected to.
Need help?
Do you have a question about the AyrMesh Hub2x2 and is the answer not in the manual?
Questions and answers
recover password
To recover the password for the AYRSTONE Hub2x2, use the default encryption passkey "Ayrmesh1" (note the capital "A") if it has not been changed. If the password was changed and forgotten, you will need to access AyrMesh.com to reset or change the encryption passkey. Note that changes on AyrMesh.com may take up to half an hour to take effect.
This answer is automatically generated