
Subscribe to Our Youtube Channel
Related Manuals for Dormakaba 8600 EMF


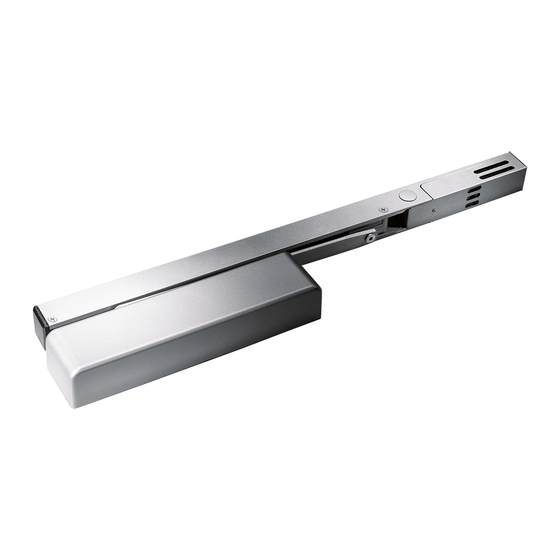
Summary of Contents for Dormakaba 8600 EMF
- Page 1 8600 EMF Surface Applied Closer (no Detector) Installation instructions 08281020 – 03-2020 | EN |...
-
Page 2: Table Of Contents
8600 EMF Installation Instructions Table of Contents Table of contents 1 Technical specifications Preparation notes Installation instructions Install closer to door Remove wire access plug Secure track to frame Set up wire connections Secure main arm Secure arm to slide shoe... -
Page 3: Technical Specifications
8600 EMF Installation Instructions Technical specifications 1 Technical specifications 1.1 Preparation notes Each (HO) hold open unit contains a door closer Reference unit carton for unit mounting style and and track assembly with hold open voltage. electromagnet. The unit can be connected Prepare door and frame for fasteners using the directly to a fire control panel. -
Page 4: Installation Instructions
8600 EMF Installation Instructions Track Wire access plug Installation instructions 2.1 Install closer to door Fig.1 8600T and 8600DE Hinge Hinge Right hand door Left hand door Hinge 8600PT Hinge Right hand door Left hand door 2.2 Remove wire access plug Fig.2... -
Page 5: Secure Track To Frame
8600 EMF Installation Instructions Track Wire connections 2.3 Secure track to frame Fig.3 8600T and 8600DE End cap End cap Hinge 8600PT End cap 2.3.1 8600T and 8600DE: 2.3.2 8600PT: • Install the wire access plugs toward latch edge •... -
Page 6: Secure Main Arm
8600 EMF Installation Instructions Main arm 2.5 Secure main arm Fig.5 8600T 2.5.1 Place arm on top 6mm hex key pinion at 45° angle. 2.5.2 Secure arm with Right hand door Left hand door pinion screw and washer. 8600DE 6mm hex key 2.5.1... -
Page 7: Adjustments
8600 EMF Installation Instructions Adjustments: closing speeds Adjustments: spring force Adjustments 3.1 Adjust closing speeds: sweep, latch, backcheck, delayed action Fig.7 Delayed action Latch Backcheck positioning Backcheck Sweep 3.2 Adjust spring force Fig.8 8916: Supplied with a size 3 spring setting... -
Page 8: Adjust Hold Open
8600 EMF Installation Instructions Adjustments: hold open Auxiliary stop Bypass switch 3.3 Adjust hold open Fig.9 Hold open position is preset at approximately 90°. Loosen set screws using 3/32” hex wrench. Slide hold open device to desired position. Retighten set screws securely. -
Page 9: Final Steps
8600 EMF Installation Instructions Power supply Check connections Final steps 5.1 Determine power supply Fig.12 UL listed alarm Incoming control unit or Bypass power smoke detector switch connection Wire connection cover Terminal block 5.1.1 Determine power supply and unit voltage type: 5.1.3 Connect other bypass switch wire to terminal... -
Page 10: Unit Testing
8600 EMF Installation Instructions Testing Operation Covers 5.3 Unit testing IMPORTANT: THE UNIT MUST BE TESTED AFTER THE INSTALLATION, BY THE END USER, TO ASSURE THAT THE DOOR CLOSER UNITS FUNCTION PROPERLY WHEN THE ALARM SYSTEM IS ACTIVATED. THE ENTIRE SYSTEM MUST ALSO BE TESTED PERIODICALLY AFTER THE INITIAL INSTALLATION TEST, IN CONJUNCTION WITH THE TESTING OF THE FIRE ALARM SYSTEM. - Page 11 DORMA USA, Inc. 1 Dorma Drive, Drawer AC Reamstown, PA 17567 T: 717-336-3881 F: 717-336-2106 www.dormakaba.com...
Need help?
Do you have a question about the 8600 EMF and is the answer not in the manual?
Questions and answers