
Related Manuals for Dormakaba 8900 FH


Summary of Contents for Dormakaba 8900 FH
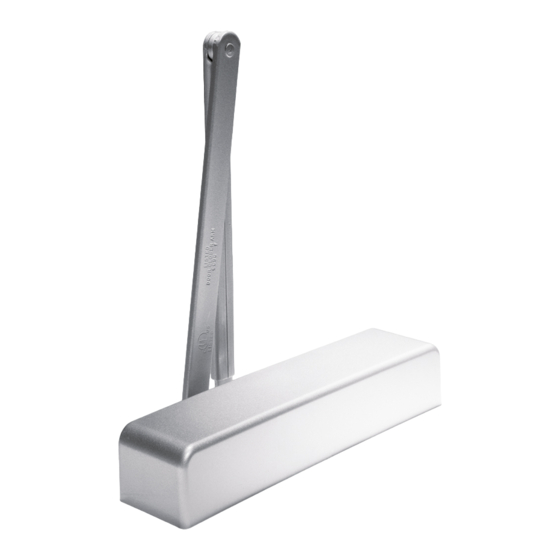
- Page 1 8900 FH/FHJ/FHP Friction Hold Open for Regular, top jamb and parallel mount Installation instructions 08279151 – 09-2019 | EN |...
-
Page 2: Table Of Contents
8900 FH/FHJ/FHP Installation Instructions Table of Contents Table of contents 1 Technical specifications Overview Tools recommended Handing the door Surface closer components Installation - regular mount Surface closer system Installing the surface closer and (optional) backplate Installing main arm... -
Page 3: Technical Specifications
8900 FH/FHJ/FHP Installation Instructions Technical specifications 1 Technical specifications Overview Caution: sex nuts are required for attachment Hold open range is from 30° to 140° with of components to unreinforced doors and to optional hold open kit. wood or plastic faced composite type fire doors,... -
Page 4: Surface Closer Components
8900 FH/FHJ/FHP Installation Instructions Surface closer system 1.4 Surface closer components The surface closer is comprised of the following components. Closer body Connecting arm screw and nut Connecting arm PA shoe screws Bar and shoe PA bracket Pinion screw 10. -
Page 5: Installation - Regular Mount
8900 FH/FHJ/FHP Installation Instructions Regular mount Installation - regular mount 2.1 Surface closer system Fig.2 2.1.1 Prepare door and frame using the full size templated (provided). 2.2 Installing the surface closer and (optional) backplate Fig.3 BP89 Optional backplate (11) NOTE: Orient pinion closest to hinge. -
Page 6: Instructions - Top Jamb Mount
8900 FH/FHJ/FHP Installation Instructions Top jamb mount Instructions - top jamb mount 3.1 Surface closer system Fig.5 3.1.1 Prepare door and frame using full size template (provided). 3.2 Installing the surface closer and (optional) backplate Fig.6 BP89 BP89 drop NOTE: Orient pinion toward hinge. -
Page 7: Instructions - Parallel Mount
8900 FH/FHJ/FHP Installation Instructions Parallel mount Instructions - parallel mount 4.1 Surface closer system Fig.8 4.1.1 Prepare door and frame using full size template (provided). 4.2 Installing the surface closer and (optional) backplate Fig.9 DP89 NOTE: Orient pinion away from hinge. -
Page 8: Adjustments
8900 FH/FHJ/FHP Installation Instructions Adjust closing speeds Adjust hold open Adjustments Confirm closer spring size prior to making any Maximum opening angle is 180º. closing speed adjustments. Door should close in 3 to 6 seconds from 90º. Do not back valve heads out beyond closer casting. -
Page 9: Adjust Spring Force
8900 FH/FHJ/FHP Installation Instructions Adjust spring force Secure covers 5.3 Adjust spring force Fig.13 8916 Increase Barrier free openings: Take an opening force reading from the pull on the door. If required, adjust the spring Decrease force to meet the barrier-free requirement. - Page 10 DORMA USA, Inc. T: 800-523-8483 www.dormakaba.us...
Need help?
Do you have a question about the 8900 FH and is the answer not in the manual?
Questions and answers