SimpliFire Allusion SF-ALL48-BK Service Manual
Hide thumbs
Also See for Allusion SF-ALL48-BK:
- Owner's manual (21 pages) ,
- Owner's manual installation and operation (28 pages) ,
- Service manual (13 pages)
Advertisement
Quick Links
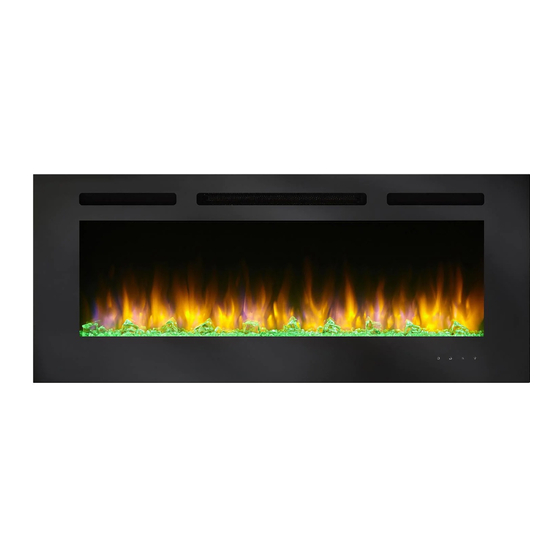
Glass Front, Media, LED Light Boards (Fuelbed and Flame), Receiver Board,
Rotisseire, Motor, Control Board, Blower/Heater & Mounting Bracket, Power Cord
Leave this manual with party responsible for use
and operation.
NOTICE! DO NOT discard this manual.
and maintenance instructions included.
NOTICE! DO NOT discard any hardware while
servicing. It may be reused.
WARNING! Risk of Personal Injury or Property Dam-
age! Failure to follow instructions below may result in
damage to the equipment and or may expose the user to
the risk of fire, serious injury, illness or death.
CAUTION! Risk of Cuts, Abrasions or Flying Debris.
Wear protective gloves and safety glasses during
installation and service. Sheet metal edges are sharp.
WARNING! Risk of Shock! Always unplug the cord or
turn off the circuit breaker before moving or servicing.
Tools and Supplies Needed
Before beginning the installation be sure that the following
tools and building supplies are available.
Tape measure
Needle-nose pliers
Hammer
Gloves
Level
Magnetic Phillips screwdriver
Safety glasses
Drill
Flathead screwdriver
Phillips Tip-Bit socket and ratchet (for Blower/Heater)
5/16 Drill for 3/16 diameter toggle bolts
(applicable if installing on drywall-sheathed walls)
Masonry Drill 5/16 in. (applicable if installing on
masonry walls)
SERVICE MANUAL
Model: SF-ALL48-BK, SF-ALL60-BK
Important service
SimpliFire • SF-ALL48-BK, SF-ALL60-BK Service Manual Rev. B • 2040-960 • 3/18
- Instructions -
CAUTION! Two adults recommended for the removal
or installation of glass front. Use caution when han-
dling glass. Failure to do so could result in personal injury
or property damage.
Glass Front Replacement
Remove Glass Front
1. Remove the two (2) ST3X8 screws located on the
glass panel. See Figure 1.
Note: Do not discard screws, screws will be reused.
2. Lift up evenly on the bottom edge of the glass to
disengage the J-hooks from the shoulder bolts on the
appliance.
Figure 1. Remove Glass Front
1
Advertisement

Related Manuals for SimpliFire Allusion SF-ALL48-BK


Summary of Contents for SimpliFire Allusion SF-ALL48-BK
- Page 1 Phillips Tip-Bit socket and ratchet (for Blower/Heater) 5/16 Drill for 3/16 diameter toggle bolts (applicable if installing on drywall-sheathed walls) Masonry Drill 5/16 in. (applicable if installing on masonry walls) SimpliFire • SF-ALL48-BK, SF-ALL60-BK Service Manual Rev. B • 2040-960 • 3/18...
- Page 2 5. Thread the two (2) ST3X8 screws into the threaded holes on the glass panel. Check the alignment of the glass panel and securely tighten the screws. See Figure 3. Figure 3. Secure Glass Front SimpliFire • SF-ALL48-BK, SF-ALL60-BK Service Manual • 2040-960 Rev. B • 3/18...
- Page 3 Follow specific instructions from page 1 and 2 for removal of the front glass. See Figure 4. Figure 4. Remove Upper Right & Left Screws SimpliFire • SF-ALL48-BK, SF-ALL60-BK Service Manual Rev. B • 2040-960 • 3/18...
- Page 4 TABS FUELBED PLASTIC COVER Figure 6. Remove Plastic Cover 6. Remove the fuelbed plastic cover that covers the fuelbed LED light strips. See Figure 6. SimpliFire • SF-ALL48-BK, SF-ALL60-BK Service Manual • 2040-960 Rev. B • 3/18...
- Page 5 LED LIGHT BOARD CABLE Figure 8. LED Light Board Cable 3. Unplug the LED Light Board cable. See Figure 9. LED LIGHT BOARD CABLE Figure 9. Unplug LED Light Board Cable SimpliFire • SF-ALL48-BK, SF-ALL60-BK Service Manual Rev. B • 2040-960 • 3/18...
- Page 6 Set glass panel aside in a safe location, preferably a soft Figure 14. Receiver Board Cable surface such as carpet or cardboard. 9. Reverse steps to complete installation. SimpliFire • SF-ALL48-BK, SF-ALL60-BK Service Manual • 2040-960 Rev. B • 3/18...
- Page 7 12. Remove the flame screen. Note: Be sure to place on a flat surface with the silk screen face-up. This is to prevent any distortion on the screen. SimpliFire • SF-ALL48-BK, SF-ALL60-BK Service Manual Rev. B • 2040-960 • 3/18...
- Page 8 Figure 19. Remove Motor Screws 17. Unplug the motor cable connection. See Figure 20. Figure 20. Unplug Motor Cable 18. Install replacement part and reverse the installation steps. SimpliFire • SF-ALL48-BK, SF-ALL60-BK Service Manual • 2040-960 Rev. B • 3/18...
-
Page 9: Control Board Installation
Figure 26. Remove Blower/Heater Figure 24. Unplug Control Board 25. Install new Control Board and reverse the installation 30. Install new Blower/Heater and reverse the installation steps. steps. SimpliFire • SF-ALL48-BK, SF-ALL60-BK Service Manual Rev. B • 2040-960 • 3/18... -
Page 10: Direct Wall Mounting With Wall Mounting Bracket
WARNING! Risk of Damage or Personal Injury! Al- lowable pull-out and shear strength are 25% of ultimate Figure 30. Masonry Anchor Placement values or less, as required by building authorities. SimpliFire • SF-ALL48-BK, SF-ALL60-BK Service Manual • 2040-960 Rev. B • 3/18... - Page 11 Please contact the SimpliFire customer/technical support hotline at 877-320-0730 with any questions or concerns. SimpliFire, a brand of Hearth & Home Technologies 7571 215 Street West, Lakeville, MN 55044 www.hearthnhome.com SimpliFire • SF-ALL48-BK, SF-ALL60-BK Service Manual Rev. B • 2040-960 • 3/18...
Need help?
Do you have a question about the Allusion SF-ALL48-BK and is the answer not in the manual?
Questions and answers