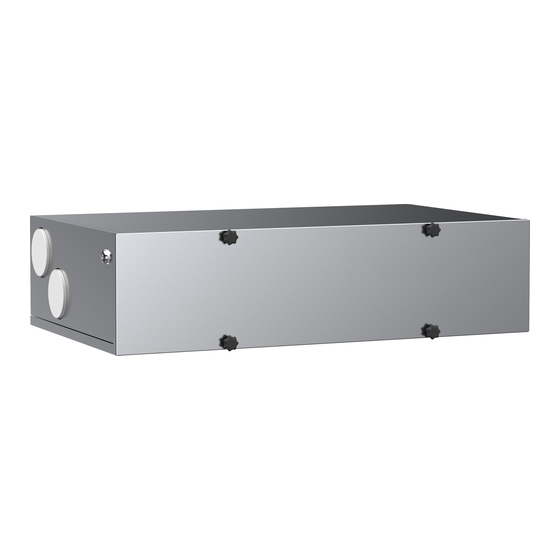
Vallox TSK Multi 50 MV Manual
Hide thumbs Also See for TSK Multi 50 MV:

Advertisement

Quick Links

Manual
Ventilation units
Model
Vallox TSK Multi 50 MV
Vallox TSK Multi 50 MV EH
Vallox TSK Multi 80 MV
Vallox TSK Multi 80 MV EH
Vallox TSK Multi 80 MV EHX
Vallox 90 MV
Vallox 90K MV
Vallox 096 MV
Vallox 110 MV
Vallox 145 MV
Vallox 245 MV
Vallox 245 MV VKL
Document
D3768
Valid from
3.2.2015
Updated
7.6.2017

Advertisement

Table of Contents
loading
Need help?

Need help?

Do you have a question about the TSK Multi 50 MV and is the answer not in the manual?

Questions and answers

Summary of Contents for Vallox TSK Multi 50 MV

  • Page 1 Model Document Vallox TSK Multi 50 MV D3768 Vallox TSK Multi 50 MV EH Vallox TSK Multi 80 MV Valid from Vallox TSK Multi 80 MV EH 3.2.2015 Vallox TSK Multi 80 MV EHX Vallox 90 MV Updated Vallox 90K MV 7.6.2017...
  • Page 2: Installation

    Structural or electronic modifications or changes made to the software INTENDED USE All Vallox ventilation units have been designed to provide appropriate and continuous ventilation so as to present no threat to health and to maintain structures in good condition.
  • Page 3: Main Parts

    Extract air fan Post-heating radiator Supply air fan Safety switch Supply air filter F7 Control panel Heat recovery cell Carbon dioxide sensor Automatic summer/winter damper Humidity sensor Supply air filter G4 Extract air filter G4 © Vallox Oy - All rights reserved...
  • Page 4 Orange — The carbon dioxide level is slightly higher than normal. The fan speed will be automatically increased if automatic adjustment is allowed. • Red — The carbon dioxide level is significantly higher than normal. The fan speed will be automatically increased if automatic adjustment is allowed. © Vallox Oy - All rights reserved...
  • Page 5: Changing The Profile

    VENTILATION PROFILES CHANGING THE PROFILE Press the Change profile button until the desired ventilation profile icon appears on the display. 2. Wait until the main display of the ventilation profile appears. 3. The ventilation profile has now been changed. Browsing the information of the At home, Away, and Boost profiles To view the profile settings: Open the main display of the profile you wish to view.
  • Page 6 Setup wizard > Profile settings. Timer functions of the Boost and Fireplace profiles In addition, the timer function can be modified in the Boost and Fireplace profiles. See Setup wizard -> Profile settings. © Vallox Oy - All rights reserved...
  • Page 7: Viewing Temperature Data

    TEMPERATURES AND SENSORS Viewing temperature data Select Settings > Temperatures and sensors. 2. Select OK. The summary display of temperatures and sensors shows the following information: • Indoor — Indicates the temperature of the air flowing into the unit to be removed from the premises. •...
  • Page 8 Carbon dioxide level statistics for the past week. You can view the graph for a week or for a single day. You can view the graph for a week or for a single day. © Vallox Oy - All rights reserved...
  • Page 9: Filter Settings

    SETTINGS FILTER SETTINGS Select Settings > Filters. 2. Select OK. 3. The summary display of filter replacement shows the following information: • Filters replaced — Indicates the date when the filters were last replaced. • Next reminder — Indicates the date when a reminder to replace the filters will next be shown.
  • Page 10: Display Settings

    4. Use the Plus and Minus buttons to set the display brightness. 5. Select OK. Selecting the user interface language Select Settings > Language. 2. Select OK. 3. Select your language. 4. Select OK. © Vallox Oy - All rights reserved...
  • Page 11: Time And Date

    SETTINGS TIME AND DATE Setting the time and date The available time settings are: • Time • 24- or 12-hour clock • Automatic daylight saving time • Date NOTE The ventilation unit time will withstand a power cut of a few hours.
  • Page 12: Setting The Date

    Turning the week clock on Select Settings > Week clock off. 2. Select OK. 3. Select Settings. 4. Select Turn on. 5. Select Select. 6. The control panel confirms that the week clock is turned © Vallox Oy - All rights reserved...
  • Page 13 SETTINGS Setting and editing the weekly program Select Settings > Week clock on. 2. Select OK. 3. Use the Right arrow button to select the desired day. 4. Use the Down arrow button to select the desired time. 5. Use the Select button to browse and select the ventilation profile that will be turned on at the chosen time.
  • Page 14: Turning The Unit Off

    This keeps the indoor air fresh and prevents humidity from condensing in the ventilation ducts and structures. It also reduces the risk of moisture damage. To re-start the ventilation unit, press any key. © Vallox Oy - All rights reserved...

This manual is also suitable for:

Tsk multi 50 mv ehTsk multi 80 mvTsk multi 80 mv ehTsk multi 80 mv ehx90 mv90k mv ... Show all

Table of Contents