Advertisement
Quick Links
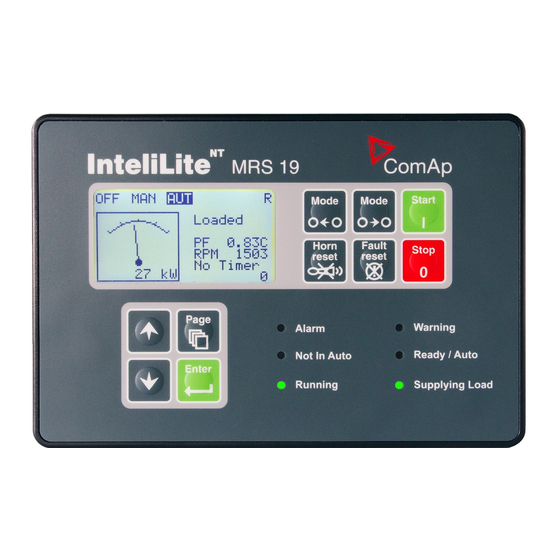
InteliLite NT MRS19 Quick Start Guide
This guide was created to provide instruction on some of the most common
tasks involved when working with the IL-NT-MRS19. This Guide includes
information on;
1. Where to get the Correct Software and Manuals?
2. How to Connect and Save the Archive?
3. Procedure for Replacing a Controller
5. FAQ's
a. What does FLS stand for?
b. What does Wrn RA15 Fail mean?
c. What does Wrn Maintenance mean?
A short video has been created to briefly introduce you to configuring your
controller using LiteEdit. This contains information on how to configure
inputs/outputs, sensors, extension modules, and your ECU.
https://youtu.be/yIKOnHDkBps
Advertisement

Related Manuals for ComAp InteliLite NT MRS19


Summary of Contents for ComAp InteliLite NT MRS19
- Page 1 InteliLite NT MRS19 Quick Start Guide This guide was created to provide instruction on some of the most common tasks involved when working with the IL-NT-MRS19. This Guide includes information on; 1. Where to get the Correct Software and Manuals? 2.
- Page 2 Step 1: Go to https://www.comap-control.com/products/detail/intelilite-nt-mrs-19 ▪ You will need to log-in/create your ComAp Members Club account prior to downloading any software or manuals from our website. This can be done in the upper right corner of the web page. Step 2: Scroll down to the downloads section>...
- Page 3 Connecting to IL-NT-MRS19 and Saving the Archive File Step 1: You will need LiteEdit installed on your computer, along with a 9-pin serial null modem cable and USB to serial adapter to physically connect your computer to the controller. ▪ If using your USB to serial adapter for the first time- Confirm the driver is correctly installed by double-clicking on the adapter shown in the picture below.
- Page 4 Step 5: Select the correct controller address and confirm COM1 mode is set to Direct. ▪ This can be found by pressing page> Comms Settings on the front screen of the controller. *If you have a controller with old firmware, this will be found under basic settings. ▪...
- Page 5 Step 7: Select connection and save as. ▪ Save in an easy to find location on your computer. If you fail to connect ▪ Remove the back cover and confirm the RS232 plug-in module is correctly installed and no pins are damaged on the circuit board.
- Page 6 Programming your Replacement IL-NT Controller *These instructions are to be used when you are replacing a controller and want to “pull” program from old controller and load it into the new one. These can also be used if you want to make a “copy” of another controller. Step 1: Connect to old controller and save the archive in an easy to find location.
- Page 7 Step 3: Connect to the new controller. Step 4: Select controller>values>IL info. ▪ Take note of the new controller FW version. You will need this information. (Below is an example of controller with FW 2.2) Step 5: Select controller>programming and cloning>archive/configuration upgrade ▪...
- Page 8 Step 6: Select “Add” and choose the copy of the archive you saved from previous controller. Step 7: Expand the target archive and select the same firmware version as your new controller. Step 8: Make sure the output directory is in the same location as the copy archive. (shown below is steps 6-8 completed) Step 9: Continue to press next and when asked if you want to overwrite the existing copy archive,...
- Page 9 Step 10: Right-click on the copy of the archive you just converted to the new firmware version and rename the file so you know it has been updated (shown below). ▪ You can also open this file offline to confirm the archive did indeed upgrade to the newer FW version.
- Page 10 Step 13: You will be asked if you want to save the actual archive- this is a default archive and saving it is not necessary, so select “no”. Step 14: The configuration of the old controller will pop up, select “Write to controller” (shown below) ▪...
- Page 11 Upgrading Controller Firmware Step 1: Connect to controller and enter your password. Step 2: Select Controller>Programming and Cloning>Programming…(shown below)
- Page 12 Step 3: Select the firmware version you would like to upgrade the controller to.(Shown below) *This will overwrite all the configuration, inputs/outputs, ECU, Extension modules, ect., with what is in a default archive. Make sure your existing one is saved! Step 4: You will be asked if you want to overwrite setpoints by values from the default archive.
- Page 13 FAQ’s What does FLS Stand for? ▪ FLS stands for a sensor fail. This means you do not have proper communication with your ECU, or that the incorrect sensor is configured. When using a wired analog sensor, you will receive a FLS alarm when the ohm reading by the controller is outside of the configured curve.
Need help?
Do you have a question about the InteliLite NT MRS19 and is the answer not in the manual?
Questions and answers