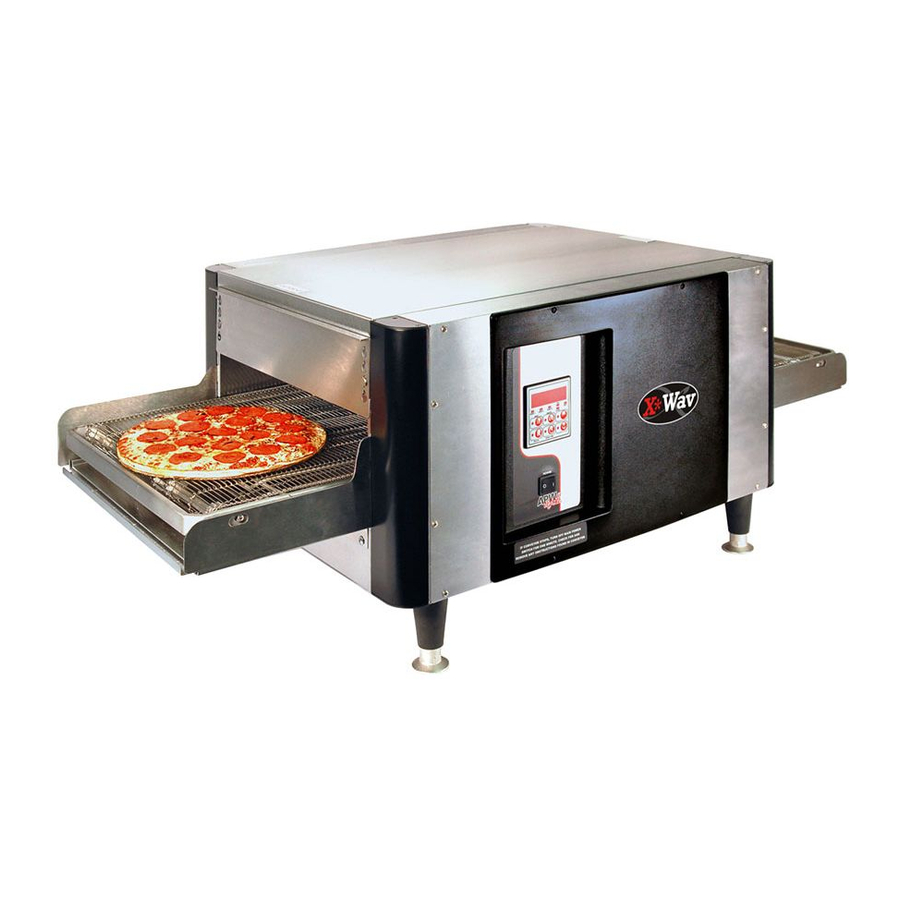
APW Wyott XWAV-1422 Installation And Operating Instructions Manual
Pass through oven
Hide thumbs
Also See for XWAV-1422:
- Installation and operating instructions manual (17 pages) ,
- Specifications (2 pages) ,
- Installation and operating instructions manual (14 pages)
Table of Contents
Advertisement
Quick Links
INSTALLATION
AND
OPERATING
INSTRUCTIONS
XWAV-1422, -1829, -1422EZ & -1829EZ
Models:
UNIT MUST BE KEPT CLEAR OF COMBUSTIBLES AT ALL TIMES
FOR YOUR SAFETY: Do not store or use gasoline or other flammable vapors and
!
liquids in the vicinity of this or any other appliance.
WARNING: Improper installation, adjustment, alteration, service or maintenance can
!
cause property damage, injury or death. Read the Installation, Operating and
Maintenance Instructions thoroughly before installing or servicing this equipment.
Initial heating of unit may generate smoke or fumes and must be done in a well ventilated area.
Overexposure to smoke or fumes may cause nausea or dizziness.
This equipment has been engineered to provide you with year-round dependable service when used
according to the instructions in this manual and standard commercial kitchen practices.
Phone:
+1
(214) 421-7366
Fax:
+1 (214) 565-0976
Toll Free: +1 (800) 527-2100
Website: www.apwwyott.com
E-mail:
info@apwwyott.com
R
PASS THROUGH OVEN
INTENDED FOR OTHER THAN HOUSEHOLD USE
RETAIN THIS MANUAL FOR FUTURE REFERENCE
XWAV 1422
XWAV 1829EZ
ANSI/NSF4
1
!
!
P/N 96000079 8/07
APW WYOTT
729 Third Avenue
Dallas, TX 75226
Advertisement
Table of Contents

Related Manuals for APW Wyott XWAV-1422


Summary of Contents for APW Wyott XWAV-1422
- Page 1 Phone: (214) 421-7366 Fax: +1 (214) 565-0976 Toll Free: +1 (800) 527-2100 Website: www.apwwyott.com E-mail: info@apwwyott.com XWAV 1422 XWAV 1829EZ ANSI/NSF4 P/N 96000079 8/07 APW WYOTT 729 Third Avenue Dallas, TX 75226...
-
Page 2: Table Of Contents
Never touch ceramic or steel heaters. Warranty Information: Reliability Backed By APW Wyott’s Warranty: All APW Wyott Pass Through Ovens are backed by a one year parts and labor warranty, including On-Site Service calls within 50 miles of authorized service technicians. Service Information:... -
Page 3: Specifications
OVERALL DIMENSIONS - XWAV-1422, -1829, -1422EZ & -1829EZ Dimensions: INCHES (mm) DIMENSION XWAV1422 24.5 (622) 21.0 (533) 15.1 (385) 18.0 (457) 14.0 (356) 16.8 (425) 10.5 (267) 22.0 (559) 43.0 (1092) (97) 18.0 (457) 4.00 (102) Electrical Rating: MODEL WATTS... -
Page 4: Installation Instructions 4
Please contact the factory by calling the 800 # located on the unit. Shipping Weights: XWAV1422 115 lbs. (52.2 kg.) 149 lbs. (67.6 kg.) 4. INSTALLATION INSTRUCTIONS If the carton appears damaged, or damage is discovered once the carton is opened, stop immediately and contact the freight company to file a damage claim. - Page 5 One bracket near the strain relief and one at the opposite end. 7. Refer to Cleaning Instructions for cleaning of stacking spacers and cleaning between units. void your warranty. Please attach the XWAV1422/Medium Size unit, Stacking Kit #94000189 The stacking kit cause...
- Page 6 The controls that operate the belt conveyor and the heaters are located on the front of the unit. A. (NON-EZ MODELS) The On/Off switch is used to turn the unit on or off. Once the unit is turned on the conveyor will automatically run.
- Page 7 Top Zone Selected Active Bottom Zone Bottom Zone Selected Bottom Zone There are 4 keys: Bottom Zone, Top Zone, Up, and Down. There are also 5 status LEDs: 2 that indicate the currently selected Zone; and 2 that indicate the zone Heater output state; and 1 for the Alarm conditions. 7.
- Page 8 8. Special Features/Alarms A. Zone Probe Error · Heater probe is disconnected or defective · Normal user interface operation applies, but heater output remains inoperative · Display flashes Alarm LED as well as an Alarm ID: AL1 for Zone 1 (Bottom probe) AL2 for Zone 2 (Top, probe A) AL3 for Zone 3 (Top, probe B) ·...
-
Page 9: Status Lights
Control Operation (EZ MODELS): The Main ON/OFF rocker switch controls electric power to the electronic controller. NOTE : If the ALARM BUZZER should sound when the switch is turned ON, PRESS the I/0 button to MUTE the ALARM. The alarm condition still exists, but the buzzer is turned OFF. a. -
Page 10: Language Selection
8. Control Operating Modes There are 4 Modes of operation with this appliance: 1. OFF 2. HEAT (normal Mode) 3. RECIPE PROGRAMMING 4. ALARM Because each Mode is capable of several functions, careful study should be given to their details to maximize appliance utility. -
Page 11: Press And Hold
d. Temperature Setting “Tweaking”. This feature allows “1-time” adjustments to temperature settings that will be lost when a new recipe is selected. PRESS HOLD HEAT button for 10 seconds. A flashing arrow appears on the left side of the display, pointing to the value that is now available for “tweaking”. 2. -
Page 12: Mute The Buzzer
b. Top Heat Zones [2 (left side, top) & 3 (right side, top)] temperature setting. Duplicate steps for Bottom Heat setting. NOTE: Zones 2 & 3 are tied together (internal software coding) and CANNOT be set at different values. c. Cook-time setting. 1. - Page 13 5. If the Bottom probe should fail, the controller reverts to a preset “duty cycle” program similar to the dual-Top probe failure mentioned above. NOTE: In either case where the unit is in a “duty cycle” mode, the operator can still use the unit until service is performed to correct the failure.
-
Page 14: Troubleshooting
Insure the appliance has been turned off and has had sufficient time for all surfaces to cool down before cleaning. Use only mild soap and water to clean this appliance. Appliance cleaning should be performed daily. NOTE: DO NOT USE ABRASIVE PADS OR CLEANING SOLUTIONS ON THIS APPLIANCE. Daily Cleaning Remove the crumb pans and wipe out debris with a damp rag and mild soap solution. -
Page 15: Preventative Maintenance Schedule
Ensure belt is properly tensioned as to prevent slippage or binding, which causes strain on motor. DO NOT ATTEMPT TO MAINTENANCE, SERVICE OR CLEAN THE UPPER CERAMIC AND LOWER METAL HEATERS. 9. WIRING DIAGRAMS/SCHEMATICS OVERHEAD XWAV1422 (NON-EZ MODELS) To: Relay To: Terminal Block RTD 3 To: Controller AN3... - Page 16 94100134 94000172 BLUE...
- Page 17 XWAV LADDER SCHEMATIC (NON-EZ MODELS) POWER SUPPLY 85 - 265 VAC INPUT, 1 ~ 24 VDC / 5 VDC OUTPUT INPUTS OUTPUTS SSR1 SSR2 SSR3 TEMPERATURE SWITCHES TO REVERSE DIRECTION OF CONVEYOR BELT, CONNECT / DISCONNECT WHITE WIRE TO TERMINAL “A2”...
- Page 18 CONTROLLER ECM-3 RELAY PROBE SUPPLY POWER MOTOR...
- Page 19 XWAV 1422EZ LADDER WIRING SCHEMATIC POWER SUPPLY 85 - 265 VAC, 1~ INPUT 24 VDC OUTPUT MAIN SWITCH ECM-3 ELECTRONIC CONTROLLER SSR 1 SSR 2 SSR 3 L1 L2 THERMOSTATS CONTACTOR COIL A1 + A2 - BRUSHLESS MOTOR P20 + RED P16 - YEL ZONE 1 ZONE 2...
- Page 20 CONTROLLER ECM-3 RELAY ZONE 1 - BOTTOM HEAT PROBE SUPPLY POWER MOTOR PROBE...
- Page 21 XWAV 1829EZ LADDER WIRING SCHEMATIC POWER SUPPLY 85 - 265 VAC, 1~ INPUT 24 VDC OUTPUT MAIN SWITCH ECM-3 ELECTRONIC CONTROLLER SSR 1 SSR 2 SSR 3 L1 L2 THERMOSTATS CONTACTOR COIL A1 + A2 - BRUSHLESS MOTOR P20 + RED P16 - YEL ZONE 2 ZONE 3...
- Page 22 94100134 94000172 CTL. L2/N BROWN NATURAL NATURAL BROWN...
- Page 23 94100134 94000172...
-
Page 24: Parts List & Exploded View
10. PARTS LIST & EXPLODED VIEW EXPLODED VIEW X W A V I n s t a ll a t io & O p e r a t io n M a n u a l Non-EZ Stacking Kit... - Page 25 ELEMENT, CERAMIC, 240V 96000033 ELEMENT, CERAMIC W/RTD, 208V 96300003 ELEMENT, CERAMIC W/RTD, 240V 96000064 ASSY, CALROD ELEMENT, XWAV1422, 208V 96200006 ASSY, CALROD ELEMENT, XWAV 1829, 208V 96800064 ASSY, CALROD ELEMENT, XWAV 1422, 240V 96900006 ASSY, CALROD ELEMENT, XWAV 1829, 240V 96000001 ESCUTCHEON, ECM-2, XWAV 1422EZ &...
- Page 26 Notes:...
- Page 28 Phone: (214) 421-7366 Fax: +1 (214) 565-0976 Toll Free: +1 (800) 527-2100 Website: www.apwwyott.com E-mail: info@apwwyott.com APW WYOTT 729 Third Avenue Dallas, TX 75226...
Need help?
Do you have a question about the XWAV-1422 and is the answer not in the manual?
Questions and answers