Advertisement
WARNING: ADULT ASSEMBLY ONLY OWING TO THE PRESENCE OF SMALL
PARTS, SHARP POINTS AND EDGES
Customer Service - If you are missing parts or have any questions about this product, please contact
us at: 1-800-762-1751
CARE INSTRUCTIONS:
Dust often using a clean, soft, dry lint-free cloth.
Blot spills immediately, and wipe with a clean, damp cloth.
We do not recommend the use of chemical cleansers, abrasives, or furniture polish on our
lacquered finish.
WARNING: This product is only a deterrent. It is not a substitute for proper adult supervision.
Maximum height is 3 units high.
Please install metal brackets to connect multiple units.
When the item is stationary, please turn the wheels towards the front and lock. This is to offer
best stability.
ASSEMBLY STEPS:
1 - Metal bracket installation to connect units.
2 - Furniture tipping restraint installation (for units 2 and 3 levels high).
STEP 1 - METAL BRACKET INSTALLATION:
TOOLS NEEDED:
Phillips head screwdriver (not provided)
PARTS INCLUDED:
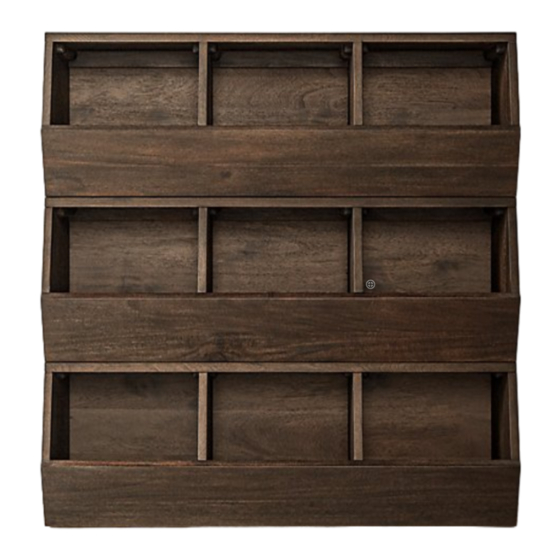
A [2 or 3] Single Stacking Bin
HARDWARE INCLUDED:
B [2 or 4] Metal brackets
C [8 or 16] Wood screws 7x15mm
Advertisement
Table of Contents

Related Manuals for Restoration Hardware Baby&Child Mercantile stacking bin


Summary of Contents for Restoration Hardware Baby&Child Mercantile stacking bin
- Page 1 WARNING: ADULT ASSEMBLY ONLY OWING TO THE PRESENCE OF SMALL PARTS, SHARP POINTS AND EDGES Customer Service - If you are missing parts or have any questions about this product, please contact us at: 1-800-762-1751 CARE INSTRUCTIONS: Dust often using a clean, soft, dry lint-free cloth. Blot spills immediately, and wipe with a clean, damp cloth.
- Page 2 ASSEMBLY INSTRUCTIONS: - Place [4] Metal Brackets ( ) over the pre-drilled holes on back of middle unit and secure to base and top unit using [16] Wood Screws (C). Diagram 2 Diagram 3...
- Page 3 STEP 2 - FURNITURE TIPPING RESTRAINT INSTALLATION: FURNITURE TIPPING RESTRAINT: Young children may be injured by tipping furniture and the use of a tipping restraint is highly recommended. When properly installed, this restraint could provide protection against the unexpected tipping of furniture due to small tremors, bumps or climbing. We recommend mounting this restraint to a wall stud.
Need help?
Do you have a question about the Baby&Child Mercantile stacking bin and is the answer not in the manual?
Questions and answers