Table of Contents

Related Manuals for Helioscreen NEO

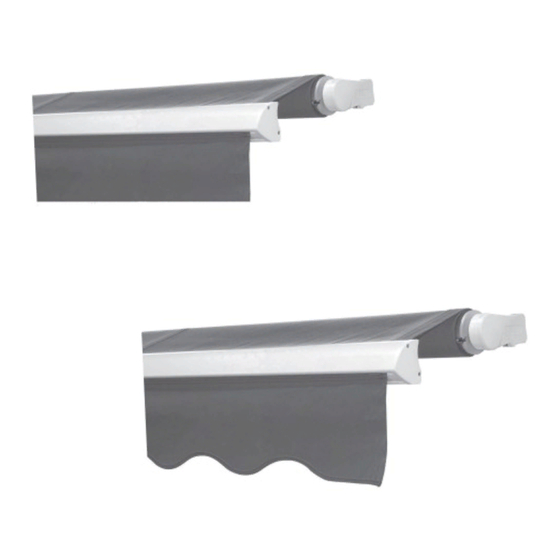
Summary of Contents for Helioscreen NEO
- Page 1 INSTALLATION GUIDE Helioscreen Australia Pty Ltd – Dealers Australia Wide www.helioscreen.com.au | enquiries@helioscreen.com.au | Phone 1300 766 319 www.helioscreen.com.au | Phone 1300 766 319 Helioscreen Neo • INSTALLATION GUIDE | 1...
-
Page 2: Table Of Contents
This symbol means that the relevant note is important for the safety of persons or for the function of the awning. This symbol highlights important product information for the installation engineer or user. www.helioscreen.com.au | Phone 1300 766 319 Helioscreen Neo... -
Page 3: General Safety Information
1.2 GENERAL SAFETY INFORMATION The NEO awning has been designed and manufactured in conformity with DIN EN 13561. However, when the awning is mounted or operated, the persons involved in the respective activity may be put at a risk if the relevant instructions are not observed. - Page 4 2.3 MOUNTING SITUATIONS ceiling Mounting wall Mounting Mounting with croSSeD arMS anD rain pelMet rafter Mounting www.helioscreen.com.au | Phone 1300 766 319 Helioscreen Neo • INSTALLATION GUIDE | 4...
- Page 5 Always ensure that there is sufficient headroom. requireD MiniMuM nuMber of trl bracketS: The following tables indicate the number of standard supplied brackets required for mounting the NEO awning to a con-crete base using the wall bracket and bracket plates.
- Page 6 DrillingS for bracketS: Transfer the drilling outlines of the brackets to the deter- mined bracket positions. Select the appropriate drill bit for the respective base material and mounting method. www.helioscreen.com.au | Phone 1300 766 319 Helioscreen Neo • INSTALLATION GUIDE | 6...
-
Page 7: Fastening The Awning
Straighten the awning laterally. Tighten all fixing screws. www.helioscreen.com.au | Phone 1300 766 319 Helioscreen Neo • INSTALLATION GUIDE | 7... -
Page 8: Initial Operation
Sw 17 ring spanner. turning counter-clockwiSe →awning iS lowereD turning clockwiSe → awning iS raiSeD Loosen screws Adjusting the inclination In the event of a significant change of the inclination setting (more than 10°), the arms must be adjusted alternately. • After having performed the arm adjustment, firmly retighten lateral screws. www.helioscreen.com.au | Phone 1300 766 319 Helioscreen Neo • INSTALLATION GUIDE | 8... -
Page 9: Mounting Rain Pelmet
Give client comprehensive instructions about the operation of the awning. Failure to observe the instructions and incorrect operation can result in damages to the awning and accidents. Notify client of the wind resistance class of the awning. www.helioscreen.com.au | Phone 1300 766 319 Helioscreen Neo • INSTALLATION GUIDE | 9... -
Page 10: Dismounting
Spray arm articulation bearing with a suitable Awning makes grating noises Insufficient lubrication lubricant (e.g. Teflon spray) System does not close on one Line covering on this side by applying fabric tape to Fabric not sewn straight side roller tube www.helioscreen.com.au | Phone 1300 766 319 Helioscreen Neo • INSTALLATION GUIDE | 10...
Need help?
Do you have a question about the NEO and is the answer not in the manual?
Questions and answers