Table of Contents
Advertisement
Quick Links
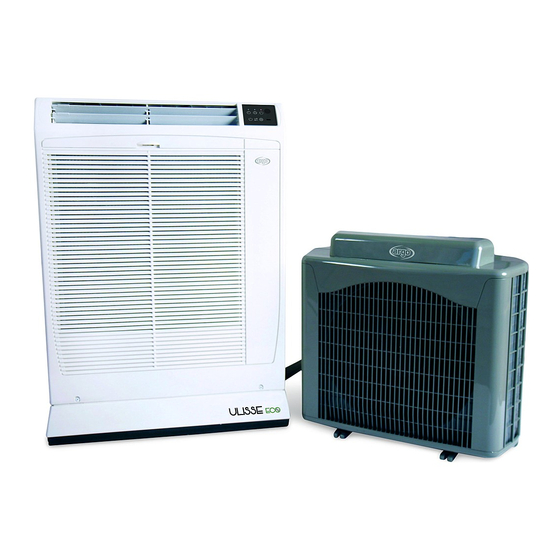
Room air conditioner with remote condenser
Condizionatore d'ambiente con condensatore remoto
Climatiseur avec condenseur a air exterieur - Klimagerät mit außengerät
Acondicionador de ambiente con condensador a distancia
Ar Condicionado com condensador remoto
INSTRUCCIONES DE INSTALACIÓN
37.4256.043.00
01/2021
INSTALLATION MANUAL
MANUALE DI INSTALLAZIONE
NOTICE D'INSTALLATION
INSTALLATIONSANLEITUNG
INSTRUCÇÕES DE INSTALAÇÃO
EN
IT
FR
DE
ES
PT
Advertisement
Table of Contents

Related Manuals for Argo ULISSE ECO


Summary of Contents for Argo ULISSE ECO
- Page 1 INSTALLATION MANUAL MANUALE DI INSTALLAZIONE NOTICE D’INSTALLATION INSTALLATIONSANLEITUNG INSTRUCCIONES DE INSTALACIÓN INSTRUCÇÕES DE INSTALAÇÃO Room air conditioner with remote condenser Condizionatore d’ambiente con condensatore remoto Climatiseur avec condenseur a air exterieur - Klimagerät mit außengerät Acondicionador de ambiente con condensador a distancia Ar Condicionado com condensador remoto 37.4256.043.00 01/2021...
-
Page 2: Table Of Contents
CONTENTS 1 - General precaution ........3 2 - Installation site selection. -
Page 3: 1 - General Precaution
1 - GENERAL PRECAUTION • Check that the voltage and frequency of the power supply match those required by the system. • Check the possibility to have the power line to the indoor unit (ELECTRIC CABLE LENGTH 3 m). • Install a double - pole switch, protected by 10 A fuses of the delayed type, upstream the electricity wall socket. •... -
Page 4: Dimensions And Weight
4 - DIMENSIONS AND WEIGHT Net weight: 57 Kg Unit: mm 5 - MINIMUM OPERATION AND MAINTENANCE AREA 780 mm 100 mm 100 mm 2000 mm 800 mm 150 mm 150 mm 50 mm 6 - TUBING LENGTH AND ELEVATION DIFFERENCE LIMITS Standard mm 2 m system extension kit 4 m system extension kit... -
Page 5: Installation Of Outdoor Unit
7 - INSTALLATION OF OUTDOOR UNIT Or fixed to the window sill. The outdoor unit may be placed on a balcony. Make sure to put it in vertical position and lev- elled. During the installation do not kink the con- nection tube between the units. - Page 6 Do not handle the outdoor unit improperly. When recovering the outdoor unit after operation drain away any remaining condensate by tilting the unit. Place the indoor unit against the wall next to an electric socket.
-
Page 7: Wall Installation (Through A Hole In The Wall)
8 - WALL INSTALLATION (THROUGH A HOLE IN THE WALL) IMPORTANT OPERATION TO BE EXECUTED BY COMPETENT OR QUALIFIED PERSONEL 1. Before disassembling the outdoor unit (disjoin the rapid couplings): connect the air conditioner to a socket and let the compressor work for 5 minutes. During the disassembling operation, beat lightly with a spanner on the rapid coupling brass body (exagonal part). - Page 8 The unit can be placed on a balcony or hanged Insert the flexible tube into the hole drilled in the to the wall using the support bracket kit (not sup- wall. Place the unit against the wall, if necessary, plied). adjust the four antivibration supports in order to keep the unit levelled.
-
Page 9: How To Connect The Flexible Tube Extension Kit
9 - HOW TO CONNECT THE FLEXIBLE TUBE EXTENSION KIT OPERATION TO BE EXECUTED BY COMPETENT OR QUALIFIED PERSONEL IMPORTANT Remove the plastic plug from extension tube ends Carefully unroll the extension tube; be careful not (preformed tubes side). to twist nor kink it. Connect the condensate plastic tube and the Fit the copper tubes on the support bent side. -
Page 10: Remote Control Unit Installation
Adjust the couplings in the box, connect the elec- Open the quick coupling box. tric cable connector then turn it by 180°. Place the electric cable and fix it to the pipe with the smallest diameter through hose clamps. Fix the gaskets on the connections box ends. -
Page 11: Match Between Remote Controller And The Unit
12 - MATCH BETWEEN REMOTE CONTROLLER AND THE UNIT The remote control can be addressed to use up to 4 different units installed in the same room. You can get unified control by using a single remote control for all units or each remote control can be addressed to its own unit, in order to control separately temperature, timer and all other functions. -
Page 12: Electrical Wiring Diagrams
13 - ELECTRICAL WIRING DIAGRAMS - SCHEMI ELETTRICI - SCHÉMAS ÉLECTRIQUES - ELEKTRISCHE ANSCHLUSSPLÄNE - ESQUEMAS ELÉCTRICOS - DIAGRAMAS ELÉTRICOS WiFI MODELS... - Page 14 Via Alfeno Varo, 35 - 25020 Alfianello - BS - Italy Tel. +39 0331 755111 - Fax +39 0331 755501 www.argoclima.com...
Need help?
Do you have a question about the ULISSE ECO and is the answer not in the manual?
Questions and answers