Table of Contents
Advertisement
Quick Links
Advertisement
Table of Contents

Related Manuals for OWC U.2 SHUTTLE


Summary of Contents for OWC U.2 SHUTTLE
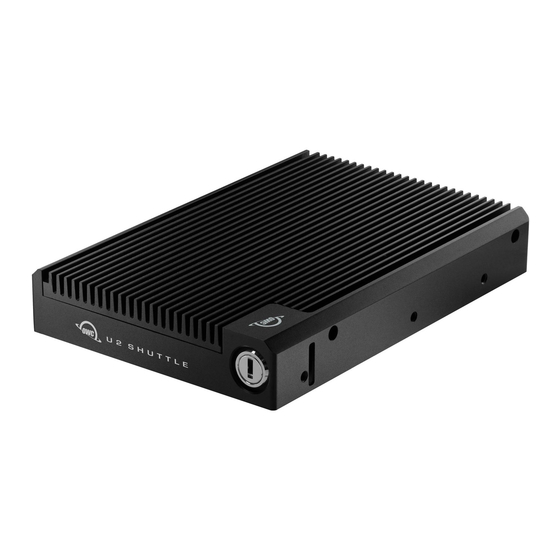
- Page 1 SHUTTLE 3.5-inch U.2 NVMe SSD Carrier Shuttle Fast and Easy Drive Swaps Move between U.2 devices, PCs, and servers RAID Ready Harness the power of RAID 0, 1, 4, 5, or 10 via your choice of RAID utilities Ideal for Media Production Workflows Offload day’s shoot and send drive to post...
-
Page 2: Table Of Contents
TABLE OF CONTENTS INTRODUCTION 1.1 Minimum System Requirements ..............3 1.2 Packaging Contents ..................3 1.3 About This Manual ................... 3 DEVICE SETUP 2.1 Installation of M.2 Drive(s) ................4 2.2 Host Installation: Helios 3S with U.2 NVMe Interchange System ....5 2.3 Host Installation: ThunderBay Flex 8 .............6 2.4 Host Installation: Mercury Pro U.2 Dual ............7 2.5 Usage Notes ..................... -
Page 3: Introduction
The images and descriptions may vary slightly between this manual and the unit shipped. Functions and features may change depending on the firmware version. The latest product details and warranty information can be found on the product web page. OWC’s Limited Warranty is not transferable and subject to limitations. INTRODUCTION... -
Page 4: Device Setup
2.1 INSTALLATION OF M.2 DRIVE(S) This section describes the process of installing one or more M.2 drives into the OWC U2 Shuttle. NVMe drives with a 2280 form factor and M-key connector are required. Other M.2 drive types are not supported. -
Page 5: Host Installation: Helios 3S With U.2 Nvme Interchange System
2.2 HOST INSTALLATION: HELIOS 3S WITH U.2 NVME INTERCHANGE SYSTEM This section describes the process of installing the OWC U2 Shuttle into the U.2 NVMe Interchange System. If you are using both devices for the first time, you need to set up the Helios 3S with the interchange system first. -
Page 6: Host Installation: Thunderbay Flex 8
2.3 HOST INSTALLATION: THUNDERBAY FLEX 8 This section describes the process of installing the OWC U2 Shuttle into the ThunderBay Flex 8. If you are using both devices for the first time, please familiarize yourself with the ThunderBay and its drive sleds first. Please see the assembly manual at www.owc.com/support/manuals... -
Page 7: Host Installation: Mercury Pro U.2 Dual
Shuttle by sliding it in the direction shown until it is fully seated. If the device does not seat fully, do not apply more force. Move it back and try again. As long as the OWC U2 Shuttle is sitting flush in the drive carrier, the connectors should automatically align. -
Page 8: Usage Notes
8. Make sure the ports on the back of the inner chassis and the port cut-outs on the back of the outer enclosure are oriented the same way, then slide the inner chassis into the outer enclosure so that the chassis’ front plate is flush with the cover’s front edge. -
Page 9: Support Resources
To ensure that your files are protected and to prevent data loss, we strongly suggest that you keep two copies of your data: one copy on your OWC U2 Shuttle and a second copy on your internal drive or another storage medium, such as an optical backup, or on a second external storage unit. - Page 10 OWC. © 2021 Other World Computing, Inc. All rights reserved. OWC, the OWC logo, and U2 Shuttle are trademarks of New Concepts Development Corporation, registered in the U.S. and/or other countries. Mac and macOS are trademarks of Apple Inc., registered in the U.S.
Need help?
Do you have a question about the U.2 SHUTTLE and is the answer not in the manual?
Questions and answers