Table of Contents
Advertisement
Advertisement
Table of Contents

Summary of Contents for OWC MERCURY ELITE PRO QX2
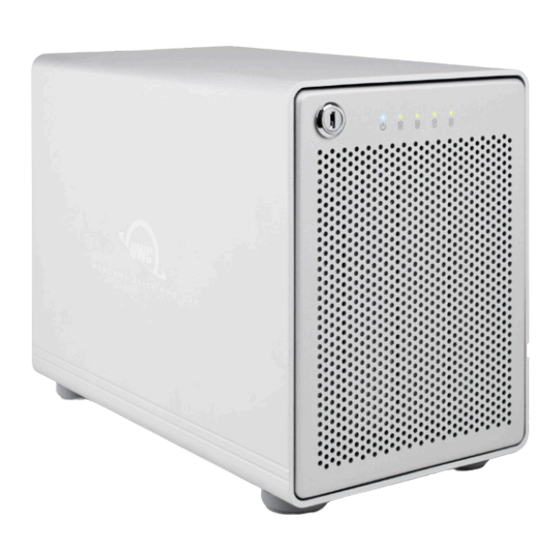
- Page 1 M E R C U R Y E L I T E P R O Q X 2 Assembly Manual & User Guide...
-
Page 2: Table Of Contents
2.4.1 Adding and Removing Drives in Independent Mode 2.4.2 Adding Drives to an Existing RAID Set 2.4.3 Replacing Drives SUPPORT RESOURCES ..................9 3.1 TROUBLESHOOTING 3.2 ABOUT DATA BACKUP 3.3 ONLINE RESOURCES 3.4 CONTACTING TECHNICAL SUPPORT MERCURY ELITE PRO Qx2 TABLE OF CONTENTS... -
Page 3: Introduction
• For an updated list of supported hard drives, please visit the product page online. 1.2 PACKAGE CONTENTS USB 3.1 Gen 1 cable Mercury Elite Pro Qx2 Power cable (Standard-A to Standard-B) FireWire 800 (1394b) eSATA (3.0Gb/s) cable... -
Page 4: Front View
1. Kensington® Security Slot — Connect a security tether here. 2. eSATA (3.0Gb/s) port — Attach an eSATA cable here. 3. ON/OFF switch — Turn on and off the Mercury Elite Pro Qx2 here. 4. Power input — Connect the included power cable here. - Page 5 Qx2, behind the locking faceplate. Use the silk-screened chart as a guide when adjusting the dial to the desired RAID setting. Proceed to section 2.3 for instructions on changing the RAID levels on the Qx2. MERCURY ELITE PRO Qx2 INTRODUCTION...
-
Page 6: Device Setup
DEVICE SETUP 2.1 HARD DRIVE INSTALLATION If you purchased the Mercury Elite Pro Qx2 with drives, they will be installed prior to shipment. If you purchased drives for the Qx2 separately, follow the steps below to install the drives into the Qx2, or to replace existing drives. Repeat steps 1 through 8 as necessary for the number of drives you are installing. -
Page 7: Quick Start
To switch RAID modes, follow these three steps (continued on next page): 1. With the Mercury Elite Pro Qx2 turned off, adjust the RAID dial so that the arrow is pointing to the desired RAID level (see section 1.5.2, RAID Selector Dial). -
Page 8: Raid Modes
Each drive will appear as a single volume. If you intend to use hard drives of differing capacity and model, this is the mode to use. To swap or replace drives, first unmount all drives and turn off the Mercury Elite Pro Qx2. Span Mode (Two to Four Drives Installed) Dial position: 2 The drives show up as one large single volume. -
Page 9: Changing Drives
2.4 CHANGING DRIVES 2.4.1 Adding and Removing Drives in Independent Mode When the Mercury Elite Pro Qx2 is set to independent mode, you can add or remove any drive without needing to create a new RAID set. IMPORTANT NOTE: To avoid data corruption it is essential to unmount all drives and turn off the Qx2 before removing or adding a new drive. - Page 10 When a drive fails, follow these steps: 1. Identify the failed drive and replace it (see section 2.1 for instructions). The LED that is off indicates the failed drive. You do not need to turn off the Mercury Elite Pro Qx2 to do this.
-
Page 11: Support Resources
To ensure that your files are protected and to prevent data loss, we strongly suggest that you keep two copies of your data: one copy on your Mercury Elite Pro Qx2 and a second copy on your internal drive or another storage medium, such as an optical backup, or on a second external storage unit. - Page 12 The material in this document is for information purposes only and subject to change without notice. While reasonable efforts have been made in the preparation of this document to assure its accuracy, OWC and its officers and employees assume no liability resulting from errors or omissions in this document, or from the use of the information contained herein.


Need help?
Do you have a question about the MERCURY ELITE PRO QX2 and is the answer not in the manual?
Questions and answers