Table of Contents
Advertisement
Quick Links
On-Screen Display (OSD) Menu
You can configure the camera's advanced settings on a Lorex DVR
using the OSD menu.
To use the OSD menu:
1. In Live View, click the channel that has the camera connected to open
in full-screen.
2. Right-click and click Pan/Tilt/Zoom. Enter the system user name
and password if prompted. The PTZ menu opens.
3. Click the arrow in the PTZ control window to show advanced controls.
4. Click
. The OSD menu appears over the camera image.
5. Use the on-screen controls to configure menu items:
• UP / DOWN Arrows: Select menu items.
• LEFT / RIGHT Arrows: Change values for menu items.
• ESC: Exit the OSD menu.
• ENTER: Confirm selection.
6. Select Return to return to the previous menu, or Exit from the main menu
to exit.
NOTE:
These instructions are based on current Lorex DVR interface. If you are
not able to access your DVR's OSD menu by following these steps, please use
the instructions in your DVR manual instead.
See the full OSD menu tree below:
Format
Video Mode
Backlight Mode
BLC
WDR
HLC
Image Mode
Image Adjustment
Sharpness
Brightness
Contrast
Saturation
Sharp Suppress
Chroma Suppress
Gamma
2 DNR
3 DNR
Exposure Mode
Exposure
Exposure Level
Exposure Speed
Anti-flicker
Auto
White Balance
Auto Tracking
Area WB
Manual
Sodium Lamp
Indoor
Outdoor
Day/Night
Auto
Black/White
Color
Language
Camera Name
Advanced
Mirror
D-Zoom
Lens Type
Lens
Smart IR
Voltage Prompt
Defog
Motion Detect
Privacy Mask
System Info
Return/Exit
Default
Exit
WDR Function Notice
WDR is not supported in analog output mode.
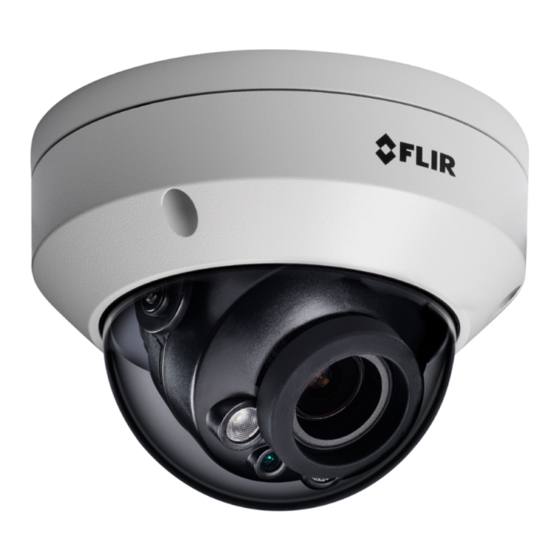
Package Contents
• 4MP MPX Motorized Varifocal Vandal Dome Camera
• 3× Mounting Screws & Drywall Anchors
• Allen Key
• Mounting Template
Weights & Dimensions
4.8" 122 mm
3.5" 89 mm
Safety Precautions
• Use an appropriate low voltage power cable to prevent fire or
electrical shock.
• Make sure to install the camera in an area that can support the
camera weight.
• There are no user serviceable parts inside the camera. Do not
disassemble the camera.
• Do not clean the lens cover with an abrasive cleaning material. Use
a soft cloth to clean the lens cover.
• Camera is rated for outdoor use (IP67), but is not intended for
submersion in water.
• Do not point the cameras directly towards the sun or a source of
intense light.
FCC Notice
This equipment has been tested and found to comply with the limits
for a Class A digital device, pursuant to Part 15 of the FCC Rules.
These limits are designed to provide reasonable protection against
harmful interference when the equipment is operated in a commercial
environment. This equipment generates, uses, and can radiate radio
frequency energy and, if not installed and used in accordance with
the instruction manual, may cause harmful interference to radio
communications. Operation of this equipment in a residential area
is likely to cause harmful interference in which case the user will be
required to correct the interference at his own expense.
FLIR Systems, Inc., Copyright © 2018
As our products are subject to continuous improvement, FLIR Systems
Inc. reserves the right to modify product design, specifications and
prices, without notice and without incurring any obligation. E&OE
Weight
4MP MPX Motorized Varifocal
1.0 lbs / 0.5 kg
QUICK START GUIDE
English Version 1.0
C357VW4_QSG_EN_R3
Vandal Dome Camera
MODEL:
C357VW4 SERIES
flir.com/security/pro
Advertisement
Table of Contents

Related Manuals for FLIR MPX C357VW4 Series


Summary of Contents for FLIR MPX C357VW4 Series
- Page 1 Default Exit WDR Function Notice FLIR Systems, Inc., Copyright © 2018 As our products are subject to continuous improvement, FLIR Systems WDR is not supported in analog output mode. Inc. reserves the right to modify product design, specifications and flir.com/security/pro prices, without notice and without incurring any obligation.
- Page 2 A) Rotate the camera around the base (rotates 360° ** For information on compatibility with various analog HD before stopping). Search for the model number formats, visit www.flir.com/security/MPXcomp. of your product B) Use a Phillips screwdriver to loosen the adjustment screws. Tilt the camera. Tighten both...
Need help?
Do you have a question about the MPX C357VW4 Series and is the answer not in the manual?
Questions and answers