Advertisement
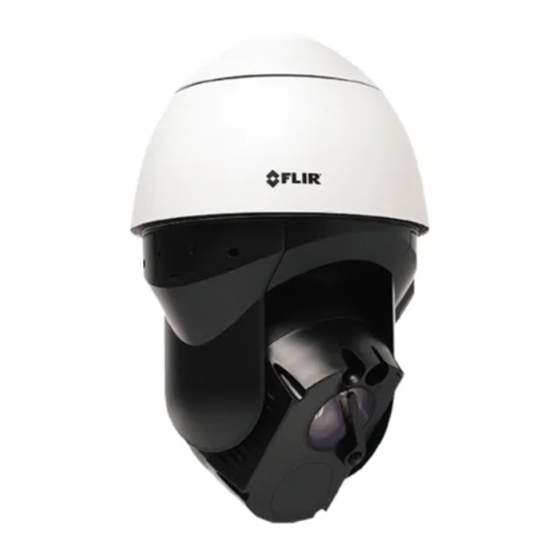
Quasar™ 4K 31x IR PTZ
CP-6408-31-I
1. Check Contents
Make sure all of the items above are included in the camera kit.
This camera is a Class 1 Laser
Product that complies with IEC
60825-1:2014.
Caution
Use of controls or adjustments or performance of procedures other than those
specified herein may result in hazardous radiation exposure.
Attention
L'utilisation des commandes ou reglages ou l'execution des procedures autres
que celles specifiees dans les presents exigences peuvent etre la cause d'une
exposition a un rayonnement dangereux.
CP-6408-31-I QIG Rev 100
September 2020
This document does not contain any export-controlled inf ormation.
Advertisement
Table of Contents

Summary of Contents for FLIR Quasar CP-6408-31-I
- Page 1 Quasar™ 4K 31x IR PTZ CP-6408-31-I 1. Check Contents Make sure all of the items above are included in the camera kit. This camera is a Class 1 Laser Product that complies with IEC 60825-1:2014. Caution Use of controls or adjustments or performance of procedures other than those specified herein may result in hazardous radiation exposure.
- Page 2 Verify that the operating temperature range is between -40° ~ 60° C (-40° ~ 140° F), 0-95% relative humidity (non-condensing). For the list of mounting accessories available for the camera, see the FLIR Security Cameras - Accessory Guide. 3. Install the Camera 3.1 Fit Mounting Hardware...
- Page 3 Attach a Cat 5e or Cat 6 cable from the network switch to the RJ45 connector for a 10/100/1000 Mbps Ethernet and PoE connection. If using PoE, use a FLIR CP-POE-4P-60W-xx injector or a switch that 2 LAN supports Universal PoE 60W 4 pair forced mode. For more information about compatible injectors and recommended switches, contact FLIR support.
- Page 4 By default, DHCP is enabled on the camera and a DHCP server on the network assigns the camera an IP address. For example, if the camera is managed by FLIR's Horizon or Meridian VMS and the VMS is configured as a DHCP server, the VMS automatically assigns the camera an IP address.
- Page 5 If the camera is managed by FLIR’s Latitude VMS or is on a network with static IP addressing, you can manually specify the camera’s IP address using the DNA tool or the camera's web page. The camera's default IP address is 192.168.0.250.
- Page 6 Right-click the camera and select IP Setup. In the DNA - IP Setup window, clear Use DHCP and specify the camera's IP address. You can also specify the Mask (default: 255.255.255.0) and Gateway. Then, click Update, wait for Ok status to appear, and then click Close.
- Page 7 5. Camera Dimensions Following are the Quasar CP-6408-31-I camera’s dimensions. Front View Side View 6. Register the Product Register your Product with FLIR at https://customer.flir.com. For warranty information, see https://www.flir.com/support- center/warranty/security/flir-security-product-warranties/. 7. Contact Information FLIR Systems, Inc. Corporate Headquarters 6769 Hollister Av enue 27700 SW Parkway Av e.


Need help?
Do you have a question about the Quasar CP-6408-31-I and is the answer not in the manual?
Questions and answers