Table of Contents
Advertisement
1. Check Contents
Make sure all of the items above are included in the camera kit.
2. Prepare to Install the Camera
2.1 Install FLIR Discovery Network Assistant
Download the FLIR Discovery Network Assistant (DNA) tool to a computer on the
same VLAN to which you will connect the camera, and then unzip the file. The DNA
tool does not require a license to use and is a free download from
Products > Security > Visible Security Cameras > FLIR ARIEL™
2.2 Perform a Bench Test (Optional)
You can test the camera or configure it for networking before mounting it. Remove
the camera cover (see
Cables and Connect the
Camera
Cover). Then, you can perform a bench test or discover the camera and
configure it for networking
2.3 Select a
Location.
CM-3202-11-I QIG Rev 100
3.2 Remove Camera
Camera), and attach the camera cover
(4.1 Configure for
This document does not contain any export-controlled information.
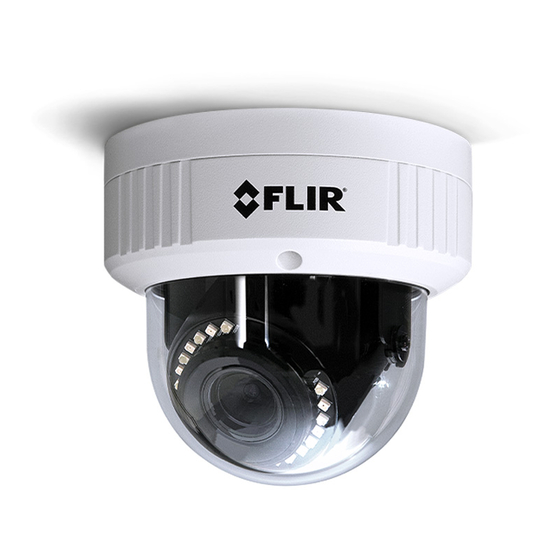
Ariel™ Mini-Dome
CM-3202-11-I
Quick Install Guide
Cover), connect the camera
Networking) before continuing with
FLIR.com >
CM-3202.
(4.3 Route
(4.3 Attach
June 2020
Advertisement
Table of Contents

Related Manuals for FLIR Ariel Mini-Dome CM-3202-11-I


Summary of Contents for FLIR Ariel Mini-Dome CM-3202-11-I
- Page 1 2. Prepare to Install the Camera 2.1 Install FLIR Discovery Network Assistant Download the FLIR Discovery Network Assistant (DNA) tool to a computer on the same VLAN to which you will connect the camera, and then unzip the file. The DNA tool does not require a license to use and is a free download from FLIR.com >...
- Page 2 Verify that the operating temperature range is between -30°C ~ 60°C (-22° ~ 140° F), 10-90% relative humidity (non-condensing). For the list of mounting accessories available for the camera, see the FLIR Security Cameras - Accessory Guide. 3. Install the Camera 3.1 Fit Mounting Hardware...
- Page 3 Internal interface Description RS232 terminal block Not used 3.3 Route Cables and Connect the Camera Connector Black RJ-45 Pink AUDIO OUT Light green AUDIO GND Light blue MIC IN- Yellow black MIC IN+ Purple ALARM COM Blue ALARM OUT Gray ALARM IN White ALARM GND...
- Page 4 d. Drill three anchor holes according to the template. e. Hammer the three plastic anchors into the drilled holes. f. If the cable from the conduit does not enter on the side of the camera, drill a hole for cable entry according to the template.
- Page 5 FLIR's Horizon or Meridian VMS and the VMS is configured as a DHCP server, the VMS automatically assigns the camera an IP address. If the camera is managed by FLIR’s Latitude VMS or is on a network with static IP addressing, you can manually specify the camera’s IP address using the DNA tool or the camera's web page.
- Page 6 In the DNA - Login window, type the password for the admin user. If you do not know the admin user password, contact the person who configured the camera's users and passwords. Click Login, wait for Ok status to appear, and then click Close. In the DNA Discover List, verify that the camera's status is Authenticated.
- Page 7 When logging in to the camera's web page for the first time or for the first time after resetting the camera to its factory defaults, type admin for the user name and for the password. Then, specify a new password for the admin user. Use a strong password consisting of at least eight characters and at least one uppercase letter, one lowercase letter, and one number.
- Page 8 VMS Discovery/Attach procedures to attach the camera to a VMS. 5. Camera Dimensions The Ariel CM-3202-11-I camera’s dimensions are: Side Dimensions Base Dimensions 6. Register the Product Register your Product with FLIR at https://customer.flir.com. For warranty information, see https://www.flir.com/support- center/warranty/security/flir-security-product-warranties/. 7. Contact Information FLIR Systems, Inc.
Need help?
Do you have a question about the Ariel Mini-Dome CM-3202-11-I and is the answer not in the manual?
Questions and answers