FLIR Quasar CM-6405 Quick Install Manual
Hide thumbs
Also See for Quasar CM-6405:
- Installation and user manual (119 pages) ,
- Quick install manual (12 pages)
Table of Contents
Advertisement
Quick Links
1 Check Contents
Make sure all of the items above are included in the camera kit.
2 Select a Location
Select a suitable location to mount the camera.
Cables can enter the camera either through the rear of the camera via the
mounting bracket or through a conduit hole on the side of the camera. If the cables
enter through the rear, make sure that the location provides a suitable method for
routing the cables.
Verify that the operating temperature range is in the following ranges, with no
more than 90% non-condensing humidity:
·
With heater: -55° C to 60° C (-67° F to 140° F)
·
Cold start with heater: -55° C to 60° C (-67° F to 140° F)
Warnings
·
Placing a camera in a surrounding environment subject to extremely high
temperature can result in an explosion or the leakage of flammable liquid or
gas.
·
Subjecting the camera to extremely low air pressure can result in an explosion
or the leakage of flammable liquid or gas.
For further advice on positioning and orienting the camera, see the camera's
installation and user guide.
CM-6405/CM-6408 QIG Rev 110
This document does not contain any export-controlled information.
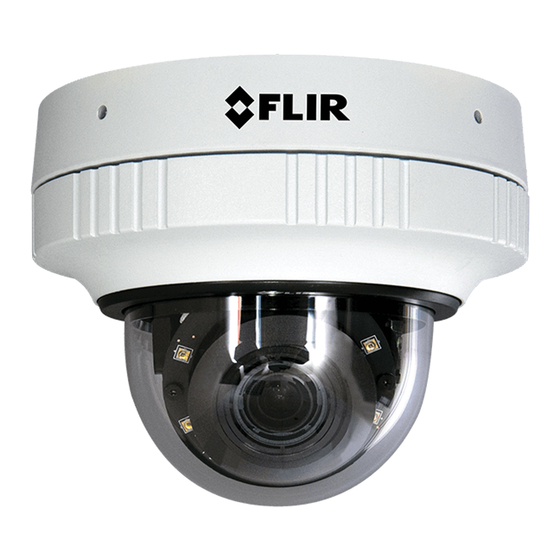
Quasar™ Mini-Dome
CM-6405/CM-6408
Quick Install Guide
January 2021
Advertisement
Table of Contents

Subscribe to Our Youtube Channel
Related Manuals for FLIR Quasar CM-6405


Summary of Contents for FLIR Quasar CM-6405
- Page 1 Quasar™ Mini-Dome CM-6405/CM-6408 Quick Install Guide 1 Check Contents Make sure all of the items above are included in the camera kit. 2 Select a Location Select a suitable location to mount the camera. Cables can enter the camera either through the rear of the camera via the mounting bracket or through a conduit hole on the side of the camera.
-
Page 2: Power Supply Options
For assistance with purchasing a power supply, contact your FLIR representative. 4 Configure the Camera FLIR recommends configuring the camera before mounting and aiming it. It is also possible to configure the camera after mounting it, which could be more appropriate for certain installations. - Page 3 To separate the camera base from the mounting bracket: a. Using a screwdriver, loosen the two twist-lock screws securing the camera and its base to the mounting bracket. b. Gently pull the camera and its base away from the mounting bracket. Separate Base from Bracket Change the number of LEDs (optional) The camera has a total of eight IR illumination LEDs.
- Page 4 Connector Connection Four-pin 1 24VAC - 3 12VDC - If using a 24VAC or 12VDC power power supply, connect it to the power terminal terminal block connector according 2 24VAC + 4 12VDC + block to the pin assignment shown. Warning The power cord to the 12 VDC or 24 VAC power supply unit must be connected to a socket outlet with an earthing connector.
- Page 5 FLIR's Horizon or Meridian VMS and the VMS is configured as a DHCP server, the VMS automatically assigns the camera an IP address. If the camera is managed by FLIR’s Latitude VMS or is on a network with static IP addressing, you can manually specify the camera’s IP address using the DNA tool or the camera's web page.
- Page 6 In the DNA Discover List, verify that the camera's status is Authenticated. c. Change the camera’s IP address. Right-click the camera and select IP Setup. In the DNA - IP Setup window, clear Use DHCP and specify the camera's IP address.
-
Page 7: Install The Camera
b. Securely tighten the outer ring. c. Lock the ring. Using the Torx wrench, tighten the screw on the outer ring that secures the cover to the base. 5 Install the Camera Warning The camera must be installed by qualified personnel and the installation should conform to all local codes. - Page 8 e. Insert the anchors and then attach the bracket to the surface using the four M4 25mm self-tapping screws included in the camera kit. When tightening the screws, the holes in the mounting plate allow for making small adjustments to the bracket's position. 5.4 Route Cables and Connect the Camera Cables can enter the camera from the side or from the rear.
- Page 9 6 Complete Camera Setup Specify the camera's zoom and focus, and format the microSD card, using the camera's web page. FLIR recommends using Microsoft Internet Explorer 11.0, with the ActiveX plug-in. The camera's web page supports other browsers that do not support ActiveX.
- Page 10 b. If the User Account Control dialog opens and prompts you to install the install.cab file, click Yes. If ActiveX installation is not successful, in the Internet Explorer Tools > Internet Options > Advanced Security settings, select Allow software to run or install even if the signature is invalid and click OK.
-
Page 11: Camera Dimensions
Under Device Setting, you can select vfat (default) or ext4 (recommended). Click Format. 7 Default Video Configuration Settings The camera's default Video Configuration settings appear at right. CM-6405: 2688x1944 is the default stream1 resolution. Default Video Configuration Settings - CM-6408 For more information about using the camera's web page to configure the camera, see the camera's installation and user guide. -
Page 12: Register The Product
10 Register the Product Register your Product with FLIR at https://customer.flir.com. For warranty information, see https://www.flir.com/support- center/warranty/security/flir-security-product-warranties/. 11 Contact Information FLIR Systems, Inc. Corporate Headquarters 6769 Hollister Avenue 27700 SW Parkway Ave. Goleta, CA 93117 Wilsonville, OR 97070 Support: https://www.flir.com/support/ product.enterprise.support@flir.com...
Need help?
Do you have a question about the Quasar CM-6405 and is the answer not in the manual?
Questions and answers