Advertisement
Quick Links
It is the responsibility of the individual consumer purchaser
to assure that all parts included in the factory-sealed carton
are properly installed, all functional parts are initially adjusted
properly, and subsequent normal maintenance services and
adjustments necessary to keep the bike in good operating
condition are the properly made. This warranty does not apply
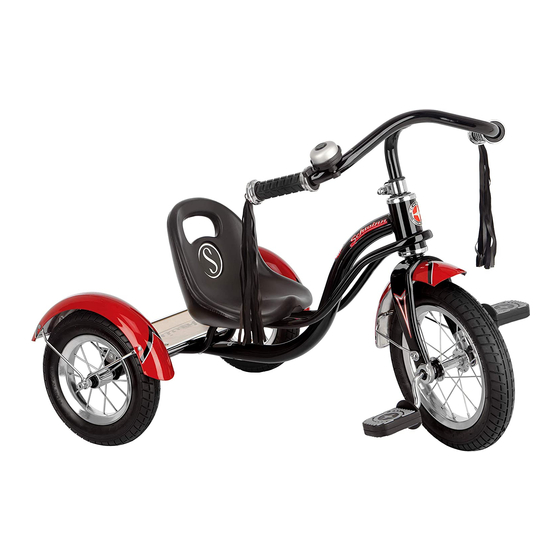
Roadster Trike
to damage due to improper installation of parts or failure to
properly maintain or adjust the bike.
NOTICE: Specifications subject to change without notice.
PACIFIC CYCLE (UK) LTD
Vantage Way
The Fulcrum
Poole, Dorset
BH12 4NU
CUSTOMER SERVICE / WARRANTY
Tel: 01202 732288
Email: customer-service@pacific-cylcle.co.uk
Monday-Friday 9:00am-5:00pm
OWNER'S MANUAL
This manual contains important safety,
performance and maintenance information.
Read the manual before taking your first ride on your new trike
and keep the manual handy for future reference.
11
Advertisement

Summary of Contents for Schwinn Roadster Trike
- Page 1 This warranty does not apply Roadster Trike to damage due to improper installation of parts or failure to properly maintain or adjust the bike.
- Page 2 Rules for Children To avoid accidents, teach children good riding skills with an emphasis on safety from an early age. 1. Rider should always wear a properly fitted helmet. 2. Continuous adult supervision required. 3. Allow only one rider. 4. Excessive weight may make the trike unstable and may be hazardous.
-
Page 3: A Special Note For Parents
This trike should be fully assembled by an adult due to poten- tial small parts. Not suitable for children under 36 months. This product is not intended for road use. Schwinn Roadster Trike Assembly Instructions Tools required (not included): 13mm (1/2”) wrench, or 10mm crescent (adjustable) wrench, screwdriver. - Page 4 Step 1 Step 2 Position saddle on frame with carriage bolt protruding through Remove the washer, nut, and two flaking screw from the rear centre hole in frame. Tighten knob onto carriage bolt to lock deck. Attach the rear deck to the main frame by aligning the saddle in position.
- Page 5 Step 3 Step 3 continued Insert forks through head tube of frame. Be sure that the fork Push stem clamp onto fork steer tube. Ensure there is no is completely inserted through frame to allow approximately space between the head tube and stem clamp. Insert handle- 22mm (7/8”) of fork steer tube to show through top of head bar into fork steer.
- Page 6 Step 4 LIMITED WARRANTY AND POLICY ON REPLACEMENT PROCEDURES AND RESPONSIBILITIES Ensure that each wheel is able to spin without resistance. If any wheel does not turn freely, check that the mudguard is Your purchase included the following warranty which is in lieu of all other express warranties.


Need help?
Do you have a question about the Roadster Trike and is the answer not in the manual?
Questions and answers