Dell EMC Unity Series Quick Start Manual
Hide thumbs
Also See for Unity Series:
- Installation manual (70 pages) ,
- Replacement manual (31 pages) ,
- Field upgrade procedure (40 pages)
Advertisement
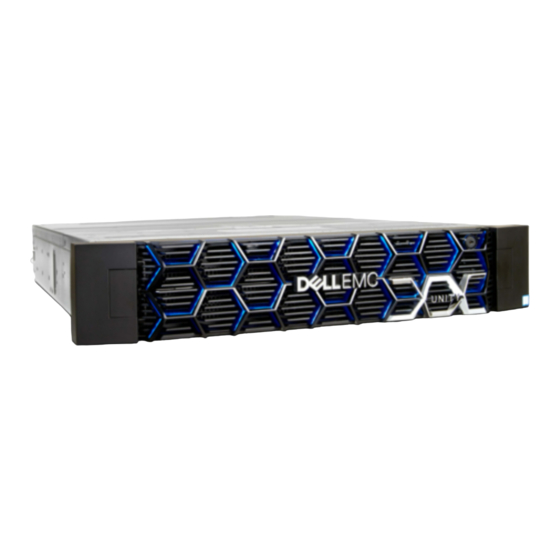
Dell EMC Unity
Before you begin
Required:
Create an EMC Online Support account:
❑
https://support.emc.com. You will need this
account later in the installation process to
activate software licenses and configure
ESRS (EMC Secure Remote Services).
If your Unity system arrived pre-racked, begin
❑
installation at Step 4 of this guide.
❑
Obtain the help of a second person to install
the enclosure into the rack, or use a
mechanical lift.
❑
If you have more than one enclosure to install,
use the Unity Installation Guide to complete
your installation. The installation guide
includes racking and cabling instructions
required for additional enclosures, which are
not covered here. The Unity Installation
Guide is located here:
unityinfohub.
Purpose of this document
Assign
Management
Address
http://bit.ly/
Launch
Unisphere
8
7
6
Power Up
Copyright © 2016 EMC. All rights reserved. Dell, EMC and other trademarks are trademarks of Dell Inc.
or its subsidiaries. P/N 300-015-569 Rev 01
™
Quick Start >
Recommended:
Download the Connection Utility at
❑
unityinfohub. You will need this utility if you want to
assign static IP addresses to your system. You will not
need this utility if you plan to use DHCP to
automatically assign IP addresses to your system.
If you are installing your system in a location with
❑
restricted internet access, download the Connection
Utility and your license files before starting the
installation process: http://bit.ly/unityinfohub.
❑
Watch the Unity Quick Start Installation video:
/bit.ly/unityinfohub.
Refer to the What's next section for important details
❑
about adding enclosures and using the Unisphere
online help.
Unpack
1
Install
Rails
2
3
4
Record SN
5
Cable to
Network
http://bit.ly/
http:/
Install
System
Advertisement
Table of Contents

Related Manuals for Dell EMC Unity Series


Summary of Contents for Dell EMC Unity Series
- Page 1 ™ Dell EMC Unity Quick Start > Before you begin Required: Recommended: Create an EMC Online Support account: Download the Connection Utility at http://bit.ly/ ❑ ❑ https://support.emc.com. You will need this unityinfohub. You will need this utility if you want to account later in the installation process to assign static IP addresses to your system.
-
Page 2: Unpack Your System
> 1. Unpack your system Verify that you have the following components: 2U Disk Processor Enclosure (DPE) with either 12-3.5” drive slots or 25-2.5” drive slots ❑ Rail kit, including 2 rails with 6 mounting screws ❑ ❑ 2 power cables (100-240Vac) Bezel ❑... - Page 3 > 4. From the rear of the cabinet, secure the rails in place using one M5 screw on each rail: Right Rail Left Rail (viewed from rear) (viewed from rear) CL5775 5. Next, working from the front of the cabinet, align the adaptor with the mounting hole on the front of the rack, as shown in the image below in Step 6.
- Page 4 > 3. Install the system onto the rails CAUTION The enclosure is heavy and should be installed into or removed from a rack by two people. To avoid personal injury and/or damage to the equipment, do not attempt to lift and install the enclosure into a rack without a mechanical lift and/or help from another person.
- Page 5 > 4. Record your system serial number Locate and record the product serial number tag on the front of the DPE chassis in either of the locations shown below. You will use this number to obtain product licenses later in the installation process: 12-drive enclosure: The underside of the top 25-drive enclosure: Below the power status LED...
- Page 6 > 6. Power up 1. Verify that the cabinet’s circuit breakers are in the ON position and power is connected to the cabinet. 2. Connect each DPE power cable to the system power component and to the PDUs. After you plug in the power cables, the system immediately powers up: 3.
-
Page 7: What's Next
> 8. Launch the Unisphere Initial Configuration Wizard The Initial Configuration Wizard walks you through the steps to install licenses, configure network settings, create pools, manage alerts, define support options, configure network interfaces, and create NAS servers. 1. Complete the Configuration Worksheet. This worksheet is located in the Unity Installation Guide or as a separate download from the Unity Info Hub: http://bit.ly/unityinfohub. - Page 8 > Copyright © 2016 EMC. All rights reserved. Dell, EMC and other trademarks are trademarks of Dell Inc. or its subsidiaries. P/N 300-015-569 Rev 01...
Need help?
Do you have a question about the Unity Series and is the answer not in the manual?
Questions and answers