Table of Contents
Advertisement
Quick Links
RLCP17 Rhino Heavy Duty – Toyota landcruiser 200 Series
Place these instructions in vehicle's glovebox after installation is complete.
Important: Please read these instructions carefully prior to installation.
Please refer to your fitting instruction to ensure that the roof racks are installed in the
correct locations.
Check the contents of the kit before commencing fitment and report any
Parts List
Item.
Component Name.
1
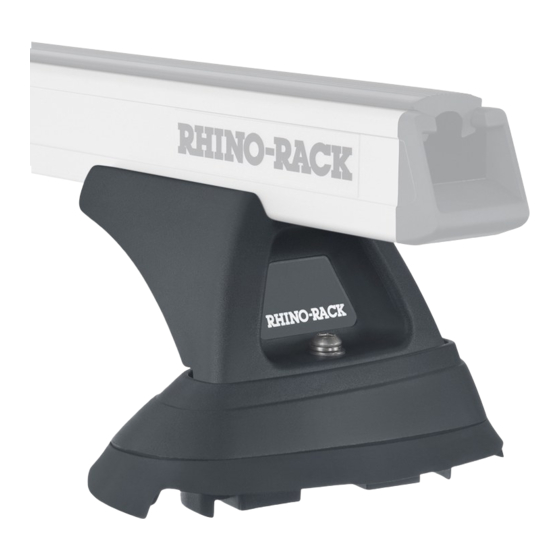
Heavy duty leg.
2
M10 x 20mm Hex bolt
3
M10 Channel nut.
4
M10 shake proof washer.
5
M10 Flat washer.
6
Front left mounting pad.
7
Front right mounting pad.
8
Middle left mounting pad.
9
Middle right mounting pad.
10
Rear left mounting pad.
11
Rear right mounting pad.
12
Mounting Pad gasket (L).
Mounting pad gasket (R).
13
14
1375mm Heavy duty crossbar.
15
Heavy duty rubber buffer strip.
16
M8 x 40mm socket head screws.
17
M8 Flat washers.
18
M8 Spring washer.
19
Mounting pad O-ring.
20
M6 x 27mm Security screw.
21
M6 Flat washers.
22
M6 Spring washers.
23
Security Allen key.
24
6mm Allen keys.
25
End cap.
26
Mounting pad washer & gasket.
Tools Required:
16mm Ring spanner, tape measure, rubber mallet.
Security Type Allen Key, provided in kit.
Do not use the
front attachment
points.
Front crossbar.
Three Crossbar System.
Qty
.
6
6
6
6
6
1
1
1
1
1
1
3
3
3
(Sold Separately)
3
(Sold Separately)
12
12
12
12
6
6
6
1
1
6
12
Middle crossbar.
Rear crossbar.
Part No.
M123
B003
N024
W021
W022
M354
M355
Item 1,2,3,4,5.
M356
M357
M358
M359
M360
M361
A013A
Item 14,15,25.
R004
B162
W043
W019
C299
B063
W003
W004
Item 26.
H021
H009
M002
C588
Care Instructions:
Clean vehicle roof prior to fitting the roof
racks.
discrepancies.
Item
6,7,8,9,10,11,12,13
.
Item 16,17,18,19.
Item 20,21,22,23,24.
Crossbar Layout
Page 1 of 8
Advertisement
Table of Contents

Subscribe to Our Youtube Channel
Summary of Contents for Rhino-Rack RLCP17
- Page 1 RLCP17 Rhino Heavy Duty – Toyota landcruiser 200 Series Three Crossbar System. Place these instructions in vehicle’s glovebox after installation is complete. Important: Please read these instructions carefully prior to installation. Please refer to your fitting instruction to ensure that the roof racks are installed in the correct locations.
- Page 2 Remove covers 1: Remove the roof rack attachment point and brackets covers. 2: Remove exposed bolts and brackets. Caution: Loosen both bolts together, then remove. Careful not to push the tube locators down into the body. 3: Store covers, bolts and brackets in a safe place.
- Page 3 6: Check that the channel nut is fully located across the bar. Leave legs loose for adjustments later. 7: Each mounting pad is identified with a part number, position code and direction arrow. The arrow must point to the front of the vehicle.
- Page 4 8: Cont. Gasket direction arrow and position identification on this face. 9: Using the mounting pad layout as a guide, Arrow facing place the pads onto there respective positions. to the front. Note: Ensure that the arrows on the pads are facing to the front of the vehicle.
- Page 5 10: Place the M8 spring washer, M8 flat washer and O-ring onto M8 socket screws. M8 x 40mmSocket screws. Ensure that the O-ring is pushed up under the M8 Spring washer. flat washer. M8 Flat washer. O-Ring. The O-ring must be in this position prior to inserting the screw assembly into the mounting pad.
- Page 6 13: Place the M6 spring washer and M6 flat washer onto the M6 x 27mm security screw. Insert the M6 screw assemble through the heavy duty leg and screw into the mounting pad. M6 x 27mm security screw. M6 Spring washer. M6 Flat washer.
- Page 7 16: Check that the channel nut is located across the crossbar. Channel nut across the crossbar. 17: Insert the crossbar rubber buffer strip into Insert buffer strip. the top of the bar. Insert the end caps into the ends of the crossbar, a rubber mallet may be required to fit the end caps.
- Page 8 (Ph) +61 2 9638 4744 (Fax) +61 2 9638 4822. Authorised By: Chris Murty. Issue date: 27/03/2013. These instructions remain the property of Rhino-Rack Australia Pty Ltd and may not be used or changed for any other purpose than intended. Page 8 of 8...


Need help?
Do you have a question about the RLCP17 and is the answer not in the manual?
Questions and answers