
Related Manuals for Fusion3 F410


Summary of Contents for Fusion3 F410
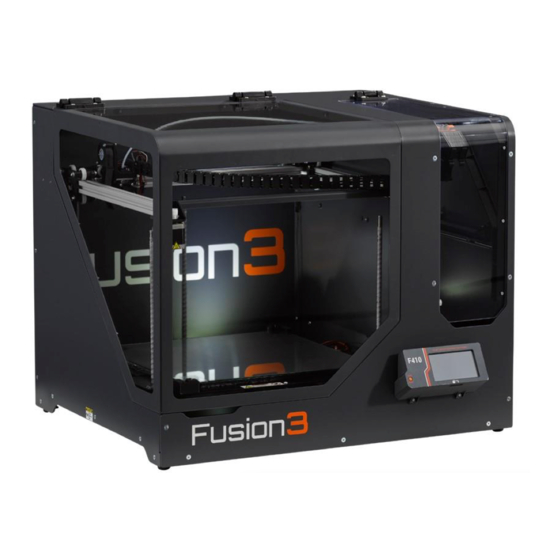
- Page 1 F410 QUICK-START GUIDE PLEASE READ THIS DOCUMENT BEFORE OPERATING YOUR NEW 3D PRINTER Revision 6 10/28/2020...
-
Page 2: Table Of Contents
TABLE OF CONTENTS Introduction & Getting Support ..................3 What’s in the Box ......................4 Unboxing Your F410 ...................... 5 Where Should I Locate My F410 3D Printer? ............... 8 Moving your F410 ......................8 Setup ..........................9 Loading Filament ......................13 Your First Print ...................... -
Page 3: Introduction & Getting Support
3D printer. THE QUICK-START GUIDE IS NOT A COMPREHENSIVE MANUAL Your F410 User Manual is available in PDF form and can be found on both the SD card, and on the Fusion3 website under Support>Manuals & Downloads>F410 3D Printer. -
Page 4: What's In The Box
2. What’s in the Box 1. F410 3D printer IF YOU ORDERED OPTIONAL ACCESSORIES: 2. Getting Started packet (Black Folder) which includes: a. Welcome letter Such as our optional filtration unit or b. Quick-Start Guide additional print heads, your packing c. -
Page 5: Unboxing Your F410
IMPORTANT: Please retain all packaging materials (3 pieces of the box, pallet, foam endcaps). Your 3D printer is a sensitive piece of electrical equipment and should always use this packaging when transporting. To unbox your F410 3D printer: 1. Cut the plastic wrap off the box 2. Cut the plastic tie-down straps... - Page 6 3. Lift the lid straight up off the box 4. Remove the top foam blocks (4 total - marked with arrows) and the Getting Started packet located on top of your printer. Inside you will find this quick-start guide. 5. Carefully lift the sleeve straight up and off the box.
- Page 7 8. Now you are ready to move your F410 to its desired location (see Section 4 – “Where Should I Locate My F410 3D Printer”) 9. Under your printer attached to the bottom tray will be your filament and spare print surface.
-
Page 8: Where Should I Locate My F410 3D Printer
• Sturdy enough to resist shaking during the printer’s operation • Allows for the rear face of your F410 to be at least 2” from any wall or obstruction • Provides enough clearance on the right side of the printer for the power cord and for the operator to reach the power switch 5. -
Page 9: Setup
6. Setup Once your F410 is located in its desired location: 1. Remove the protective films from the outside of the 3 main door windows and the filament door. (This step may generate a static charge that attracts dust in the first few days of operation. - Page 10 One is located near the front of the 3D printer; the other is located towards the center-rear of the F410’s print bed. You may need to move the Z axis up slightly by gripping the belt with your hand and pulling sideways gently.
- Page 11 IMPORTANT INFORMATION FOR INTERNATIONAL CUSTOMERS: 1) FUSION3 IS UNABLE TO SUPPLY A POWER CORD FOR LOCATIONS OUTSIDE OF THE USA and CANADA DUE TO THE VARIETY AND TYPES OF PLUGS IN YOUR LOCATION. PLEASE SOURCE A 3- PRONGED DESKTOP COMPUTER PLUG (18 AWG) 2) YOU WILL NEED TO CHECK THE INTERNAL POWER SUPPLY’S VOLTAGE SELECT SWITCH BEFORE...
- Page 12 6. Go to the F410 Control Panel. Navigate to the Maintain Printer > Motors screen. Press the “Home X” button (1) on the touchscreen and make the sure the printer moves smoothly and stops when the X endstop is triggered.
-
Page 13: Loading Filament
7. Loading Filament 1. Slide the filament dowel through the center hole of the filament spool. Orient the spool so that the filament pays off the front underneath the spool. 2. Using one hand on either side of the spool, slide the dowel into the track in the filament bay. The dowel will drop into the groove in the track when it’s positioned correctly. - Page 14 4. Open the Filament Monitoring section of the extruder by pulling towards you on the latch tabs on the Monitoring section door. 5. Insert the end of the filament into the inlet on the far side of the Filament Monitoring encoder wheel. Push forward gently until you feel the filament bump into the feed gear (inside the feed section).
- Page 15 “hop” up slightly when this happens. For more information on the functions and operation of the F410’s extruder, including opening the idler bar, see Section 4.5 of the F410 User Manual. 7. Continue to turn the wheel until the end of the filament protrudes into the feed tube on the exit side of the extruder about 1 inch.
- Page 16 8. Go to the Control Panel. Navigate to Maintain Printer > Filament, and press the Load Filament button. Your F410 will begin its load filament sequence by moving the bed down and starting to heat the print head. It will take 3-5 minutes for the print head to reach the correct temperature;...
-
Page 17: Your First Print
6” x 6” area in the center of the bed) NOTE: Different materials require different amounts of adhesive prior to printing. Please to the Fusion3 Certified Materials list available from the Fusion3 website for details under “# of Layers of Glue” Page... - Page 18 2. On the LCD, navigate to the home screen (the one you first saw when the printer started up). Press Print. 3. Then press Select File. This will open the file selection menu. Your F410’s internal storage (card 0) will be empty; this is normal Page...
- Page 19 4. Press the small SD card icon in the top left corner to cycle to your external SD card (card 1). 5. Navigate to the “Files to Print” folder. Folders are denoted by an asterisk in the name. 6. Select one of those files to print. The twisted bottle is the shortest one.
-
Page 20: Sequence Of Operations During A Print
Each time you start a print, your F410 3D printer will always go through the following steps: 1. Home Axes & Heat Bed: Your F410 will home all its axes and begin heating the bed to the correct temperature for your selected material (PLA in this case). -
Page 21: Removing Finished Parts From The Bed
C (you will hear a “pop”). Nylon blends will need to be pried off. Since they are flexible they can be worked off a little bit at a time. For more detail, see section 10.3 in the F410 User Manual. Page... -
Page 22: Cleaning Up After A Print
11. Cleaning Up After a Print 1. Remove the outline (skirt) printed around the part. 2. Remove the priming pile at the front left corner. 3. Allow the bed to cool to at least 45 C. Spray water onto the bed using the supplied spray bottle. - Page 23 4. Use your part scraper to “bulldoze” the glue residue into a line. Then wipe up the residue with a paper towel. The bed does not need to be perfectly clean, just remove 95% of the gluestick. PLEASE NOTE: • Fresh glue must be used for every print! •...
-
Page 24: Setting Up Reactor (3D Printing Software)
The REACTOR User Manual is included within the software itself and also can be found on the MANUALS & DOWNLOADS page of the Fusion3 website. There are two versions of the software available to Fusion3 customers. An ‘Online’ version and an •... -
Page 25: General Precautions & Operating Notes
That said, the F410 is designed to print large parts reliably which means that you may have 40+ hour prints with makes its somewhat unreasonable to expect that someone is present at all time. A 3 party cloud camera allows you to view the printer when not physically located. -
Page 26: If Something Goes Wrong (Contacting Fusion3 Customer Support)
2. Please check the Fusion3 User Manual to see if your issue is covered there. Start with sections 12 and 13. 3. If you don’t see your issue, OR if you have any questions, please contact Fusion3 Technical support at: Email: Support@fusion3design.com...
Need help?
Do you have a question about the F410 and is the answer not in the manual?
Questions and answers