Advertisement
Quick Links
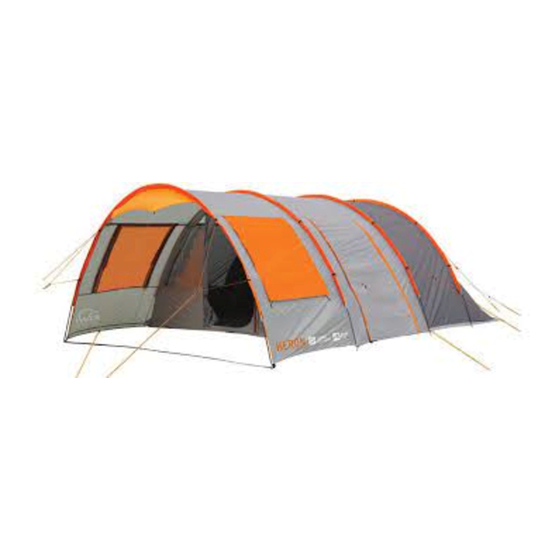
Heron Dome Tent
Model No. KC072-418
PITCHING INSTRUCTIONS
Your tent includes:
4 x FIBREGLASS poles (6620mm x 12.7mm)
2 x adjustable STEEL roof poles (4200mm x 16mm)
2 x STEEL canopy poles (1900 x 16mm)
47 x pegs
26 x ropes
1. Select a dry, level site and clear
the ground of any sharp objects.
Remove the tent from its carry
bag, untie fabric ties and unroll the
tent in your chosen location.
2. Spread out the floor of the tent
and peg out all the points so the
tent does not move while pitching.
Ensure that the tent is pulled taut
and square. Unzip and open the
doors to make erecting tent easier.
Pitch so that it is facing into the
wind, never side on.
Filename: 4821_KC072-418_Heron_Instr.pdf
Dimensions: 400mm W x 200mm H
Colour: Black
3. Assemble the four FIBREGLASS
poles by interlocking the sections
together. One at a time slide the
poles through the orange pole
sleeves that run across the roof
of the tent.
4. Beginning with the back pole
starting on one side first. Fit
the bottom of the pole on to the
corresponding pin at the base of
the floor so that the tent starts to
stand up. This will take 2 people
to complete.
The end of the steel
pole with the small
hole should be at
the bottom.
5. Proceed to peg out all guy ropes to secure tent and fine tune so
that the tent remains taut and positioned correctly.
To make sure the tent
stays in place, insert the
6. Assemble the STEEL roof poles by interlocking the sections
pegs into the ground at
together. Thread through the pocket holes on each side of the
a 45° angle.
tent. Secure the ends of the poles into the pockets at each end
of the tent.
7. Adjust the STEEL roof poles by releasing the clip and extending
the pole until the tent sides are taut. Secure the poles to the sides
of the tent with the tie points provided.
8. Hang the 'Night Pod' inner by using the buckle connections.
9. Finally fine tune the guy ropes so that the tent remains taut and
positioned correctly.
REVERSE THE PROCEDURE TO LOWER THE TENT
PACKING INSTRUCTIONS
Pack the poles and pegs into their bags. Evenly layout the fly leaving
all doors and windows open. Fold the tent floor from each end to the
centre. Fold again to the width of the tent bag. Place the tent pole and
peg bags at the end of your folded tent. Roll from back to front, forcing
all of the air out the front door. Roll into the tent bag provided.
Advertisement

Related Manuals for Kiwi Camping Heron


Summary of Contents for Kiwi Camping Heron
- Page 1 3. Assemble the four FIBREGLASS 7. Adjust the STEEL roof poles by releasing the clip and extending Heron Dome Tent poles by interlocking the sections the pole until the tent sides are taut. Secure the poles to the sides together. One at a time slide the of the tent with the tie points provided.
- Page 2 5. Keep all flame and heat sources away from this tent fabric. Do not use open flame or gas appliances in or near your tent. details are on the Kiwi Camping website - www.kiwicamping.co.nz. Key points: 6. Do not use aerosol sprays or any solvent based products in or...
Need help?
Do you have a question about the Heron and is the answer not in the manual?
Questions and answers