
Related Manuals for pottery barn kids GRAHAM CRIB


Summary of Contents for pottery barn kids GRAHAM CRIB
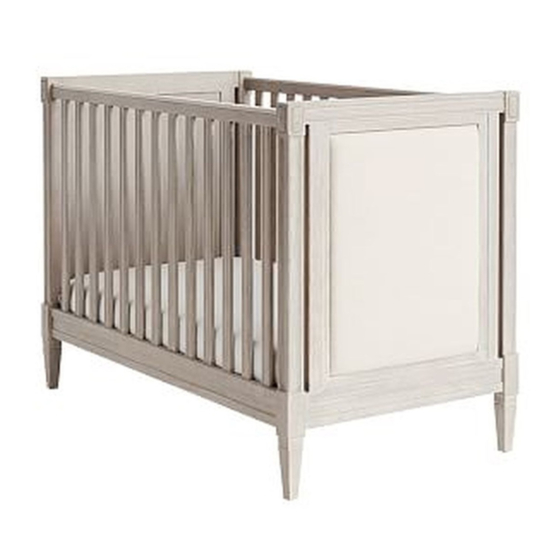
- Page 1 GRAHAM CRIB www.potterybarnkids.com Date: 2016-05-11 Rev: Page 1 of 7...
- Page 2 Do not use it if any parts are loose or missing or if there are any signs of damage. Do not substitute parts. Contact Pottery Barn Kids if replacement parts or additional instructions are needed.
- Page 3 CAUTION: ANY MATTRESS USED IN THIS CRIB MUST BE AT LEAST 27 ¼” (69 CENTIMETERS) BY 51 5/8” (131 CENTIMETERS) WITH A THICKNESS NOT EXCEEDING 6” (15 CENTIMETERS) THIS CRIB CONFORMS TO APPLICABLE REGULATIONS PROMULGATED BY THE CONSUMER PRODUCT SAFETY COMMISSION. 04-000094-4 IMPORTANT SAFETY INSTRUCTIONS: ...
- Page 4 HARDWARE INCLUDED: (F) Medium Allen Bolt M6x3/4”-4x (D) Allen key with ball tip - 1x (E) Long Allen Bolt M6 x 2-3/8” - 8x (G) Short Allen Bolt (H) Half moon washer 1/4” x24mm – 4x (I) Left Bracket 103x79x3x25mm-2x M6 x 5/8"- 8x (J) Right Bracket (K) Acorn Nut M6x10x10mm - 8x...
- Page 5 ASSEMBLY INSTRUCTIONS: Attach (I&J) to (C). Use Allen Key (D) to tighten as shown below. Note: Make sure the brackets (I&J) point outwards as shown below. THIS SIDE UP / CE CÔTÉ VERS LE HAUT / ESTE LADO ARRIBA Attach (K) to (G). Use Open Wrench (L) and Allen Key (D) to tighten as shown below. Date: 2016-05-11 Rev: Page 5 of 7...
- Page 6 Attach (A) to (B) by aligning pre-drill holes with wooden dowels as shown below. Do not fully tighten bolts. Image A *Note: The mattress base (C) should be at the highest level (Level 3) when the child is born. It must be at the lowest level (Level 1) before the child can stand up.
- Page 7 Attach (B) to (A) by aligning pre-drill holes with wooden dowels as shown below. Arrow sticker side up. Arrow points inside. Slowly turn the crib upright. Check alignments and fully tighten all connections at this time. Do not over tighten. Attach the Magnetic Décor cover (M) into the Crib End (A).
Need help?
Do you have a question about the GRAHAM CRIB and is the answer not in the manual?
Questions and answers