Table of Contents
Advertisement
Advertisement
Table of Contents

Related Manuals for Bryton Rider 750


Summary of Contents for Bryton Rider 750
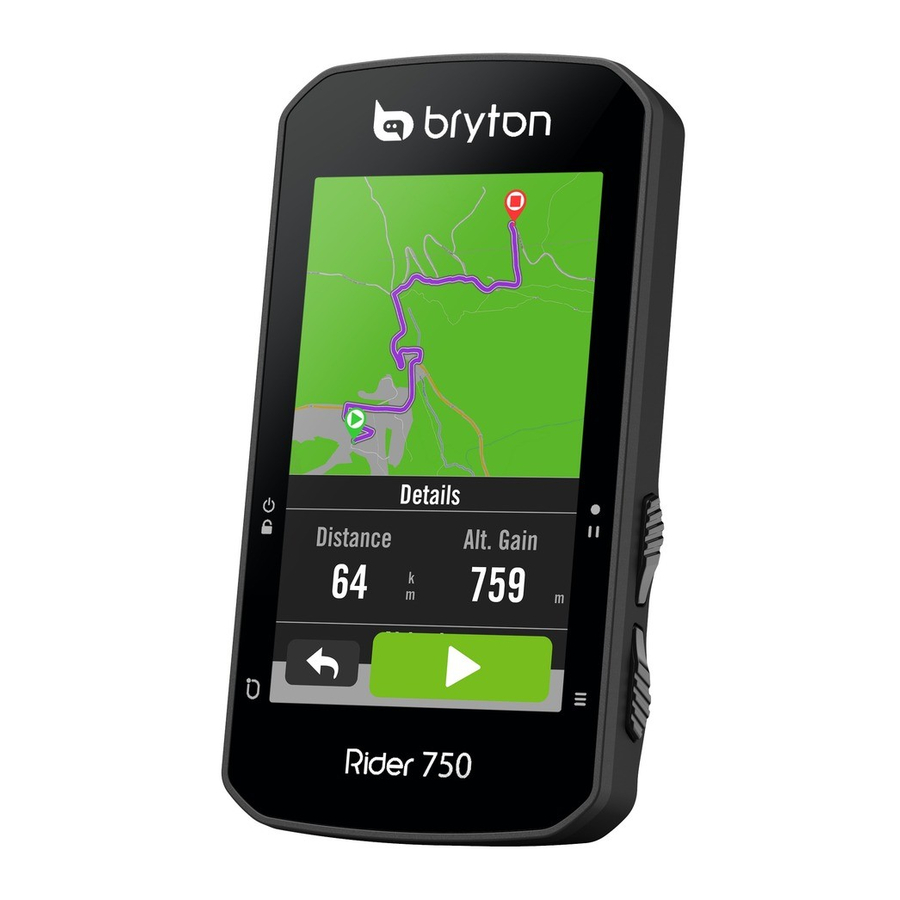
- Page 1 User Manual Rider 750...
-
Page 2: Table Of Contents
........41 Quick Status ........ 7 Profile ......42 Status Icons ....... 8 Step 1: Charge Your Rider 750 ..9 Bryton Advanced Settings ..43 Step 2: Turn On Rider 750 ..9 Notifications ....... 43 Step 3: Initial Setup ....9 Appendix ...... - Page 3 Video Tutorial For a step-by-step demonstration of device and Bryton Active app, please scan the QR code below to check out Bryton Tutorial Videos. http://www.youtube.com/c/BrytonActive...
-
Page 4: Getting Started
In Cycling mode, press to switch meter screen pages. Reboot Rider Press ( ) at the same time to reboot the device. Accessories The Rider 750 comes with the following accessories: USB Cable Bike Mount Sport Mount Optional items: Smart Heart Rate Monitor... -
Page 5: Touch Screen
Touch Screen Speed S pe Speed S pe Speed Spee Speed S pe Ride Time Ride Time 21.5 21.5 21.5 6:15 6:15 21.5 Ride Time Ride Time Distance Distan Alt. Gain Alt. Gain 01:58:21 01:58:21 115.7 Distance Distance Alt. Gain Alt. -
Page 6: Gui Display
GUI Display Outer Rings Average value Inner Rings Current value when using a Speed or a Cadence sensor. Current value when using a Heart Rate Monitor or a Power sensor. The colors will change by different zones, which are based on the settings. Bar Chart for Di2/E-Shifting Gears 10/12... -
Page 7: Quick Status
Quick Status See key statuses while riding, such as sensor & smartphone connection, GPS signal, and individual battery status of paired sensor ,etc…Users can also see if device is recording at a glance by the flicker. 1. Single-tap the screen on meter page to open the Quick Staus menu. -
Page 8: Status Icons
Status Icons Icon Description Icon Description Icon Description Sensor Pairing GPS Signal Status Navigation Heart Rate Sensor GPS Off / Active Route No Signal (not fixed) Speed Sensor Active History Weak Signal Cadence Sensor Active Favorite Strong Signal Combo Sensor Active Zoom in Unable GPS... -
Page 9: Step 1: Charge Your Rider 750
Step 1: Charge your Rider 750 Connect Rider 750 to a PC to charge the battery for at least 4 hours. Unplug the device when it is fully charged. x You may see the battery icon blinking when the battery is very low. Keep the device plugged in until properly charged. -
Page 10: Step 4: Acquire Satellite Signals
Step 4: Acquire Satellite Signals Once the Rider 750 is turned on, it will automatically search for satellite signals. It may take 30 to 60 seconds to acquire signals for first time use. • The GPS signal Icon ( ) appears when GPS is fixed. -
Page 11: Step 6: Share Your Records
Go to https://active.brytonsport.com. b. Register for a new account. 2. Connect to PC Turn on your Rider 750 and connect it to a computer by USB cable. 3. Share Your Records a. Click “+” in the right upper corner. - Page 12 NOTE: Bryton Active App syncs with Brytonactive.com. If you already have a brytonactive. brytonactive.com account, please use the same account to log in to Bryton Active App and com account, please use the same account to log in to Bryton Active App and vice versa. vice versa.
- Page 13 Sync via WLAN b. Make sure the Rider 750 is paired a. Select > Data Sync, then choose a with the Bryton Active app and bind your network to set up connection. Please go to Bryton account before starting data sync.
-
Page 14: Firmware Update
If you want to see more information of Data Sync, please go to Page14. If you would like to go through WiFi setup, please go to Page 39. Bryton Update Tool Bryton Update Tool is the tool for you to update GPS data, firmware and download Bryton Test. 1. Go to http://www.brytonsport.com/#/supportResult?tag=BrytonTool... -
Page 15: Course
Follow Track Create Track Rider 750 provides 3 ways to create tracks: 1. Plan trip via Bryton Active App. 2. Import routes from 3rd party platforms. 3. Auto sync routes from Strava, Komoot and RideWithGPS. Plan Trips via Bryton Active App 1. - Page 16 Peak in Follow Track mode, allowing you to make the right decision based on your status and stay motivated along the way. 1. Go to Course > My Routes in Bryton Active App. 2. Select the route you would like to add POIs.
-
Page 17: Workout
Workout Create a Workout Rider 750 provides 2 ways to create workout: 1. Plan workout via Bryton Active App. 2. Import workout from 3rd party platforms. Plan workout via Bryton Active App 1. In Bryton Active App, select Course >... - Page 18 Then tap on go back to the previous page. 5. Tap on to continue workout. Note: Workouts can be planned on the Bryton Active App or generated from TainingPeaks. 18 Course Back to Top...
-
Page 19: Bryton Test
Bryton Test Bryton Test includes test courses to help you evaluate your MHR, LTHR, FTP and MAP. Knowing your MHR, LTHR, FTP and MAP gives you a benchmark of your overall efficiency. It also helps you check progress over time and analyze your exercise intensity. -
Page 20: Smart Trainer
Altitude 100m 5 km Note: To see how to create tracks: 1. Plan trip via Bryton Active App. 2. Import routes from 3rd party platforms. 3. Auto sync routes from Strava, Komoot and RideWithGPS. Please go to Page15. 20 Course... - Page 21 Smart Workout Training plans can be built with the Bryton Active App and downloaded directly to the Rider 750. With ANT+ FE-C support, the Rider 750 will communicate with your smart trainer to simulate the resistance from the training plan.
- Page 22 Virtual Ride or the Smart Trainer lost connection. watt Note: You need to connect a smart trainer to the Rider 750 before having access to the Virtual Ride, Smart Workout, Resistance, and Power Workout. 22 Course Back to Top...
-
Page 23: Navigation
Navigation With connection to the internet, you can use your voice to search for locations on the Rider 750 in over 100 languages. The voice search features offers a faster, more intuitive and more convenient to find addresses or POIs. Voice Serach 1. -
Page 24: Pin A Location
Pin a Location 1. Select Navigation in the home page. Locate Your Current Position 1. Before locating your position, make sure you locate satellite. 2. Tap on to locate your current position. Navigate by Dropping a Pin 1. Select and manually pin a desired spot on the map. -
Page 25: Navigate On Bryton Active App
Navigate on Bryton Active App 1. Pair the Rider 750 with Bryton Active App, select Course > Navigation. 2. Input keywords or address or POI type in the search bar then click 3. Select a result from the search list. -
Page 26: Download Maps
Please do not rename the file(s) or change the file extension(s) in the unzipped folder, as this may cause errors to occur. 2. Using the Bryton device’s original USB cable, plug the device into the PC and in the “Bryton” disk, navigate to [Bryton>MAP]. -
Page 27: Results
Results You can view recorded activities on the Rider 750 or delete records to save more storage capacity of the device. View Records 2019/12/10 1. Select in the home page. Summary Details 2. Pick a record to view details. 3. Tap Details or Summary to see different data. -
Page 28: Settings
Active App. Bike Setup Rider 750 supports up to 3 bike profiles, it is easier than ever to customize your device for any type of setup. Settings for each profile can be completely customized for any type of cycling, such as GPS system, wheel size, data fields, etc. - Page 29 Auto Lap: Auto Lap Auto Lap Trigger: You can use the Auto Auto Lap Trigger Lap to mark the lap at a particular Distance position automatically. Choose by Distance Lap At or Location option to trigger laps counts. 5 km Set desired settings or type value by pressing icon.
- Page 30 GPS System Rider 750 has full GNSS (Global Navigation Satellite System) support including GPS, GLONASS (Russia), BDS (China), QZSS (Japan) and Galileo (EU). You can select a suitable GPS Mode according to your location to enhance accuracy or better suit your needs.
-
Page 31: Brightness
Overview Select Overview to view more details of the bike odometer. 1. Find in the home page. 2. Tap Bike Settings. 3. Select a bike profile > Overview. Trip 1 / 2: Cumulative mileage recorded before you reset it. You are free to use Trip 1 or Trip 2 to record travel distance in a period and reset it. -
Page 32: Pair Sensors
Pair Sensors We suggest that you pair all your sensors with the device beforehead, Rider 750 will scan for nearby active sensors from the sensor pool, making switching between bikes and sensors easier and more convenient than ever. 1. Select in the home page. - Page 33 Cadence like to pair with. BLE 132310 3. To pair sensors with your device, please Sunny’s Speed ANT+ 120345 have Bryton Smart Sensors installed first, Power ANT+ 123456 then wear a heart rate monitor or rotate HR Bryton ANT+ 1000 the crank and wheel a few times to wake Bryton Smart Sensors up.
- Page 34 If there is no any veichle around you in 150m, the color strip will not show on the screen. • Please go to Page 30 to see how to pair a bike radar with Rider 750. 34 Settings Back to Top...
-
Page 35: System
System In System, you can customize System Settings, Recording Settings, Auto Scroll, Start Remind, File Saving, Memory, ODO, and Data Reset. System Settings You can setup Language, Backlight Duration, Meter Color Mode, Key Tone, Sound, Time/Unit, Auto Lock, and Status Duration. 1. - Page 36 Recording Settings In Recording Settings, data recording frequency can be customized for higher accuracy / data saving, as well as how data is included depending on user preference. 1. Select in the home page. Recording Settings 2. Select System > Recording Settings. Smart Recording Smart Recording 4 Sec...
- Page 37 Start Remind When the device detects the motion of your bike, a reminder will pop up and ask you if you would like to start recording. You can set the frequency of the reminder. 1. Select in the home page. SYSTEM SYSTEM 2.
-
Page 38: Altitude
75349 hr 75349 hr Once Perform factory reset? Altitude With connection to Internet, Rider 750 provides altitude information for you to calibrate directly. You can also change altitude manually. Calibrate Altitude Altitude 1. Choose in the home page. -
Page 39: Navigation Settings
Rerouting Setting 1. Select Auto or Manual. Network (WLAN) Rider 750 supports WLAN.With the access to the internet, the device will sync data to / from Bryton Cloud. Once you finished uploading data, the network will automatically disconnect to the device. -
Page 40: About
Version 038.010.022 3. Firmware information and current latitude 03.011.000 and longitude will show on the device. UUID 1902200600000178 LAT/LONG ---, 2020 Bryton Inc. All Rights Reserved. TSS™, IF™, and NP™ are trademarks of TrainingPeaks, LLC. www.trainingpeaks.com 40 Settings Back to Top... -
Page 41: Profile
Profile In Profile, you can browse and personalize your information. Personal Information 1. Select in the home page. 2. Tap to edit details. Customize Heart Rate Zone Profile 1. Select MHR. User Name x Use keyboard to enter MHR . Katherine x Press to edit details for each zone. -
Page 42: Bryton Advanced Settings
Bryton App Advanced Settings After pairing your Rider 750 with Bryton Active App, you will have access to Notifications. Notifications After pairing your compatible smartphone using Bluetooth Smart wireless technology with Rider 750, you can receive phone calls, texts and email notifications on your Rider 750. -
Page 43: Appendix
Appendix Specification Rider 750 Item Description Display 2.8” Transflective Color TFT LCD Capacitive Touch Screen Physical Size 92.5 x 49.7 x 23.8 mm Weight Operating Temperature -10°C ~ 60°C Battery Charging 0°C ~ 40°C Temperature Battery Li-polymer rechargeable battery Battery Life Up to 20 hours with open sky ANT+™... -
Page 44: Battery Information
Smart Cadence Sensor (Optional) Item Description Physical Size 36.9 x 31.6 x 8.1 mm Weight Water Resistance Incidental exposure to water of up to 1 meter for up to 30 minutes Transimission Range Battery Life Up to 1 year Operating Temperature -10°C ~ 60°C Radio Frequency/protocol 2.4GHz / Bluetooth 4.0 and Dynastream ANT+ Sport wireless communications protocol... - Page 45 To replace the battery: 1. Locate the circular battery cover on the back of sensors. 2. Use your finger to press and twist cover counter-clockwise so the indicator on the cover points to unlock icon ( 3. Remove the battery and insert new battery with positive connector first into the battery chamber.
-
Page 46: Install Rider 750
Install Rider 750 Use Sport Mount to Mount Rider Use F-Mount to Mount Rider (Optional) 46 Appendix Back to Top... -
Page 47: Install The Speed/Cadence/Dual Sensor (Optional)
Install the Speed/Cadence Sensor (Optional) Smart Cadence Sensor Smart Speed Sensor NOTE: x Once sensors are waken, the LED blinks twice. The LED continues to blink when you continue to pedal for pairing. After around 15 times blink, it stops blinking. If not used for 10 minutes, sensor would go into sleep mode to preserve power. -
Page 48: Install Heart Rate Belt (Optional)
Adjust the sensor position to the middle part of the body (wear it slightly below the chest). The Bryton logo shown on the sensor should be facing upward. Tighten the elastic belt firmly so that it will turn loose during the exercise. -
Page 49: Wheel Size And Circumference
Wheel Size and Circumference The wheel size is marked on both sides of the tires. Wheel Size L (mm) Wheel Size L (mm) 12x1,75 26x3,00 2170 12x1,95 26x1-1/8 1970 14x1,50 1020 26x1-3/8 2068 14x1,75 1055 26x1-1/2 2100 16x1,50 1185 650C Tubular 26 1920 x7/8 16x1,75... -
Page 50: Data Fields
Data Field Category Data Field Description of Data Fields Calories The number of total calories burned. Energy The accumulated power output in kilojoules for the current Kilojoules activity. The height of your current location above or below sea Altitude level. The highest height of your current location above or below Max Altitude level which the rider achieved for the current activity. - Page 51 Category Data Field Description of Data Fields Cadence The current rate at which rider is pedalling the pedals. The accumulated power output in kilojoules for the current Avg CAD activity. Cadence Max CAD The maximum cadence for current activity. LapAvgCad The average cadence for the current lap.
- Page 52 Category Data Field Description of Data Fields Training Stress Score is calculated by taking into account TSS (Training both the intensity such as IF and the duration of the ride. Stress Score) A way of measuring how much stress is put on the body from a ride.
- Page 53 Category Data Field Description of Data Fields SPD Ring The current speed rate displays in dynamic coloured graph- ical mode. SPD Bar CAD Ring The current cadence rate displays in dynamic coloured graphical mode. CAD Bar HR Ring The current heart rate displays in dynamic coloured graph- ical mode.
-
Page 54: Basic Care For Your Rider 750
Basic Care For Your Rider 750 Taking good care of your device will reduce the risk of damage to your device. x Do not drop your device or subject it to severe shock. x Do not expose your device to extreme temperatures and excessive moisture. - Page 55 20 cm separation distance to the user. Hereby, Bryton Inc. declares that the radio equipment type Bryton product is in compliance with Directive 2014/53/EU. The full text of the EU declaration of conformity is available at the following internet address: http://www.brytonsport.com/download/Docs/CeDocs_Rider750.pdf...
Need help?
Do you have a question about the Rider 750 and is the answer not in the manual?
Questions and answers