Coltene CanalPro Jeni Assembly Manual
Hide thumbs
Also See for CanalPro Jeni:
- Instructions for use manual (68 pages) ,
- Processing instructions (60 pages) ,
- Instructions for use manual (60 pages)
Advertisement
Table of Contents
- 1 Connect the Basic Unit to the Power Supply
- 2 Assemble the Apex Locator Set
- 3 First Steps (1/2)
- 4 For Using Only the Apex Locator Press the 'Apex' Button
- 5 Set the Desired Working Length
- 6 Press here to Calibrate the Motor
- 7 First Steps (2/2)
- 8 Move the Root Canal File Steadily Forward under Light Pressure
- Download this manual
Advertisement
Table of Contents

Related Manuals for Coltene CanalPro Jeni


Summary of Contents for Coltene CanalPro Jeni
- Page 1 CanalPro Jeni Step by Step...
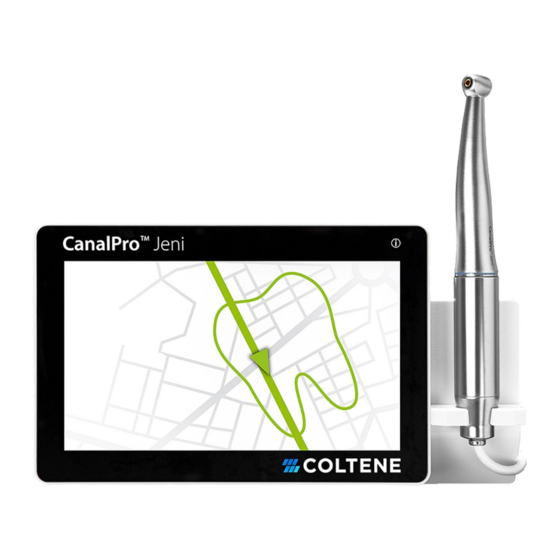
- Page 2 CanalPro Jeni Assembly Guide Connect the basic unit to the power supply Connect the contra-angle (ISO E-connection) with the motor (must not be rotated). Connect the motor with the display ( ). Check whether the SD card is placed in station (➔).
- Page 3 CanalPro Jeni First Steps (1/2) Press here for your In the file system setup, language setting and you can choose the to adjust the volume files to be displayed of the signal sounds. per sequence. For using only the apex locator press the "Apex" button. Press the "Preparation"...
- Page 4 CanalPro Jeni First Steps (2/2) Press here to switch off the apex locator. Select the required file and adjust the lip clip before starting root canal treatment. Start the motor by pressing down the foot switch. The CanalPro™ Jeni continuously adapts to the individual root canal anatomy and constantly regulates rotary movement, torque and file stress.
Need help?
Do you have a question about the CanalPro Jeni and is the answer not in the manual?
Questions and answers