Advertisement
Scan for full manual
Step 1: Check what's in the box
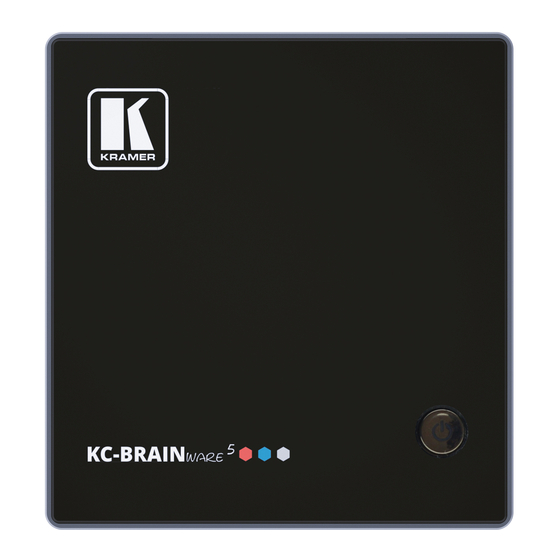
KC-BRAINware-5 Kramer Control server
1 Power Adapter (19V DC)
Step 2: Get to know your KC-BRAINware-5
#
Feature
1
USB 3.0 Connectors
2
Audio Output 3.5mm Mini Jack
Power Button
3
4
Security Slot
5
Power Connector
TM
6
HDMI
OUT Connector
7
Mini DisplayPort Connector
8
LAN RJ-45 Connector
9
USB 3.0 Connectors
The terms HDMI, HDMI High-Definition Multimedia Interface, and the HDMI Logo are trademarks or registered trademarks of HDMI Licensing Administrator, Inc.
Step 3: Install the KC-BRAINware-5
Install
KC-BRAINware-5
using one of the following methods:
•
Install the VESA mounting plate on a wall with the 4 screws, insert the 2 hand-tightened screws into the bottom of the
device, and mount the device on the mounting plate using the 2 screws.
•
Place on a flat surface.
• Ensure that the environment (e.g., maximum ambient temperature & air flow) is compatible for the device.
• Avoid uneven mechanical loading.
• Appropriate consideration of equipment nameplate ratings should be used for avoiding overloading of the circuits.
• Reliable earthing of rack-mounted equipment should be maintained.
• Maximum mounting height for the device is 2 meters.
KC-BRAINware-5 Quick Start
KC-BRAINware-5 Quick Start Guide
This guide helps you install and use your
Go to
www.kramerav.com/downloads/KC-BRAINware-5
firmware upgrades are available.
Function
Connect to up to two USB devices.
Connect to earphones or powered speakers.
Press to turn the unit on and off.
Connect to a security lock cable.
Connect to the 19V DC power adapter.
Connect to a display.
Connect to a display.
Connect to a LAN network or to a wireless router.
Connect to up to two USB devices.
KC-BRAINware-5
for the first time.
to download the latest user manual and check if
1 VESA mounting kit
HDMI cable extender (M to F)
P/N: 2 9 0 0 - 3 0 1 3 3 3 QS
1 Quick start guide
Rev: 2
Advertisement
Table of Contents

Summary of Contents for Kramer KC-BRAINware-5
- Page 1 KC-BRAINware-5 Kramer Control server 1 VESA mounting kit 1 Quick start guide 1 Power Adapter (19V DC) HDMI cable extender (M to F) Step 2: Get to know your KC-BRAINware-5 Feature Function USB 3.0 Connectors Connect to up to two USB devices.
- Page 2 Step 4: Connect the inputs and outputs Always switch OFF the power on each device before connecting it to your KC-BRAINware-5. Connecting Keyboard, Mouse, and Display are optional. SSH has been enabled by default and is the recommended process for configuring KC-BRAINware-5.


Need help?
Do you have a question about the KC-BRAINware-5 and is the answer not in the manual?
Questions and answers