Advertisement
Your satisfaction is important to us, please let us help!
If you have any questions or concerns during the installation, our support representa-
tives are available to assist you.
Please call: 1-877-769-3765 or Live Chat at www.raptorseries.com
If you have damaged or missing parts please contact the company you purchased the
product from and notify them of the issue right away.
CAUTION: Do not install damaged parts!!!
Raptor Series Truck Accessories | P:877.769.3765 | F: 877.875.7446 | E: sales@raptorseries.com
Advertisement
Table of Contents

Related Manuals for Raptor Series MAGNUM RT GTS25CH


Summary of Contents for Raptor Series MAGNUM RT GTS25CH
- Page 1 If you have damaged or missing parts please contact the company you purchased the product from and notify them of the issue right away. CAUTION: Do not install damaged parts!!! Raptor Series Truck Accessories | P:877.769.3765 | F: 877.875.7446 | E: sales@raptorseries.com...
- Page 2 In the event that you need to ship your part back to return/exchange, please ship to the warehouse below: CYC Returns Warehouse 2415 Cathy Lane Jasper, IN 47546 Raptor Series Truck Accessories | P:877.769.3765 | F: 877.875.7446 | E: sales@raptorseries.com...
- Page 3 Raptor Series Warranty LIMITED TEN (10) YEAR WARRANTY For Powder Coated Steel Products CYC Engineering, Inc. guarantees the original purchaser of our products a limited ten (10) year warranty from the date of original purchase against manufacturer defects in materials, workmanship and finish under normal use.
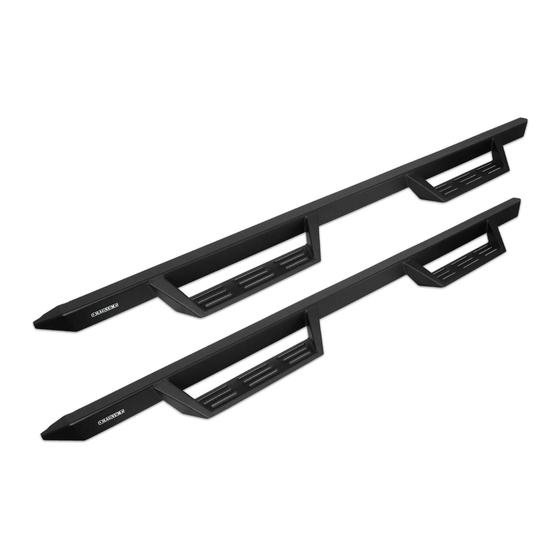
- Page 4 Rev 1 GTS25CH MAGNUM RT STEPS Components: Hardware: M8 x 25 mm Hex Head Bolts Qty 18 M8 Hex Head Nuts Qty 8 M8 Flat Washers Qty 26 Passenger M8 Lock Side Step Bar Washers Qty 1 Qty 26 M8 U-Nut Clips Armor Plates Qty 12...
- Page 5 Rev 1 Note: When installing the brackets and bars, all hardware must be left loose until all the items are attached. Remove all contents from the package and check stainless steel tubes for any damage. Also, verify that all components and hardware listed above are included before you begin installation.
- Page 6 Rev 1 Remove the (2) plastic plugs from all (3) mounting locations in the rocker panel. Front Center and Rear. Insert M8 U Nut Clips so that the threads are on the inside of the rocker panel. U-NUT CLIP EXISTING MOUNTING PLASTIC HOLE...
- Page 7 Rev 1 Place each T-Bolt (for Rear Bracket) into each hole and secure each T-Bolt using Plastic Push Nut. T-BOLT PLASTIC PUSH NUT Fasten each bracket using two (2) M8 x 25MM Hex Head Bolts, two (2) M8 Flat Washers, two (2) M8 Lock Washers.
- Page 8 Rev 1 Installing the Step Bar MOUNTING RTSPN175 BRACKET BOLT/NUT PLATE Line up mounting points on the step bar with the M8 FLAT mounting holes in each WASHER bracket. M8 LOCK WASHER Fasten the step bar to each bracket using one (1) M8 x 25MM RTSPN175 Bolt/Nut Plate, HEX HEAD...
Need help?
Do you have a question about the MAGNUM RT GTS25CH and is the answer not in the manual?
Questions and answers