Advertisement
Available languages
Available languages
Quick Links
Advertisement

Related Manuals for KKT KOLBE Sinus Insel TC9


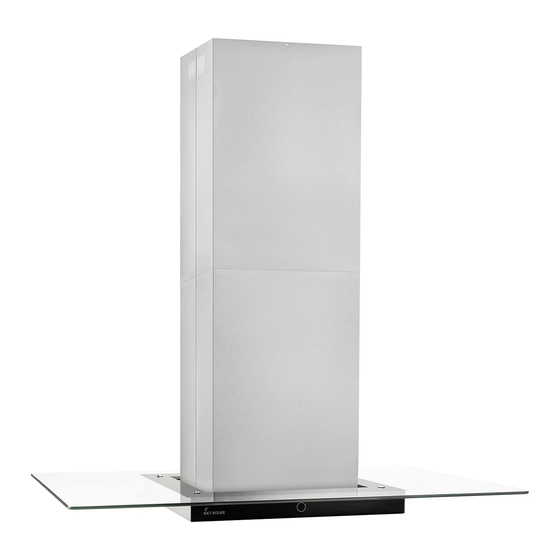
Summary of Contents for KKT KOLBE Sinus Insel TC9
- Page 1 SINUS INSEL Installationsanleitung - Deutsch Installation instruction - English...
- Page 2 6x 40x 4x...
- Page 3 580 min 680 min 1160 max 1160 max 60-65 cm 65-70 cm...
- Page 4 DEUTSCH Decken-Befestigungsplatte an die Decke positionieren Deckenplatte befestigen Bei Beton-/Putzwand: Bohren Sie nun zwei Löcher an den markierten Stellen mit einem 10 mm starken Bohrer. Klopfen Sie anschließend die Dübel Positionieren Sie die Deckenplatte und markieren Sie die vorsichtig mit dem Hammer in die Wand und benutzen Sie die Position der Schraubenlöcher.
- Page 5 Hauben-Hauptteil anschrauben Schacht hochziehen Schieben Sie den unteren Kaminteil auf die Winkelstangen und Sie können nun den unteren Teil des Schachtes auf das Hauben- heben ihn, bis er knapp unter dem oberen Kaminteil sitzt. hauptteil fallen lassen. Heben Sie den Hauptteil der Dunstabzugshaube auf die Winkelleiste und dann fixieren sie ihn mit 16 ×...
- Page 6 ENGLISH Position the hanging plate Fix the hanging plate For wooden ceiling: 11 × ST4 (30 mm) screws Position the hanging plate on the ceiling and then mark the position of the screw holes. For cement ceiling: The hanging plate should be securely fixed to the ceiling. 6 ×...
- Page 7 Lift main body Connect power and slide down the chimney Lift the main body of the cooker hood onto the angle bar and If you are going to be using the hood in extraction mode, then fix it into position using the 16×M5 screws and nuts with you should fix the ducting hose to the ceiling.
Need help?
Do you have a question about the Sinus Insel TC9 and is the answer not in the manual?
Questions and answers