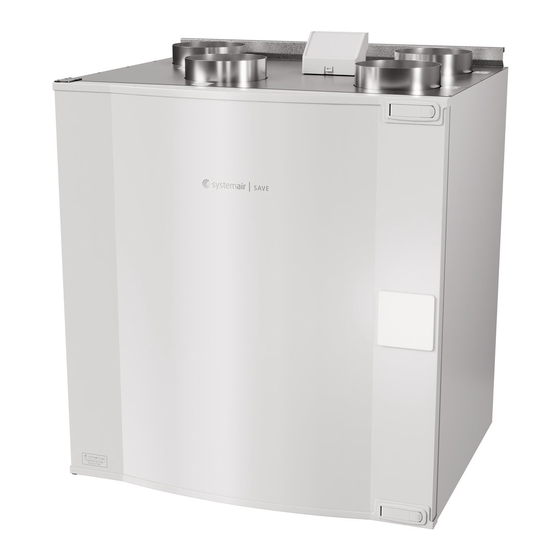
SystemAir SAVE VTC 300 Series Replacement Instructions Manual
Changing the bypass damper
Hide thumbs
Also See for SAVE VTC 300 Series:
- User manual (70 pages) ,
- Installation and service (48 pages) ,
- Installation instructions manual (18 pages)

Related Manuals for SystemAir SAVE VTC 300 Series


Summary of Contents for SystemAir SAVE VTC 300 Series
- Page 1 SAVE VTC 300 Changing the bypass damper Replacement instructions 209238-EN_GB Document in original language 2014-11-12 A002...
-
Page 2: Table Of Contents
Contents 1 Warnings........................... 1 2 Left and Right models ........................ 1 3 Changing the bypass damper ..................... 2 4 Changing the bypass damper in the units produced before 10–08–2014 ........7 4.1 Disconnecting the transformer................... 8 4.2 Mounting the new bypass damper and connecting the adapter ..........11... -
Page 3: Warnings
Note: This document describes installation of the bypass damper on the right (R) model. The inside of a left (L) model is mirrored. Replacement instructions SAVE VTC 300 Systemair AB 209238... -
Page 4: Changing The Bypass Damper
3 Changing the bypass damper Disconnect the unit from the mains supply. Open the front hatch. Remove the lid (pos 2) of the bypass damper by loosening 4 screws (pos 1). Replacement instructions SAVE VTC 300 Systemair AB 209238... - Page 5 Disconnect all the cables: disconnect 4–pin connector (pos 1), 3–pin connector (pos 2), ground GND connector (pos 3) and modular jack cabling to the front hatch (pos 4). Loosen the damper locking screws with a black knob (pos 1). Replacement instructions SAVE VTC 300 Systemair AB 209238...
- Page 6 Slightly lift up the bypass damper (pos 1) and then remove it by pulling it outside (pos 2). Mount the new bypass damper (pos 1), lock it into the position (pos 2). Replacement instructions SAVE VTC 300 Systemair AB 209238...
- Page 7 Place and tighten the damper with locking screws with a black knob (pos 1). Connect all the cables: connect 4–pin connector (pos 1), 3–pin connector (pos 2), ground GND connector (pos 3) and modular jack cabling to the front hatch (pos 4). Replacement instructions SAVE VTC 300 Systemair AB 209238...
- Page 8 Remove a hole cover (pos 1) from the damper lid (pos 2) to pass through the cabling of the CD control panel. Mount the lid of the bypass damper by tightening 4 screws (pos 3). Close the hatch and connect the unit to the mains supply. Replacement instructions SAVE VTC 300 Systemair AB 209238...
-
Page 9: Changing The Bypass Damper In The Units Produced Before 10-08-2014
Disconnect the unit from the mains supply (step 1, page 2 ), open the hatch (step 2, page 2 ). Remove the front lid (pos 2) by loosening four screws (pos 1). Replacement instructions SAVE VTC 300 Systemair AB 209238... -
Page 10: Disconnecting The Transformer
4.1 Disconnecting the transformer General changes that needs to be made on components in the connection box are shown in the illustrations bellow. Position Description Transformer Print card (PCU-EC) 4–pol socket Replacement instructions SAVE VTC 300 Systemair AB 209238... - Page 11 Disconnect and remove a black ground wire (GND) connected to the terminal on the print card (pos 1) and the transformer (pos 2). This wire is not needed anymore. Replacement instructions SAVE VTC 300 Systemair AB 209238...
- Page 12 The grey GND wire is too short to be connected directly on the right side of the print card, cut and remove the protective black shrinking tubing from the cable (about 5–8 cm) before connecting the wire (pos 5). Replacement instructions SAVE VTC 300 Systemair AB 209238...
-
Page 13: Mounting The New Bypass Damper And Connecting The Adapter
Remove the bypass damper (see: step 6, page 4 ). Mount the new bypass damper (see: step 7, page 4 ). Lock the bypass damper with two screws with knobs (see: step 8, page 5 ). Replacement instructions SAVE VTC 300 Systemair AB 209238... - Page 14 4, page 10 (pos 3 and 4)). Do not mix DI6 and Damper GND grey wires from the connection box while connecting them to the adapter or else bypass damper alarm will occur! Replacement instructions SAVE VTC 300 Systemair AB 209238...
- Page 15 Mount the lid of the bypass damper by fastening four screws (see: step 10, page 6 ). Mount the cover plate of the connection box (pos 1) then fasten two screws (pos 2). Replacement instructions SAVE VTC 300 Systemair AB 209238...
- Page 16 Turn on the unit and check if the damper alarm is not raised. In case the alarm is raised, check if grey wires from the connection box were not mixed while connecting them to the adapter (see: step 7, page 12). Replacement instructions SAVE VTC 300 Systemair AB 209238...
- Page 17 Replacement instructions SAVE VTC 300 Systemair AB 209238...
- Page 18 Systemair AB reserves the right to make changes and improvements to the contents of this manual without prior notice. Systemair AB Industrivägen 3 SE-739 30 Skinnskatteberg, Sweden Phone +46 222 440 00 Fax +46 222 440 99 www.systemair.com 209238...
Need help?
Do you have a question about the SAVE VTC 300 Series and is the answer not in the manual?
Questions and answers