Table of Contents
Advertisement
Quick Links
Table of Contents
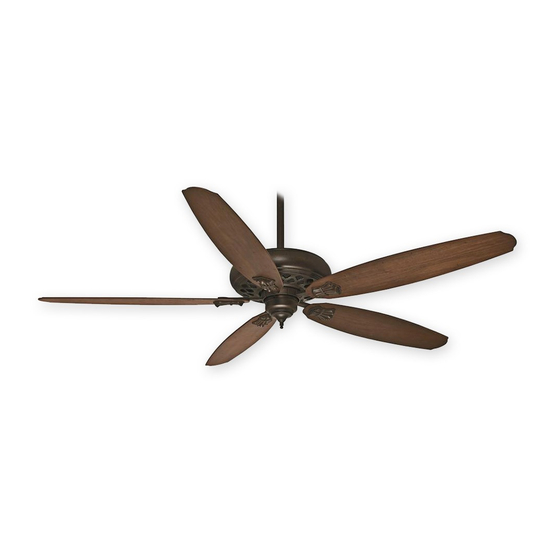
Congratulations on purchasing your new
Casablanca® ceiling fan! It will provide
comfort and performance in your home
or ofice for many years. This installation
and operation manual contains complete
instructions for installing and operating
your fan.
We are proud of our work and appreciate
the opportunity to supply you with the
best ceiling fan available anywhere in the
world.
To register your fan, please visit:
www.CasablancaFanCo.com/register
Save your receipt for proof of purchase.
What to Expect with
Your Installation
7 feet
Preparation
Switch Housing
Blades
13
M8503-01 • 04/23/13 • © Casablanca Fan Company
Tools Needed
30 inches
Ladder
2
3
Downrod
6
7
Operation
14
16
1
www.CasablancaFanCo.com
Mounting Options
Ceiling Bracket
4
Wiring
Canopy
10
Maintenance
& Cleaning
Troubleshooting
?
?
?
?
17
1.888.227.2178
5
12
?
18
Advertisement
Table of Contents

Subscribe to Our Youtube Channel
Related Manuals for Casablanca Fellini


Summary of Contents for Casablanca Fellini
- Page 1 Preparation Downrod Wiring Canopy world. To register your fan, please visit: www.CasablancaFanCo.com/register Save your receipt for proof of purchase. Maintenance Switch Housing Operation & Cleaning Troubleshooting Blades M8503-01 • 04/23/13 • © Casablanca Fan Company...
-
Page 2: What To Expect With Your Installation
Assess ceiling angle Select a downrod length installed and used in accordance with the instructions may cause harmful interference to radio communications. M8503-01 • 04/23/13 • © Casablanca Fan Company... -
Page 3: Tools Needed
Tools Needed www.CasablancaFanCo.com 1.888.227.2178 Ladder Pliers Wire Strippers Screwdrivers 9/64” Drill Bit Power Drill (optional) (optional) If mounting to a support structure, you will also need these tools. M8503-01 • 04/23/13 • © Casablanca Fan Company... -
Page 4: Mounting Options
You need ONLY You need BOTH a Longer a Longer Downrod & Downrod an Angled Mounting Kit *most common M8503-01 • 04/23/13 • © Casablanca Fan Company M8503-01 • 04/23/13 • © Casablanca Fan Company... -
Page 5: Ceiling Bracket
To avoid possible electrical shock, before installing your fan, disconnect the power by turning off the circuit breakers to the outlet Refer to warning w.1 on pg. 2 box associated with the wall switch location. M8503-01 • 04/23/13 • © Casablanca Fan Company... - Page 6 Save the screws. They will be next couple of steps. needed for blade iron installation. Note: Some fans will have a shipping ring instead of shipping blocks. Please remove the ring and save the screws. M8503-01 • 04/23/13 • © Casablanca Fan Company...
- Page 7 Steps 1-5 to remove standard downrod pipe Longer Downrod for angled ceilings or ceilings 10’ or higher Shorter Downrod for fans installed close to ceiling Steps 6-10 to reassemble with new pipe M8503-01 • 04/23/13 • © Casablanca Fan Company...
- Page 8 DO NOT can be inserted. from the top of the downrod. HAND TIGHTEN. 8” 3/8” If the setscrew is not tightened securely, the fan may fall. M8503-01 • 04/23/13 • © Casablanca Fan Company...
- Page 9 DO NOT PICK THE FAN UP BY THE Let the canopy sit loosely on top of the fan. CANOPY OR WIRES. Place the downrod ball into the slot in the ceiling bracket. M8503-01 • 04/23/13 • © Casablanca Fan Company...
- Page 10 Spread the wires apart, with the grounded wires on one side of Refer to CAUTION c.1 on pg. 2 the outlet box and the ungrounded wires on the other side of the outlet box. M8503-01 • 04/23/13 • © Casablanca Fan Company...
- Page 11 (2) this device must accept any interference received, including interference that may cause undesired operation. and the ungrounded wires on the other side of the switch box. M8503-01 • 04/23/13 • © Casablanca Fan Company...
- Page 12 Insert the two canopy screws lifted into place, the canopy its into the screw holes are aligned. found in the hardware bag. the hanging bracket as shown. Note: Fan style may vary. M8503-01 • 04/23/13 • © Casablanca Fan Company...
- Page 13 For hardware bag, to attach the medallion cleaning the fan, use soft brushes or cloths to prevent to the blade iron. Repeat for all blades. scratching. Cleaning agents may damage the inishes. M8503-01 • 04/23/13 • © Casablanca Fan Company...
-
Page 14: Switch Housing
Make sure the upper switch housing is securely attached to the mounting plate. Failure to properly secure all 3 assembly screws could result in the switch housing ixture falling. M8503-01 • 04/23/13 • © Casablanca Fan Company... - Page 15 Make sure the lower switch housing is securely attached to the upper switch housing. Failure to properly secure all 3 assembly screws could result in the switch housing ixture falling. M8503-01 • 04/23/13 • © Casablanca Fan Company...
-
Page 16: Operation
Reinstall the battery will turn at the lowest speed holder and reinsert the battery door signifying that the remote turns the fan off and on. into the wall control. pairing process is complete. M8503-01 • 04/23/13 • © Casablanca Fan Company... -
Page 17: Maintenance And Cleaning
Replace with In cold weather, use (b) upward same type battery, making sure air low pattern. the (+) side is facing down. Replace battery holder and battery door. M8503-01 • 04/23/13 • © Casablanca Fan Company... -
Page 18: Troubleshooting
10-11. • Check the plug connection in the switch housing. AUTHORIZED SERVICE CENTERS For the most updated listing of Casablanca Authorized Service Centers, visit www.CasablancaFanCo.com or call toll free 1-888-227-2178. M8503-01 • 04/23/13 • © Casablanca Fan Company...
Need help?
Do you have a question about the Fellini and is the answer not in the manual?
Questions and answers