Advertisement
PCI-TMC12AU/PEX-TMC12A
What's in the box?
The package includes the following items:
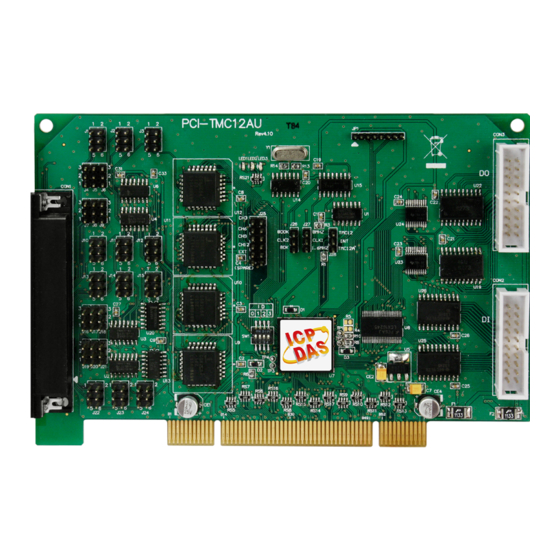
PCI-TMC12AU
PCI-TMC12AU/PEX-TMC12A
Related Information
For more detailed information related to the user manual and
software for UniDAQ Driver & SDK:
http://ftp.icpdas.com/pub/cd/iocard/pci/napdos/pci/unidaq/
For more detailed information related to the hardware settings for
PCI-TMC12A Series Card:
CA-2002 Product Page (optional):
Technical support:
PEX-TMC12A
or
x1
service@icpdas.com
Quick Start
Quick Start x 1
(This Document)
v1.0, May 2019
CA-4002 D-Sub
Connector x 1
P1
Advertisement
Table of Contents

Related Manuals for ICP DAS USA PCI-TMC12AU


Summary of Contents for ICP DAS USA PCI-TMC12AU
- Page 1 PCI-TMC12AU/PEX-TMC12A Quick Start v1.0, May 2019 What’s in the box? The package includes the following items: PEX-TMC12A PCI-TMC12AU PCI-TMC12AU/PEX-TMC12A Quick Start x 1 CA-4002 D-Sub Connector x 1 (This Document) Related Information For more detailed information related to the user manual and software for UniDAQ Driver &...
- Page 2 Installing Windows Driver 1) Download or locate the Windows driver. The UniDAQ driver supports 32-/64-bit Windows XP/2003/2008/7/8/10. It is recommended that new users install this driver, which can be found in the http://ftp.icpdas.com/pub/cd/iocard/pci/napdos/pci/unidaq/dll/driver/ PCI-TMC12 Series Classic Driver supports Windows 98/NT/2K and 32-bit Windows XP/2003/2008/7.
- Page 3 1) Power off the Computer. 2) Remove all covers from the Computer. 3) Select an unused PCI /PCI Express slot. 4) Carefully insert the PCI-TMC12AU/ PEX-TMC12A Card into PCI/PCI Express slot. 5) Replace the Computer Covers. 6) Power on the Computer.
- Page 4 Pin Assignments NOTES: 1. ECLKn: External clock source for Counter n 2. EXTGn: External gate control signal for Counter n 3. COUTn: Output of Timer/Counter n 4. All signals are TTL compatible Technical support: service@icpdas.com...
- Page 5 Testing Board Prepare for device CA-2002 (optional) cable 1) Connect the CON2 to CON3 on board using the CA-2002 cable. CA-2002 Cable 2) Launch the UniDAQ Utility software. If the UniDAQ Utility was installed in the default folder, it will be located at “C:\ICPDAS\UniDAQ\Driver”.
- Page 6 3) Confirm that the PCI-TMC12 Series Card has been successfully installed in the Host system. NOTE: The device numbers start from 0. 4) Click the “TEST” button to start the test. 5) Check the results of the Digital Input and Digital Output functions test.
- Page 7 Click the “Digital Input” tab. Select “Port0” from the “Port Number” drop-down options. The DI indicators will turn black when the corresponding DO channels 0, 2, 4 and 6 are ON. Technical support: service@icpdas.com...
Need help?
Do you have a question about the PCI-TMC12AU and is the answer not in the manual?
Questions and answers