Table of Contents
Advertisement
Quick Links
Advertisement
Table of Contents

Subscribe to Our Youtube Channel
Related Manuals for Bematech SB1015AW


Summary of Contents for Bematech SB1015AW
- Page 1 SB1015AW Widescreen All-in-one POS Terminal with Android USER MANUAL...
-
Page 2: Table Of Contents
Table of Contents Introduction ..................2 Safety Information ..................2 Electromagnetic compatibility statement ..........3 2 Overview ....................4 Features ......................4 Appearances ....................4 Outline Dimensions ..................4 Rear panel I/O connectors ................5 3 Hardware Information and Installation ..........6 Motherboard Headers and Jumpers Layout .......... -
Page 3: Introduction
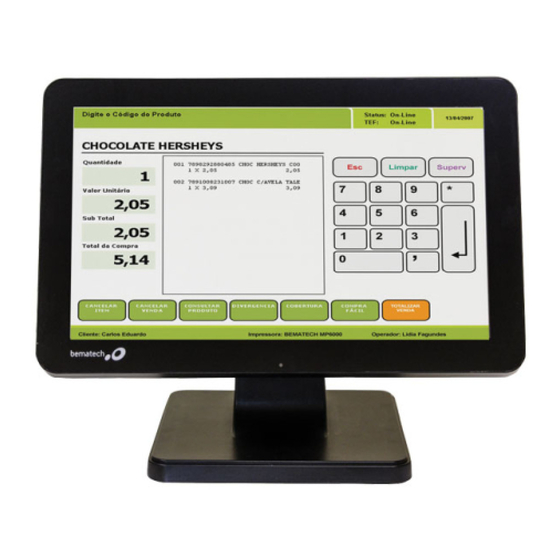
1 Introduction Thank you for purchasing the SB1015AW all-in-one touch POS terminal. SB1015AW offers highly enhanced features, with easy connection to various optional devices for optimal performance. This easy-to-use POS terminal is designed to help you enhance your business flexibility and offer superior customer experience. -
Page 4: Electromagnetic Compatibility Statement
This product is in conformity with the protection requirements of EU Council Directive 89/336/EEC on the approximation of the laws of the Member States relating to electromagnetic compatibility. Bematech / Logic Controls cannot accept responsibility for any failure to satisfy the protection requirements resulting from a non-recommended modification of the product. -
Page 5: Overview
2 Overview 2.1 Features True-flat bezel-free design 15.6" widescreen LCD touch monitor with LED backlight (1366x768) High performance quad core ARM processor Projected capacitive touch technology Integrated VFD customer display and magnetic stripe reader options ... -
Page 6: Rear Panel I/O Connectors
2.4 Rear panel I/O connectors At the rear panel of the SB1015AW is a row of external I/O device connectors detailed as follows: Power COM2 Port RJ-45 LAN Port Micro SD Slot Switch USB 2.0 Ports Line-OUT COM1 Port OTG Port USB 2.0 Port... -
Page 7: Hardware Information And Installation
3 Hardware Information and Installation 3.1 Motherboard Headers and Jumpers Layout 3.2 Motherboard Headers and Jumpers List Header/Jumper Name Header/Jumper Name ATX Power Header SATA Power Header USER_VCC Header SATA Header Internal Speaker Header LED Header Backlight Inverter Header COM1 / COM2 Header LVDS Signal Header USB 2.0 Header Inverter Voltage Jumper... -
Page 8: Header / Jumper Pin Assignment
3.3 Header / Jumper pin assignment (1) ATX Power Header (2) USER_VCC Header: Support DC3.3V/5V/12V Pin# Signal Pin# Signal 3.3V (3) Internal Speaker Header (4) Backlight Inverter Header Pin# Signal 12V 12V EN PWN GND GND (5) LVDS Signal Header... - Page 9 (6) Inverter Voltage Jumper Pin# Signal 1-2 Close 2-3 Close (7) LVDS Voltage Jumper Pin# Signal 1-2 Close 3-4 Close 3.3V 5-6 Close (8) I2C Header Pin# Signal VCC SCL SDA INT RET GND (9) GPIO Header (10) SATA Power Header Pin# Signal GND GND...
- Page 10 (13) COM1 / COM2 Header Pin# Signal Pin# Signal (14) USB 2.0 Header Pin# Signal Pin# Signal DATA0- DATA1- DATA0+ DATA1+ NC (CUT) (15) Touch USB Header Pin# Signal (16) Internal Audio Header Pin# Signal Pin# Signal MIC- MIC-IN (17) LAN Header Pin# Signal TN RX- RX+ TX- TX+...
-
Page 11: Magnetic Script Reader (Msr) Installation
3.4 Magnetic Script Reader (MSR) Installation (optional peripheral) 1. Remove the MSR mount cover from the monitor. 2. Insert MSR module. Make sure reader has been properly connect to the monitor USB port then use the 2 screws to fix the MSR. -
Page 12: General Settings
5 General Settings 5.1 Enable/Disable sound on keypress 1. Tap “Settings” 2. Select the “Language & input” option... - Page 13 3. Select “Android Keyboard (ASOP)” option and then ”Advanced” 4. Select “Vibrate on keypress” and “Sound on keypress” to disable or enable it. Note that "Vibrate on keypress" is implemented as internal buzzer beep.
-
Page 14: Enable/Disable System Touch Sound
5.2 Enable/Disable System Touch Sound 1. Tap “Settings” 2. Select “Sound” then enable or disable “Touch sound” or “Vibrate on touch”. Note that "Vibrate on touch" is implemented as internal buzzer beep. -
Page 15: Enable/Disable Wi-Fi
5.3 Enable/Disable Wi-Fi 1. Tap “Settings” 2. Select Wi-Fi and slide to “ON”. Then select available “Access Point” to connect. To turn off Wi-Fi, slide option to “OFF”. Note: Wi-Fi is set up as first priority for internet connection. -
Page 16: Enable/Disable Ethernet
5.4 Enable/Disable Ethernet 1. Tap “Settings” 2. Select “More…”. 3. Select “Ethernet” then select “Use Ethernet” to enable or disable it. - Page 17 Note: Ethernet will be disabled when Wi-Fi is turned on.
-
Page 18: Specifications
6 Specifications SYSTEM Quad Core ARM Cortex A9, 1.6GHz Memory 1GB DDR3 SDRAM Storage 8GB eMMC Operating System Android 4.4.4 Ethernet LAN 10M/100M Wireless 802.11a/b/g/n, BT4.0 DISPLAY LCD panel 15.6" TFT display, WXGA 1366 x 768, 200 nits typ. Touch screen Projected capacitive touch Touch Controller USB interface... - Page 19 SB1015AW Widescreen All-in-one POS terminal...
Need help?
Do you have a question about the SB1015AW and is the answer not in the manual?
Questions and answers