Advertisement
Quick Links
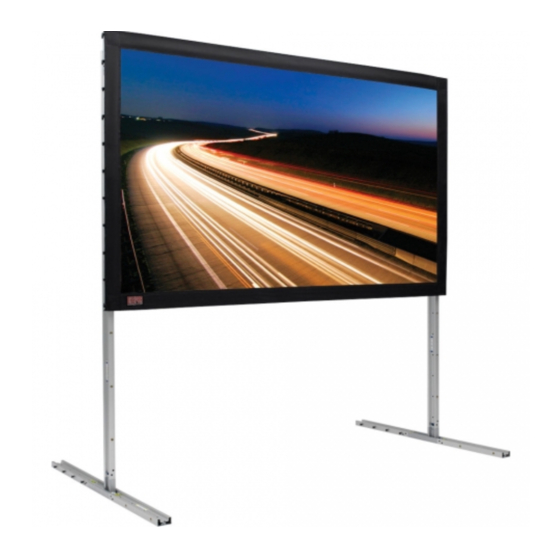
FocalPoint
™
Extremely rigid, durable, lightweight and modular framed projection screen.
DuraLoop
™
Bungee
Attachment
Modular
Frame Sections
Section 1 - Frame/Screen Assembly
1. Remove tarp from case and place on the ground.
2. Remove frame pieces from case and place in the appropriate locations on the tarp.
Please Note: For screens with Viewing areas of 18' or larger Draper ships a special corner labeled "Large
Screen Corner". If you did not order a complete screen do not use the standard "corner" for
the large screens. Contact Draper if needed.
Please Note: Each piece is color-coded: refer to FocalPoint™ Assembly Map included with screen for
correct layout (see reverse side).
Please Note: Frame pieces should be placed with "forks" running counter-clockwise and DuraLoop™
Attachment Lugs facing out.
3. Assemble frame by inserting "forks" of each piece into extrusions on the adjoining piece (see Fig. 1).
Tighten by turning color-coded attachment knobs (see Fig. 2).
4. Remove leg pieces from case and place in the appropriate locations on the tarp.
CAUTION
1. Read instructions through completely before proceeding;
retain for future reference.
2. Handle viewing surface with care; do not allow it to come
in contact with sharp or dirty objects.
3. These instructions are based on assembly by a minimum
of two people.
4. Make sure screen is level.
5. Do not write on viewing surface.
6. The ideal temperature range for assembling folding
screens to prevent damaging the surface is 68°-78° F
Black
(20°-26° C). Assembling below recommended
Border
temperatures may damage surface and void warranty.
7. Do not permit screen fabric to contact border material or
loops when folded. Store in pouch provided.
Viewing
8. Please read the following installation guidelines
Surface
thoroughly and follow them carefully. Failure to do so
invalidates warranty.
Please Note: Custom products/installations may not be reflected
by this document. Call Draper, Inc. if you have questions about your
installation.
Figure 1
Figure 2
If you have any difficulties installing or servicing your
Draper, Inc. | 411 S. Pearl St. Spiceland, IN 47385
© 2018 All Rights Reserved
INSTRUCTIONS
INSTALLATION & OPERATION
Caution
FocalPoint, call your dealer or Draper, Inc.
draperinc.com | 765.987.7999 | 800.238.7999
|
FORM: FocalPoint_Inst17
Advertisement

Related Manuals for Draper FocalPoint


Summary of Contents for Draper FocalPoint
- Page 1 1. Remove tarp from case and place on the ground. 2. Remove frame pieces from case and place in the appropriate locations on the tarp. Please Note: For screens with Viewing areas of 18’ or larger Draper ships a special corner labeled “Large Figure 1 Screen Corner”.
- Page 2 8 Attach viewing surface to frame (see Fig. 5). Figure 5 Figure 6 9 Raise FocalPoint into place (this step requires at least two people) (see Fig. 6). Figure 7 10. Attach the back extensions to the leg bases (see Fig. 7).
Need help?
Do you have a question about the FocalPoint and is the answer not in the manual?
Questions and answers