Advertisement
Available languages
Available languages
Quick Links
Advertisement

Related Manuals for Pepperl+Fuchs KFD2-UT-Ex1


Summary of Contents for Pepperl+Fuchs KFD2-UT-Ex1
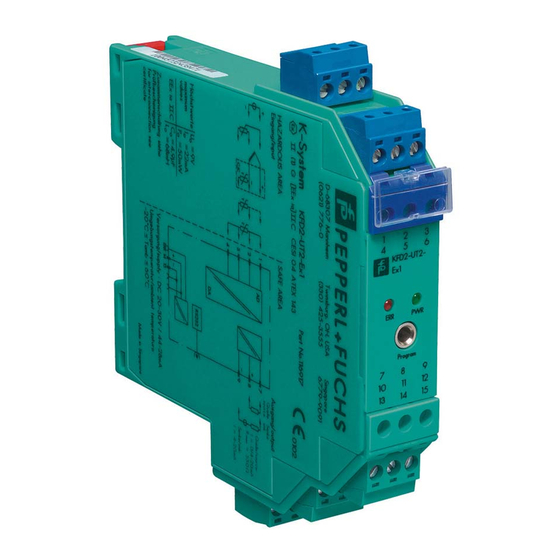
- Page 1 P R O Z E S S A U T O M A T I O N KFD2-UT-Ex1 Kurzanleitung deutsch / englisch Handbuch...
- Page 2 Für die Online-Parametrierung muß der Sensor nicht mit dem Gerät verbunden sein. 2. Installation der Software Die Software für das KFD2-UT-Ex1 wird auf 3,5 Zoll Diskette geliefert. Starten Sie das Installationsprogramm INSTALL.EXE von der Diskette. Sie müssen nun im Dialog die folgende Optionen angeben : •...
- Page 3 P R O Z E S S A U T O M A T I O N 3. Online-Parametrierung des KFD2-UT-Ex1 mit dem PC Im folgenden werden Ihnen alle Schritte erklärt, um eine Parametrierung durchzu- führen. Die einzelnen Schritte bauen aufeinander auf, und sollten in der angege- benen Reihenfolge durchgeführt werden.
- Page 4 P R O Z E S S A U T O M A T I O N Sie können Menüpunkte auch durch Tastenkombinationen aufrufen. Sie drücken dazu zunächst die [Alt] Taste, und dann die Taste, die im jeweiligen Menüpunkt farbig hervorgehoben ist. Dadurch wird dieser Menüpunkt aktiviert und geöffnet. Alternativ dazu können Sie einen Menüpunkt auch mit der Maus anklicken, um ihn zu aktivieren und zu öffnen.
- Page 5 P R O Z E S S A U T O M A T I O N zeige von Betriebszuständen. In diesen Dialogboxen befinden sich Eingabefelder und sogenannte Buttons. Die Buttons lösen Funktionen aus, die Eingabefelder dienen zur Erfassung von Texten und Werten. Jedes Fenster enthält mindestens einen Button, um z.
- Page 6 P R O Z E S S A U T O M A T I O N Falls keine Verbindung aufgebaut werden kann, erscheint die Fehlermeldung "Kei- ne Verbindung zum Gerät". Anschließend wird der Fehler genauer spezifiziert, z. B. mit der Meldung "Gerät ist nicht verbunden mit COM 1". Diese Meldung er- scheint wenn zwischen Gerät und PC keine Verbindung besteht.
- Page 7 P R O Z E S S A U T O M A T I O N Informationen über Meßstelle Sensorparameter In der obersten Zeile des Dialogfeldes bekommen Sie den Betriebsmodus ange- zeigt. In den nächsten vier Zeilen sehen Sie Informationen über Meßstelle und Gerätetyp.
- Page 8 P R O Z E S S A U T O M A T I O N 3.4 Anzeige - Meßwert anzeigen Diese Funktion dient zur Anzeige des aktuellen Meßwertes. Sie bekommen die folgende Dialogbox angezeigt : Beachten Sie bitte, daß die erste Anzeige eines Meßwertes einige Sekunden dauern kann, da der aktuelle Wert vom Gerät abgefragt wird.
- Page 9 P R O Z E S S A U T O M A T I O N Sollte ein Fehler im Feldgerät vorliegen, dann erscheint beispielsweise die fol- gende Dialogbox: Diese Funktion funktioniert nur, wenn Sie vorher einmal einen Verbindungsaufbau durchgeführt haben.
- Page 10 Power Rail. Use cable K-ADP (RS232 interface adapter cable) to connect the PC that you want to use for online parametrization. The sensor does not need to be connected to the KFD2-UT-Ex1, for online parametrization of the KFD2-UT-Ex1.
- Page 11 P R O C E S S A U T O M A T I O N 3. Using the PC for online parametrization of the KFD2-UT-Ex1 Below you will find a description of the steps you need to take, to set up the unit`s parameters.
- Page 12 P R O C E S S A U T O M A T I O N Key combinations Alternatively, use key combinations to call up menu items. To do so, hold down the [Alt] key, and then press the key that is highlighted in the menu. This activates and opens that menu item.
- Page 13 P R O C E S S A U T O M A T I O N Using dialog boxes Some program functions open up dialog boxes in which you can enter values, or for displaying the current operating status. These dialog boxes contain entry fields which you can enter text and values, and also so-called buttons.
- Page 14 P R O C E S S A U T O M A T I O N If no connection can be set up, this error message appears: "Can`t communicate with device". You then get more detailed information about the type of error. For example, you might see the message "Device is not connected to COM1".
- Page 15 P R O C E S S A U T O M A T I O N Information about the measuring point Sensor parameters In the top line of the dialog field you can see the selected operating mode. In the next four lines you can see information about the measuring point and device type.
- Page 16 P R O C E S S A U T O M A T I O N 3.4 Displaying measurement values This function is used to display the current measurement values. The following dialog box is displayed: Please note that you may have to wait a few seconds before a measurement value is displayed for the first time, as the current value is gathered from the device.
- Page 17 P R O C E S S A U T O M A T I O N If an error arises in the field device, you may see a dialog box containing information similar to the following: This function is only available if you have already set up a connection to the field 3.6 Diagnostics - Simulation "Simulate"...
- Page 18 P R O C E S S A U T O M A T I O N Zumutbare Änderungen aufgrund technischer Verbesserungen vorbehalten. Copyright by Pepperl+Fuchs, Printed in Germany · Part Nr. 41 332 02/2000...
Need help?
Do you have a question about the KFD2-UT-Ex1 and is the answer not in the manual?
Questions and answers