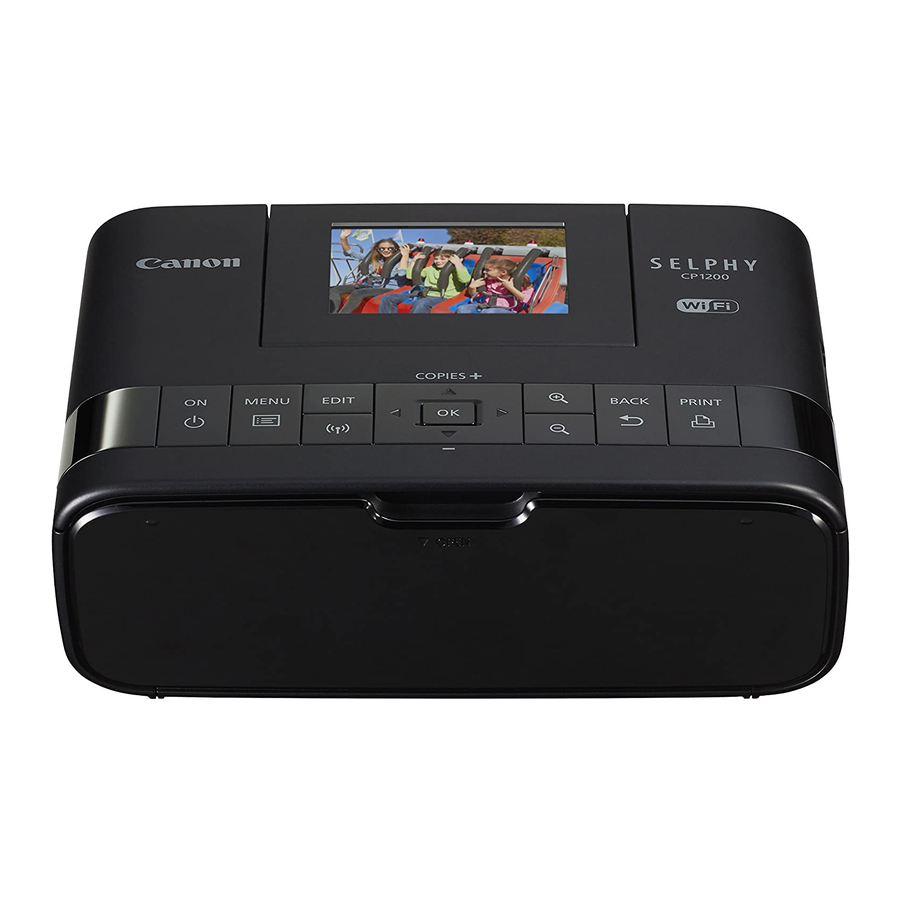
Canon SELPHY CP1200 Quick Start Manual
Wi-fi printing with the compact photo printer
Hide thumbs
Also See for SELPHY CP1200:
- User manual (130 pages) ,
- Getting started (19 pages) ,
- User manual (66 pages)
Advertisement
Advertisement
Table of Contents

Subscribe to Our Youtube Channel
Summary of Contents for Canon SELPHY CP1200
- Page 1 Wi-Fi Printing with the SELPHY CP1200 Compact Photo Printer...
- Page 2 Printing via Wi-Fi - SELPHY CP1200 Click a link, below, for information on setting up and printing wirelessly with the SELPHY CP1200 Compact Photo Printer Printing from a Smartphone Printing via AirPrint Printing from a Camera Printing from a Computer...
-
Page 3: Printing From A Smartphone
Printing from a Smartphone 1. Install the dedicated application on your smartphone. For an iOS device (iPhone, iPad, or iPod touch), visit the App Store and download and install Canon PRINT Inkjet/SELPHY. For an Android device, download and install Canon PRINT Inkjet/SELPHY from Google Play. - Page 4 4. Check the printer name. Check the displayed printer name and press the OK button. You can change the printer name by pressing the EDIT button 5. Choose the connection method. buttons to select [Direct Connection], and then press the OK button. Press the The screen below is displayed.
- Page 5 Enter the password displayed on the printer into the password field. 7. Use your smartphone to print. Start Canon PRINT Inkjet/SELPHY, choose images, and print. Once printing begins, the screen below is displayed. Do not disconnect the devices or close the application while this screen is displayed. Images may not be printed correctly or completely.
-
Page 6: Printing Via Airprint
Choose images to print with the application on your iOS device, tap [Share] , and in the menu options displayed, tap [Print]. 2. Configure printer options. In [Printer], choose “Canon SELPHY CP1200”. 3. Print. Tap [Print] to print. [Printer Options] may not be displayed in step 2, depending on AirPrint compatibility of the application. If printer options are not available, printing is not possible from the application. -
Page 7: Printing From A Camera
Printing from a Camera You can print as follows by connecting the printer to a camera compatible with DPS over IP, the PictBridge standard for Wi-Fi connections. 1. Prepare SELPHY. Remove any inserted memory cards or USB flash drives. Insert a loaded paper cassette and an ink cassette in SELPHY. 2. - Page 8 4. Choose the connection method. Press the buttons to select [Direct Connection], and then press the OK button. The screen below is displayed. 5. Use the camera to join the network displayed on the printer screen. In the camera’s Wi-Fi settings, select the SSID (network name) displayed on the printer. Enter the password displayed on the printer into the password field.
-
Page 9: Printing From A Computer
The standby screen is displayed when the camera is no longer connected. Printing in progress cannot be canceled from SELPHY by using the [back] button. Use the camera to stop printing. You can also connect the printer to a camera via an existing access point. In this case, connect the printer and camera to the same access point.


Need help?
Do you have a question about the SELPHY CP1200 and is the answer not in the manual?
Questions and answers