Advertisement
Installation
Required Tools:
•
Torque Wrench
•
8mm Allen Key Socket
•
Rubber Mallet
•
Small Phillips Screwdriver
1.
Use a small phillips screwdriver to remove the
screw securing the battery cover, remove the
battery cover, then install the batteries. Once
the batteries are installed, replace the cover and
screw.
2.
Ensure that the rider's right crank arm is at the
6 o'clock position, then using the rubber mallet,
tap the 4iiii Crank onto the bottom bracket at the
12 o'clock position. Finally, using a torque wrench
with an 8mm allen socket attached, torque the
crank bolt to 40-44 ft-lb (55-60 Nm)
3.
Install the pedal into the crank arm then use a
torque wrench and a 8mm allen socket to torque
to the pedal bolt according to the specifications
below:
• Threaded Pedal: 25-30 ft-lb (34-40 Nm)
• Morse Taper Pedal: 33 -37 ft-lb (45-50 Nm)
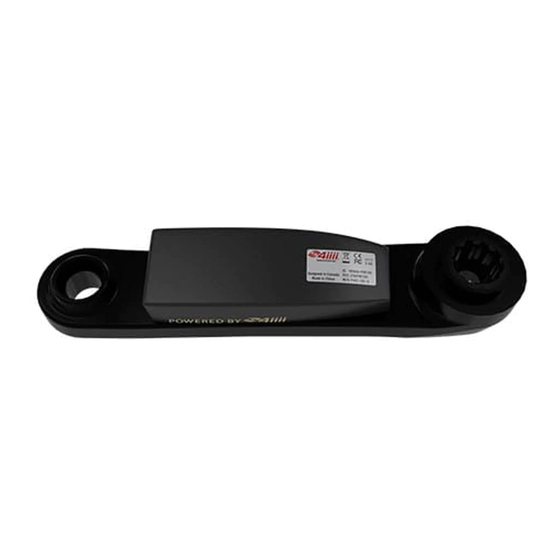
4iiii Crank Arm Installation
Applies to: All Machines
Latest Rev.
Page 1
620-8543 Rev. A
Advertisement
Table of Contents

Related Manuals for Schwinn 4iiii


Summary of Contents for Schwinn 4iiii
- Page 1 Ensure that the rider’s right crank arm is at the 6 o’clock position, then using the rubber mallet, tap the 4iiii Crank onto the bottom bracket at the 12 o’clock position. Finally, using a torque wrench with an 8mm allen socket attached, torque the...
- Page 2 Use “AVG/MAX” to scroll until “SENSOR TYPE” is displayed then push the backlight button to access the sensor menu. Ensure that “4iiii” is displayed as the sensor type. If the sensor type is set to “Echelon 2” press the backlight button to select the sensor type, use the “AVG/MAX”...
Need help?
Do you have a question about the 4iiii and is the answer not in the manual?
Questions and answers