Schwinn Cadence Pro Assembly Manual
Core health & fitness for ac/ic pro
Hide thumbs
Also See for Cadence Pro:
- Installation instructions manual (28 pages) ,
- Install manual (8 pages)
Advertisement
Quick Links
Advertisement

Related Manuals for Schwinn Cadence Pro


Summary of Contents for Schwinn Cadence Pro
- Page 1 Core Health & Fitness Cadence Pro for AC/IC Pro ASSEMBLY MANUAL...
- Page 2 Before beginning the install process, please review the tables below to ensure that the correct bracket is being used, the sensor is paired to the computer, and the proper gear ratio is set: Computer Mount: BIKE MOUNT PAGE IC Pro IC Pro + IC Pro20 - Page 5 IC Pro20 AC Sport...
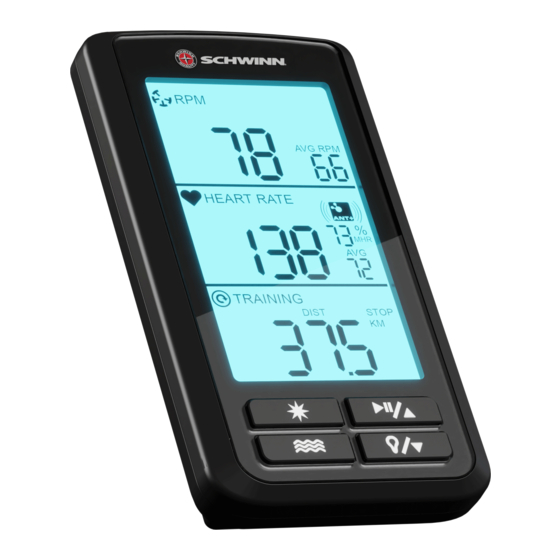
- Page 3 Pair Sensor + Computer Begin with one battery removed from the com- puter. Insert the battery while pressing and holding any of the four buttons on the front of the comput- er. The display will now show the maintenance screen. Press the Set button ( ) and“CAD”...
- Page 4 To pair automatically, press the Mode button( The 4-digit alpha-numeric code should match the code on the side of the cadence transmitter and the back of the computer If needed, a manual pairing can be done by press- ing and holding the Mode button ( ).
-
Page 5: Gear Ratio
Setting Gear Ratio Begin with one battery removed from the com- puter. Insert the battery while pressing and holding any of the four buttons on the front of the comput- er. The display will now show the maintenance screen. Press the Set button ( ) three times and “GrA- tio”... -
Page 6: Tools Required
- see Page 2 Install the silicone seal onto the back of the Cadence Pro computer then using a 3mm allen key, secure the IC Pro mount to the back of the console with three (3) pieces of the M5 x 10mm button head cap screw. - Page 7 Use a #2 phillips screwdriver to remove the top and bottom chain guard screws and washers, then use this hardware to install the RPM sensor. Peel off the adhesive backing and stick the magnet mount to the fl ywheel, ensure that the curve at the base of the mount sits against the axle hub.
- Page 8 - see Page 2 Install the silicone seal onto the back of the Cadence Pro computer then using a 3mm allen key, secure the IC Pro mount to the back of the console with three (3) pieces of the M5 x 10mm button head cap screw.
- Page 9 Install the RPM sensor onto the chainguard. NOTE: DO NOT install the external magnet onto the AC Performance Plus as it is pre-installed inside the fl ywheel. Peel off the adhesive backing and stick the magnet mount to the fl ywheel, ensure that the curve at the base of the mount sits against the axle hub.
- Page 10 AC Performance Plus (Carbon Blue) Tools Required: • 3mm Allen Key • #2 Phillips Screwdriver Remove the clamp screw using a 3mm allen key, then install the computer/mount assembly onto the handlebars. NOTE: If the mount clamps don’t fi t snugly, use the included rubber shims to take up the slack.
- Page 11 Peel off the adhesive backing and stick the magnet mount to the fl ywheel, ensure that the curve at the base of the mount sits against the axle hub. NOTE: Pieces of the frame and chainguard have been removed for clarity. Place the magnet inside the magnet mount at the second, middle hole from the fl ywheel axle.
- Page 12 © 2018 CORE HEALTH & FITNESS, LLC PART NUMBER 620-8654, REV B...
Need help?
Do you have a question about the Cadence Pro and is the answer not in the manual?
Questions and answers