Advertisement
Quick Links
Advertisement

Subscribe to Our Youtube Channel
Summary of Contents for Audipack DWS-120 E
- Page 1 Mounting / user instruction DWS-120 E, DWS-160E & DFS-120E Copyright Audipack...
- Page 2 Check at arrival the packaging to determine there’s no damage to the system. With detected damage inform your transporter in time. Installation of the DWS-120E / 160E & DFS-120E: When the system is taken out of it’s packaging (with care) it is important to check the following items: -Steel cable on the motor drum (see next page).
- Page 3 See the below drawing of a proper installed cable on the motor drum. The cable must be organised proper. When not, please shift the cable neatly all the way to the sides (towards cable fastening). With the DFS system the back cover must be removed first.
- Page 4 Mount the system to the wall, using all applicable mounting points! Install level and straight in all directions. Beware that the transport aid must be maintained during the installation. Every mounting point has 2 bolt slots, use them at all times.
- Page 5 When the system is installed it is possible to set the monitor cart level. Do this only when the system has made a full travel, with load from top to bottom. Remove the small lids from the columns and use a 13 mm wrench to correct the cable length.
- Page 6 When the Audipack L&S5 pattern is used, please use the UFPRO universal flat panel mounts. In case of using the VESA pattern, use the optional Audipack stainless steel cams for installing the flat panel directly to the system. VESA 400 VESA 600 L&S5...
- Page 7 Flat panel security. If needed it is possible to secure the flat panel from taking it unauthorized away. Unlock and slide the cover panel before inserting the flat panel. Reinstall it afterwards.
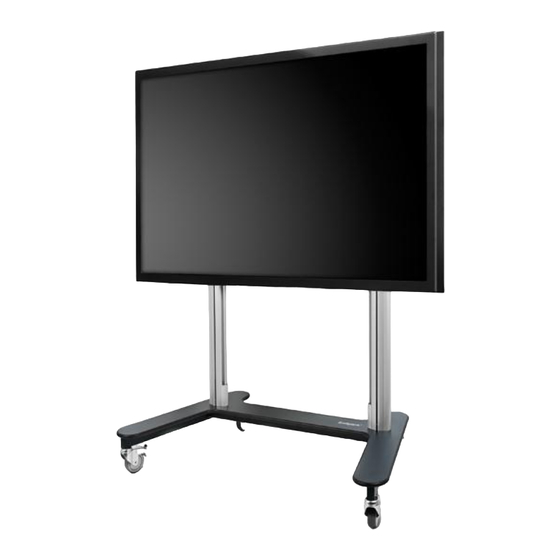
- Page 8 Installing the DFS-120E: (the shown model is inclusive the optional DFS-CP) The DFS-120E is the trolley version of the upper mentioned DWS system. Both systems have the same technical specifications. Remove the system from the packaging and check the content. Do not remove the transport bar from the product untill the product is completely assembled.
- Page 9 Adjusting the DWS-160E system. Be aware that it might be possible your model is equipped with 2 version of adjustment. Please see the next chapter when the lift is equipped with an electronic height adjustment. The difference is that the electronic version has NO yellow and white adjustment knobs as illustrated below.
- Page 10 Connecting the DWS-160E. Please consult the below listed diagram.
- Page 11 Adjusting the DWS-120E and DFS-120E system. This procedure is only applicable for products with electronic height adjustment setting. During testing the system is aready set to maximum limits. For the first use the lifting head must be set in height to let the cams from the monitor bracket insert into the key holes of the lifting head (while the flat panel is still in the flightcase).
- Page 12 Plug back in the power, the motor will rotate for a few seconds. When the motor has stopped, press the small “prog” button on the back of the PCB (see picture). Programm button The motor will rotate left and right shortly Audipack Industriestraat 2 2751 GT Moerkapelle +31(0)79 593 1671...
- Page 13 -160 Kg with the VESA 600 (combined with the Audipack cams) Power supply 230 VAC 50-60 Hz Max. Motor runing time 4 minutes (10 minuten “cool-down” period). For questions and technical support please contact Audipack or the reseller: Audipack +31 (0)79-5931671 dept. Technicl support...


Need help?
Do you have a question about the DWS-120 E and is the answer not in the manual?
Questions and answers