Table of Contents

Related Manuals for HydroPoint WeatherTRAK Chassis 7


Summary of Contents for HydroPoint WeatherTRAK Chassis 7
- Page 1 WeatherTRAK Chassis 7 Installation Guide Included in Guide: • Installation Instructions • Initial Programming • Controller Activation Activate your WeatherTRAK controller at www.weathertrak.com/activate – or call (800) 362-8774...
-
Page 2: Table Of Contents
Existing Equipment that will be Used ..................1 Other Equipment Needed ......................1 Overview of the Steps for Installing the WeatherTRAK Chassis 7 ..........2 Step 1 - Preparing the Existing Controller for Conversion ............3 Step 2 - Turning off AC Power and Removing Controller Faceplate and Electronic Assembly ... 3 Step 3 - Installing the Antenna ...................... -
Page 3: Getting Started
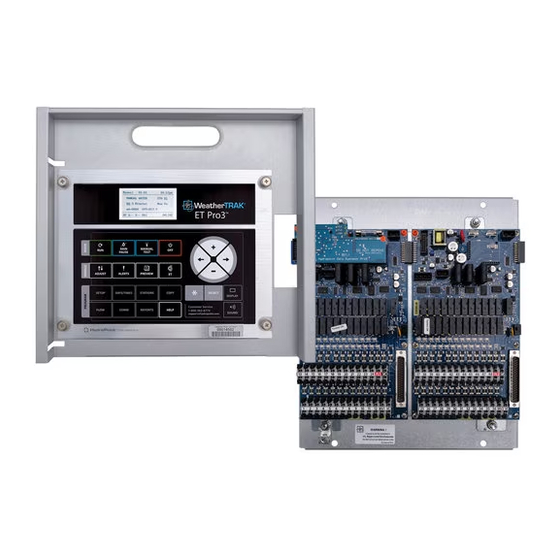
Getting Started Thank you for purchasing the WeatherTRAK Chassis 7. The Chassis 7 is made to retrofit into top mount enclosures. Be sure to follow the step-by-step procedures in this document when performing the installation. Questions? Contact Customer Support at support.hydropoint.com or call 800.362.8774. -
Page 4: Overview Of The Steps For Installing The Weathertrak Chassis 7
WeatherTRAK Chassis 7 Installation Guide Overview of the Steps for Installing the WeatherTRAK Chassis 7 To retrofit a top mount enclosure, you need to perform the following steps: Step 1 – Prepare the existing controller for conversion Step 2 – Turn off AC power and remove controller faceplate and electronic subassembly Step 3 –... -
Page 5: Step 1 - Preparing The Existing Controller For Conversion
Remove the transformer. If there are connected wires that prevent you from removing the transformer, disconnect those wires as needed. Note: The existing transformer is not compatible with the WeatherTRAK controller and should NOT be left in place. ©2018 HydroPoint Data Systems Inc. All rights reserved. 800.362.8774 • hydropoint.com... -
Page 6: Step 3 - Installing The Antenna
D. To ensure the antenna makes good contact, clean the top and underside of the enclosure around the newly-drilled hole. Install the pancake antenna as shown in the diagram below. ©2018 HydroPoint Data Systems Inc. All rights reserved. 800.362.8774 • hydropoint.com... -
Page 7: Step 4 - Installing The Chassis 7 And Reconnecting Field Wires
Install the metal junction box and thread a second locknut. Tighten the second locknut to secure the junction box. See the illustration below. ©2018 HydroPoint Data Systems Inc. All rights reserved. 800.362.8774 • hydropoint.com... -
Page 8: Step 6 - Connecting The Power Wires
If a ground rod and/or ground wire exists, connect to the ground lug located in the lower- left corner of the CH7 chassis. ©2018 HydroPoint Data Systems Inc. All rights reserved. 800.362.8774 • hydropoint.com... -
Page 9: Step 8 - Inserting The Cloud Update Key
WeatherTRAK Chassis 7 Installation Guide Step 8 - Inserting the Cloud Update Key HydroPoint is proud to produce world-class irrigation control products. We are constantly adding new features and improving existing products. Firmware upgrades are always free, as long as your hardware is compatible. -
Page 10: Step 9 - Connecting All Components
Insert the pancake antenna cable assembly through the open slot in the top of the command module shelf and connect it to the antenna connection port on the back of the WeatherTRAK command module. ©2018 HydroPoint Data Systems Inc. All rights reserved. 800.362.8774 • hydropoint.com... -
Page 11: Step 10 - Turning The Power Back On
Seat the WeatherTRAK command module over the enclosure shelf as shown in the photo below. Step 10 - Turning the Power Back On Turn the AC power back on. Confirm the WeatherTRAK command module display shows a time and date. ©2018 HydroPoint Data Systems Inc. All rights reserved. 800.362.8774 • hydropoint.com... -
Page 12: Step 11 - Updating The Date And Time
Press the + or − button to set the start time hour for the water window. Press the button to set the start time minute you want the water window to begin. ©2018 HydroPoint Data Systems Inc. All rights reserved. 800.362.8774 • hydropoint.com... -
Page 13: Step 13 - Download The Weathertrak Mobile App
If a date and time is displayed below the ET value, your controller is active. Step 15 - Programming the Controller Included with the WeatherTRAK Chassis 7 is a WeatherTRAK literature pouch. Attach this pouch to the inside of the sliding door. Go to https://www.weathertrak.net... - Page 14 1 (800) 362-8774 support@hydropoint.com RevA20180323...
Need help?
Do you have a question about the WeatherTRAK Chassis 7 and is the answer not in the manual?
Questions and answers