
Related Manuals for Rockler XL Router Table Box Joint Jig


Summary of Contents for Rockler XL Router Table Box Joint Jig
- Page 1 XL Router Table Box Joint Jig Instructions Effective September 2019 Review full instructions prior to use for important safety information. Always check Rockler.com to confirm that you are using the most recent version of instructions for your product.
-
Page 2: General Safety Warnings
Instructions and safety warnings for your product (see the • Keep children and bystanders away from the tool Instructions link on the product page at Rockler.com). operating area; • Do NOT use power tools in explosive environments, or in >... - Page 3 PRODUCT SPECIFIC SAFETY WARNINGS > To avoid serious injury, keep hands and fingers away from rotating cutter. Maintain awareness of the cutter at all times. > Use only with wood and MDF no more than 1" thick. > To avoid risk of serious injury, never set the bit cutting height more than 1"...
-
Page 4: Parts List
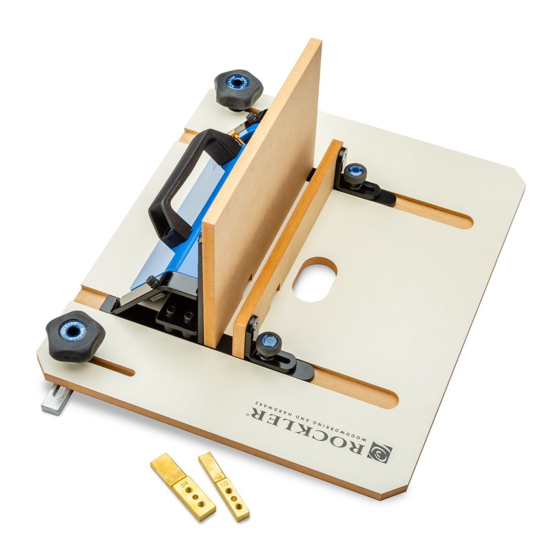
Fig. 1 - Platform Assembly Fig. 2 - Sled Assembly Step 1 PARTS LIST Quantity Quantity Platform 13 1/4"-20 Three-Star Knob 1/2" Indexing Key 14 Small Washer 3/4" Indexing Key 15 Front Sliding Bracket 16 Sled Runner #4 x 3/8" Screw 17 Corner Bracket 5/16"-18 x 1 ⁄... - Page 5 Fig. 3 - Sled Assembly Step 2 Fig. 4 - Sled Assembly Step 3 Assembly and Setup > To avoid risk of serious injury, unplug the router before installing, removing or adjusting the router bit. > To avoid risk of serious injury, never set the bit cutting height more than 1"...
- Page 6 4. Slide the backer sled assembly into the slots in the Platform (1). It might be a tight fit at first. To calibrate the sled so it won’t bind, slightly loosen the 1/4"-20 x 1/2" Hex Socket Head Cap Screws (18) at the top of the Corner Brackets (17).
- Page 7 Cutting THESE WARNINGS PERTAIN TO ALL REMAINING STEPS: > To avoid serious injury, keep hands and fingers away from rotating cutter. Maintain awareness of the cutter at all times. > Use only with wood and MDF no more than 1" thick. >...
- Page 8 The box joint finger pattern on the box’s front and back panels should be the same. The two side panels should also match. Fig. 12 Check Rockler.com for updates. If you have further questions, please contact our Technical Support Department at 1-800-260-9663 or support@rockler.com Fig.
Need help?
Do you have a question about the XL Router Table Box Joint Jig and is the answer not in the manual?
Questions and answers