Table of Contents
Advertisement
Quick Links
Advertisement
Table of Contents

Subscribe to Our Youtube Channel
Related Manuals for AUDAC ATEO2S


Summary of Contents for AUDAC ATEO2S
- Page 1 ATEO2S User & Installation manual www.audac.eu...
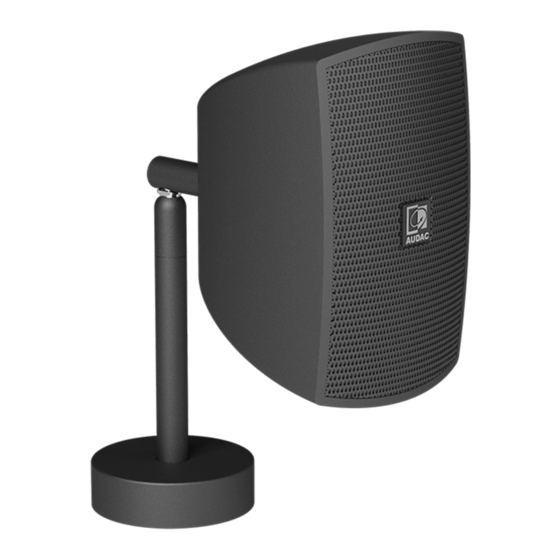
- Page 3 The ATEO2S is an ultra-compact model of this serie, which smoothly integrates into any interior like no other loudspeaker. Fitted with a 2” aluminum cone driver, it provides a full-range, warm and detailed sound with an improved response in the low frequencies due to the ported enclosure.
- Page 4 Precautions READ FOLLOWING INSTRUCTIONS FOR YOUR OWN SAFETY • ALWAYS KEEP THESE INSTRUCTIONS FOR FUTURE REFERENCE. NEVER THROW THEM AWAY • ALWAYS HANDLE THIS UNIT WITH CARE • CLEAN ONLY WITH DRY CLOTH • HEED ALL WARNINGS AND FOLLOW ALL INSTRUCTIONS •...
-
Page 5: Caution - Servicing
CAUTION • USE CABLES OF THE RIGHT GAUGE TO CONNECT THE LOUDSPEAKER • USE CABLES WITH CLEAR COLOUR CODING INDICATING THE POLARITY AND MAINTAIN THE SAME POLARITY THROUGHOUT THE WHOLE SYSTEM. • ONLY USE THE CORRECT AMPLIFIER OUTPUT VOLTAGE AND IMPEDANCE. EXCEEDING THESE LIMITS COULD CAUSE FIRE OR OTHER FAILURES. - Page 6 Installing the ATEO2S ClickMount™ Technology Every ATEO2S speaker uses the unique Clickmount™ technology, offering an elegant and slim solution for mounting the loudspeaker to the ceiling, while providing a great ease for installing the loudspeaker. Using this mounting solution, the speaker can be installed on any ceiling or horizontal surface, while directional placement and tilting can be done in any possible direction, even after the speaker is already installed.
-
Page 7: Step 2: Make The Connections
After the mounting bracket is attached, the connections shall be made. The ATEO2S only allows connection in low impedance mode (8 Ohm for ATEO2S and 16 Ohm for ATEO2SD) and therefore a terminal block connector is provided. The wires coming from the amplifier should be connected to the spring clamp terminal block connector. - Page 8 Step 3: Attach the speaker After the bracket is mounted and the connections have been made, the speaker shall be attached. Attaching is simply done by inserting the male 6.3 mm plug from the bracket into the female counterpart on the rear side of the loudspeaker. Once inserted, the speaker shall be pressed on the male part until the connections are clicked in position.
-
Page 9: Detaching The Speaker
Detaching the speaker In case the speaker needs to be detached from the bracket press the small button on the back of the speaker, marked on the drawing below. This will release the locking mechanism inside the speaker. Do this while pulling the speaker from the male part of the bracket to detach the speaker. -
Page 10: Additional Information
Fine perforated steel grill Incline Angle Left & Right 175° Bottom 90° 0° Colour White ATEO2S/W (RAL9003) ATEO2SD/W (RAL9003) Black ATEO2S/B (RAL9005) ATEO2SD/B (RAL9005 Dimensions (W x H x D) 80.5 x 201.7 x 158.7 mm Weight 0.52 Kg Packaging Carton box (pair) Shipping weight &...
Need help?
Do you have a question about the ATEO2S and is the answer not in the manual?
Questions and answers