AUDAC Ateo 2 User & Installation Manual
Hide thumbs
Also See for Ateo 2:
- User & installation manual (12 pages) ,
- User & installation manual (12 pages)
Advertisement
Quick Links
Advertisement

Related Manuals for AUDAC Ateo 2


Summary of Contents for AUDAC Ateo 2
- Page 1 Ateo 2 User & Installation Manual www.audac.eu...
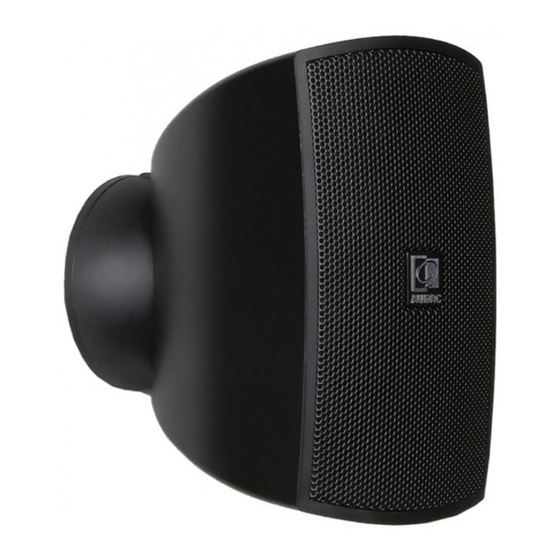
- Page 3 Introduction Compact full-range speaker with Clevermount™ The ATEO is a series of extraordinary loudspeakers especially designed for fixed install indoor applications, ranging from modern residential applications to the most demanding designer applications in environments such as retail stores, pubs, restaurants or even clubs.
- Page 4 Precautions READ FOLLOWING INSTRUCTIONS FOR YOUR OWN SAFETY • ALWAYS KEEP THESE INSTRUCTIONS FOR FUTURE REFERENCE. NEVER THROW THEM AWAY • ALWAYS HANDLE THIS UNIT WITH CARE • CLEAN ONLY WITH DRY CLOTH • HEED ALL WARNINGS AND FOLLOW ALL INSTRUCTIONS •...
- Page 5 CAUTION • USE CABLES OF THE RIGHT GAUGE TO CONNECT THE LOUDSPEAKER • USE CABLES WITH CLEAR COLOUR CODING INDICATING THE POLARITY AND MAINTAIN THE SAME POLARITY THROUGHOUT THE WHOLE SYSTEM. • ONLY USE THE CORRECT AMPLIFIER OUTPUT VOLTAGE AND IMPEDANCE. EXCEEDING THESE LIMITS COULD CAUSE FIRE OR OTHER FAILURES.
- Page 6 Installing the ATEO Clevermount™ Technology Every Ateo speaker uses the unique Clevermount™ technology, making the loudspeaker cabinet flow together with the mounting bracket and providing a great ease for installing the loudspeaker in one good-looking entity. Using this technology, the speaker can be installed at any location in both a horizontal and vertical way, providing the possibility for pointing the speaker into the desired direction, even after the speaker is already mounted and connected.
-
Page 7: Step 2: Make The Connections
Step 2: Make the connections After the wall plate is mounted, the connections shall be made. The ATEO2 only allows connection in low impedance (8 Ohm) mode and therefore two terminals are provided. The included 2-pin terminal block connector should be assembled to the wires coming from the amplifier which are fed through the hole in the center of the wall plate. - Page 8 Step 4: Position the loudspeaker The last step in the mounting procedure of the speaker is pointing it into the correct direction. The Ateo 2 features a spring-loaded mechanism allowing directional adjustment of the loudspeaker without requiring any tools. Just carefully point the speaker into the correct direction and it will automatically remain...
- Page 9 (accessible from the rear side of the loudspeaker). Step 5: Enjoy the music! After the Ateo 2 has been installed correctly, you deserve to have a short break! Relax and enjoy its sound.
-
Page 10: Additional Information
Additional Information Technical specifications Max Power 20 Watt RMS Power 10 Watt Nominal impedance 8 Ohm Sensitivity (1W/1m) 83 dB Sound Pressure (Max W/1m) 93 dB @ 8 Ohm Frequency Response (± 3 dB) 120 Hz - 20 kHz Drivers 2”... - Page 11 Notes...
- Page 12 Notes...
Need help?
Do you have a question about the Ateo 2 and is the answer not in the manual?
Questions and answers