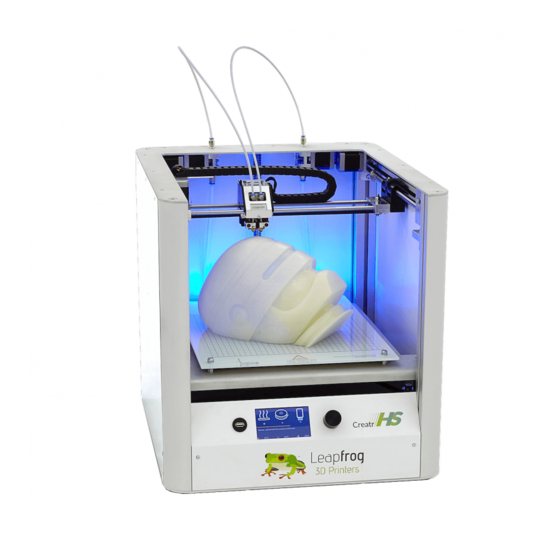
Table of Contents
Advertisement
Quick Links
Flexible filament modification V01-04
Summary
This document describes the modification of the Creatr HS 3D printer of Leapfrog BV to print
flexible filament and written with the intention of use by customers.
Contents
1.
Introduction ............................................................................................................................................. 2
2.
Safety information ................................................................................................................................... 2
3.
Additional information ............................................................................................................................. 2
4.
Tools list ................................................................................................................................................... 2
5.
Parts list .................................................................................................................................................... 3
6.
Additional parts (grab stock) .................................................................................................................... 3
7.
Preparation .............................................................................................................................................. 3
8.
Procedure ................................................................................................................................................. 3
9.
Flexible filament loading procedure ........................................................................................................ 5
10. Tips and tricks .......................................................................................................................................... 9
Creatr HS
H. Kamerlingh Onnesweg 10
2408 AW Alphen aan den Rijn
The Netherlands
1
Advertisement
Table of Contents

Summary of Contents for LeapFrog Creatr HS
-
Page 1: Table Of Contents
The Netherlands Creatr HS Flexible filament modification V01-04 Summary This document describes the modification of the Creatr HS 3D printer of Leapfrog BV to print flexible filament and written with the intention of use by customers. Contents Introduction ............................. 2 Safety information ........................... -
Page 2: Introduction
1. Introduction This document describes the modification of the Creatr HS 3D printer to print flexible filament. The intended audience are customers of Leapfrog BV. All steps in this procedure are required to be followed in detail. 2. Safety information During the performance of this procedure no personal protective equipment (PPE) is required. -
Page 3: Parts List
H. Kamerlingh Onnesweg 10 2408 AW Alphen aan den Rijn The Netherlands 5. Parts list Description Flexible filament modification NOTE: Images are indicative, colours and/or shapes may vary. 6. Additional parts (grab stock) Make sure the following items are readily available during assembly: Description No additional parts needed NOTE: Images are indicative, colours and/or shapes may vary. - Page 4 H. Kamerlingh Onnesweg 10 2408 AW Alphen aan den Rijn The Netherlands Disconnect the bowden tube to the bowden tube holder by pushing down the blue ring while gently pulling out the bowden tube. Loosen the set screw that holds the filament guiding funnel inside the extruder assembly using the Allen key.
-
Page 5: Flexible Filament Loading Procedure
H. Kamerlingh Onnesweg 10 2408 AW Alphen aan den Rijn The Netherlands Fasten the set screw using the Allen key. (Tool 1) WARNING: Do not overtighten this screw! Screw the bowden tube connector into the flexible filament guiding modification. Re-connect the bowden tube into the bowden tube connector by gently pushing it in. Clean up and remove obsolete parts and tools Done 9. - Page 6 H. Kamerlingh Onnesweg 10 2408 AW Alphen aan den Rijn The Netherlands Push the filament in from the bottom, the same way you would with normal filament. Open the extruder all the way by pulling the handle backwards as far as possible. Keep pushing the filament through the extruder until it is half way in the extruder: Note: The rest of the printer is not visible only for clearness of the image.
- Page 7 H. Kamerlingh Onnesweg 10 2408 AW Alphen aan den Rijn The Netherlands Close the extruder a little by releasing the handle a little so it pushes the filament towards the centre of the extruder. Note: The rest of the printer is not visible only for clearness of the image. By pushing the filament and pulling/releasing the extruder tensioning knob you will be able to get the filament to go inside the modified funnel.
- Page 8 H. Kamerlingh Onnesweg 10 2408 AW Alphen aan den Rijn The Netherlands Put the bowden tube over the filament and push it into the coupling. There should be some filament sticking out of the tube: ° Heat up the nozzle to 200-230 Stick the point of the flexible filament into the hot tube and push it by hand to get it extruding.
-
Page 9: 10. Tips And Tricks
H. Kamerlingh Onnesweg 10 2408 AW Alphen aan den Rijn The Netherlands Tips and tricks 1) Keep the printing speed as low as possible. (~100mm/min) The flexible filament will jam up if you will try to print at fast speeds. 2) Keep the retraction speed low.


Need help?
Do you have a question about the Creatr HS and is the answer not in the manual?
Questions and answers