Advertisement
Title
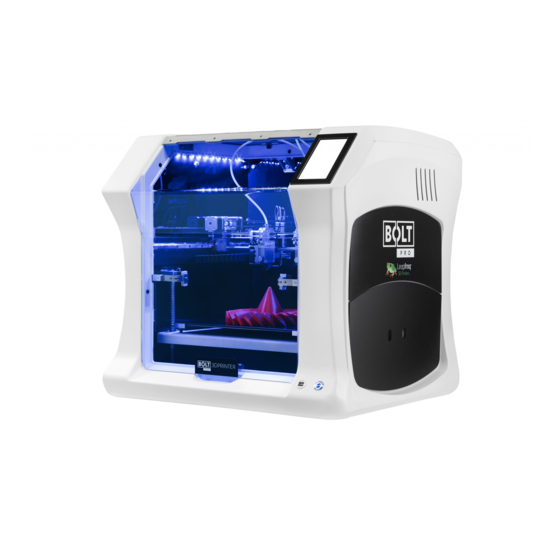
Models
Version
Revision date
Expected duration
Description
This manual explains how to properly clean the extruder drive gear of a Leapfrog Bolt and Bolt PRO.
The extruder gear is mounted on the extruder motor and is used to move the filament through the
printhead.
Dirt or filament remains can build up / stick to the extruder drive gear. This negatively affects the
performance of your printhead as the remains result in reduced grip on the filament of your extruder
causing movements to become less accurate / start slipping.
Guideline
This manual will explain step-by-step how to properly clean the extruder drive gear.
The same procedure can be applied for the left and right printhead. This manual will focus on just one
printhead.
Please clean your extruder drive gear regularly using the guidelines from the maintenance manual.
Before starting the procedure, we recommend to first read all the steps.
Tools
Allen key: 3
Brush (Yellow-Brush Leapfrog Toolkit)
Cleaning Extruder Drive Gear
Bolt, Bolt Pro
1.0
10 minutes
1
Advertisement
Table of Contents

Related Manuals for LeapFrog Bolt


Summary of Contents for LeapFrog Bolt
- Page 1 10 minutes Description This manual explains how to properly clean the extruder drive gear of a Leapfrog Bolt and Bolt PRO. The extruder gear is mounted on the extruder motor and is used to move the filament through the printhead.
- Page 2 Step 1 Preparation Remove any filament from the printhead of which the extruder drive gear will be cleaned. Make sure the printer is turned of and at room temperature. ...
- Page 3 Gaining access to the extruder drive gear Step 2 Remove the filament pressure thumbscrew and it’s inner spring by rotating it anticlockwise. Remove the housing of the filament pressure thumbscrew after first removing the 2 hexagon M4 Bolts.
- Page 4 Visually inspection of the extruder drive gear. Step 3 Visually inspect if the extruder drive gear contains dirt or filament remainings. (the extruder drive gear may be manually rotated)
- Page 5 Cleaning the extruder drive gear Step 4 Use the brush to remove dirt / filament remainings from the extruder drive gear. (the extruder drive gear may be manually rotated in order to access all areas)
- Page 6 Re-assemble the filament pressure mechanism. Step 5 Place the cylinder that is located behind the filament pressure thumbscrew. Place the housing of the filament pressure thumbscrew after first removing the 2 hexagon M4 Bolts. Place the filament pressure thumbscrew and it’s inner spring by rotating it clockwise. ...
- Page 7 Final step Step 6 Make sure the filament pressure thumbscrew is set to the correct tension before starting your next print. The correct tension can be found in the Technical Data Sheet (TDS) for your filament.
Need help?
Do you have a question about the Bolt and is the answer not in the manual?
Questions and answers