Table of Contents
Advertisement
Quick Links
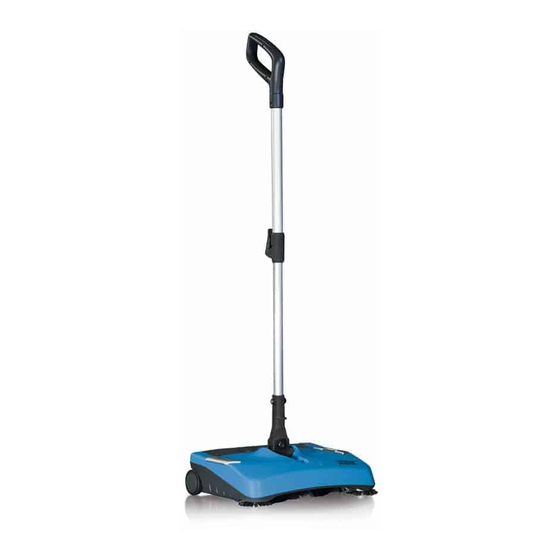
CORDLESS POWER SWEEPER
IT
MANUALE USO E MANUTENZIONE
EN USE AND MAINTENANCE MANUAL
ES MANUAL DE USO Y MANTENIMIENTO
FR MANUEL D'UTILISATION ET D'ENTRETIEN
DE BEDIENUNGS- UND WARTUNGSANLEITUNG
NO BRUKS- OG VEDLIKEHOLDSHÅNDBOK
SV MANUAL FÖR ANVÄNDNING OCH UNDERHÅLL
FI
KÄYTTÖ- JA HUOLTOKÄSIKIRJA
DA BRUGS- OG VEDLIGEHOLDELSESMANUAL
NL HANDLEIDING VOOR HET GEBRUIK
EN HET ONDERHOUD
ORIGINAL INSTRUCTION DOC. 10049160 - Ver. AA - 11-2014
PT MANUAL DE USO E MANUTENÇÃO
ET KASUTUS- JA HOOLDUSJUHEND
Advertisement
Table of Contents

Related Manuals for Fimap Broom


Summary of Contents for Fimap Broom
- Page 1 CORDLESS POWER SWEEPER MANUALE USO E MANUTENZIONE EN USE AND MAINTENANCE MANUAL ES MANUAL DE USO Y MANTENIMIENTO FR MANUEL D’UTILISATION ET D’ENTRETIEN DE BEDIENUNGS- UND WARTUNGSANLEITUNG NO BRUKS- OG VEDLIKEHOLDSHÅNDBOK SV MANUAL FÖR ANVÄNDNING OCH UNDERHÅLL KÄYTTÖ- JA HUOLTOKÄSIKIRJA PT MANUAL DE USO E MANUTENÇÃO DA BRUGS- OG VEDLIGEHOLDELSESMANUAL NL HANDLEIDING VOOR HET GEBRUIK...
-
Page 2: Table Of Contents
ENGLISH CONTENTS SYMBOLS USED IN THE MANUAL ..................13 SYMBOLS USED ON THE MACHINE AND BATTERY CHARGER ........13 PURPOSE AND CONTENT OF THE MANUAL ..............14 TARGET GROUP ......................... 14 STORING THE USE AND MAINTENANCE MANUAL ............14 ON DELIVERY OF THE APPLIANCE .................. 14 INTRODUCTORY COMMENT ..................... -
Page 3: Symbols Used In The Manual
to elements, details, or accessory supply, as considered necessary for reasons of improvement or manufacturing/commercial requirements. The reproduction, even partial, of the text and drawings contained in this document is prohibited by law. SYMBOLS USED IN THE MANUAL Open book symbol with an "i": indicates the need to consult the instruction manual. -
Page 4: Purpose And Content Of The Manual
If necessary, remember that TECHNICAL DESCRIPTION Broom is an electric battery-powered brush designed for cleaning cleaning in corners, and a debris hopper for holding the dirt. Do not dry surfaces in both outdoor and indoor environments. The appliance use the appliance for purposes other than the one indicated above. -
Page 5: Spare Parts
224071 Debris hopper 224073 Power supply battery 224074 Battery charger base 224464 Brushes TECHNICAL DATA Broom Working width Working capacity, up to 1480 Central brush (number / diameter) No. /Ømm 1 / 70 Side brush (number / diameter) No. /Ømm... -
Page 6: General Safety Regulations
GENERAL SAFETY REGULATIONS The regulations below must be carefully followed in order to avoid • The manufacturer cannot be held liable for any harm or harm to the operator and damage to the appliance. WARNING: • Before connecting the battery charger base to the electricity socket, make sure the electrical information on the plate corresponds to •... -
Page 7: Handling The Packed Appliance
HANDLING THE PACKED APPLIANCE The dimensions of the package are as follows: appliance with its packaging is 4.5 kg (weight of the empty machine plus accessories and packaging). Since the packaging elements 370mm (plastic bags, staples, etc.) are a potential source of danger, they 600mm should not be left within the reach of children, disabled persons, etc. -
Page 8: Recharging The Battery
disposal regulations in force in the country where the appliance appliances. Have faulty parts repaired by the staff of a technical is used. assistance centre. • Avoid any contact with the liquid that seeps out of damaged • Have any faulty supply wires replaced immediately. batteries. -
Page 9: Preparing To Work
PREPARING TO WORK 1. Remove the appliance and all the accessories from the box 4. Insert the dummy battery (7) in its compartment (8) on the right 2. Insert the lower tube (1) of the handlebar in the hole on the joint are facing towards the rear of the appliance . -
Page 10: Maintenance
Warning 13. Take the appliance to the designated machine storage place. debris hopper uncoupling lever. 10. Rotate the stop lever of the command handlebar (6) in the and cannot suffer any deformation caused by the weight of the 11. Close the command handlebar, pushing the handle (7) towards the main part of the appliance. -
Page 11: Troubleshooting
TROUBLESHOOTING This chapter lists the most common problems linked with the use of the appliance. If you are unable to resolve the problems with the information given here, please contact your nearest assistance centre. PROBLEM POSSIBLE CAUSE SOLUTION The battery/batteries is/are not charged. Charge the battery/batteries.
Need help?
Do you have a question about the Broom and is the answer not in the manual?
Questions and answers